Yamaha PSR-S650 Owner's Manual - Page 43
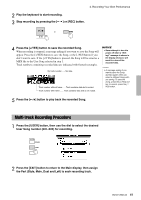
Play the keyboard to start recording., Stop recording by pressing the, or [REC] button., Press
 |
View all Yamaha PSR-S650 manuals
Add to My Manuals
Save this manual to your list of manuals |
Page 43 highlights
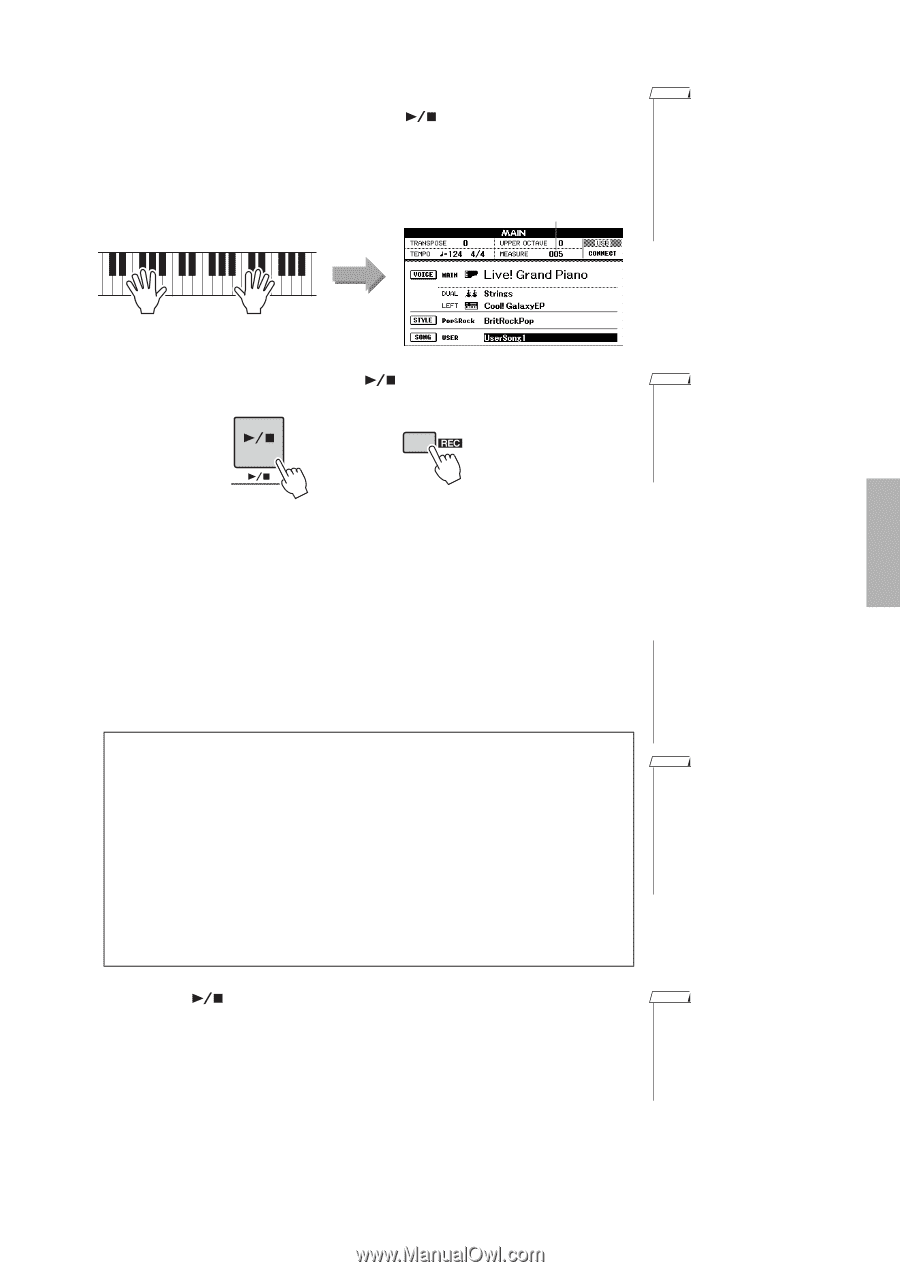
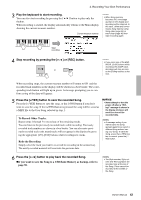
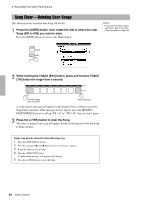
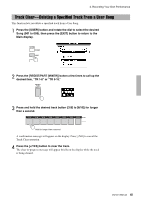
4. Recording Your Own Performance 3 Play the keyboard to start recording. You can also start recording by pressing the [ ] button to play only the rhythm. When recording is started, the display automatically returns to the Main display, showing the current measure number. Current measure number NOTE • When Song memory becomes full, a message appears in the display and recording will be stopped. In this case, delete any unnecessary Song data by using Song clear (page 44) or track clear (page 45) then start recording again. Start recording 4 Stop recording by pressing the [ ] or [REC] button. or NOTE • If you press one of the ENDING/rit. [I]-[III] buttons while recording the ACMP track, recording will stop as soon as the Ending reaches to the end. When recording stops, the current measure number will return to 001 and the recorded track numbers in the display will be shown in a box border. The corresponding track button will light up in green. A message prompting you to confirm saving of the data will appear. 5 Press the [+/YES] button to save the recorded Song. Press the [+/YES] button to save the song, or the [-/NO] button if you don't want to save the song. If the [+/YES] button is pressed, the song will be saved as a MIDI file to the User Song selected in step 1. To Record Other Tracks. Repeat steps 2 through 5 to record any of the remaining tracks. You can listen to the previously recorded tracks while recording. Previously recorded track numbers are shown in a box border. You can also mute previously recorded tracks (the muted tracks will not appear in the display) by pressing the appropriate [1/9]-[8/16] buttons while recording new tracks. Redo the Recording Simply select the track you want to re-record for recording in the normal way. The newly recorded material will overwrite the previous data. NOTICE • Never attempt to turn the power off when a "Writing!" message is shown in the display. Doing so will result in a loss of the recorded data. NOTE • A message asking if you want to save the Song appears again if you select a different Song without saving your Song. To save the Song, press the [+/YES] button; to cancel, press the [-/ NO] button. 6 Press the [ ] button to play back the recorded Song. If you want to save the Song to a USB flash Memory as backup, refer to page 58. NOTE • The Style number, Style volume and Time signature are recorded only at the top of the Song. These cannot be recorded at the middle of the Song. Owner's Manual 43
-
 1
1 -
2
-
3
-
4
-
5
-
6
-
7
-
8
-
9
-
10
-
11
-
12
-
13
-
14
-
15
-
16
-
17
-
18
-
19
-
20
-
21
-
22
-
23
-
24
-
25
-
26
-
27
-
28
-
29
-
30
-
31
-
32
-
33
-
34
-
35
-
36
-
37
-
 38
38 -
 39
39 -
 40
40 -
 41
41 -
 42
42 -
 43
43 -
 44
44 -
 45
45 -
 46
46 -
 47
47 -
 48
48 -
49
-
50
-
51
-
52
-
53
-
54
-
55
-
56
-
57
-
58
-
59
-
60
-
61
-
62
-
63
-
64
-
65
-
66
-
67
-
68
-
69
-
70
-
71
-
72
-
73
-
74
-
75
 |
 |