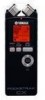
Yamaha PocketrakCX Reference Manual - Page 19
Selecting a recording EQ option, Press the [MENU/ENTER] button.
 |
UPC - 086792893440
View all Yamaha PocketrakCX manuals
Add to My Manuals
Save this manual to your list of manuals |
Page 19 highlights
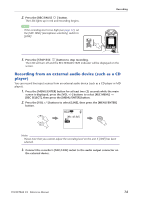
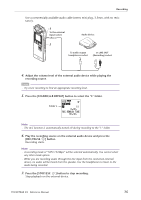
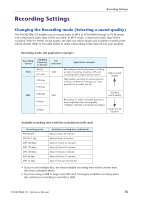
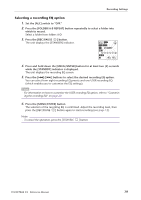
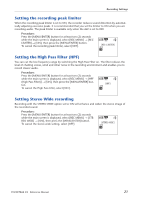
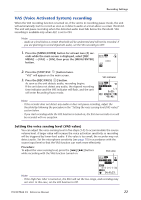
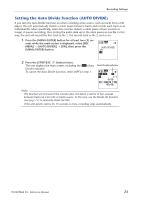
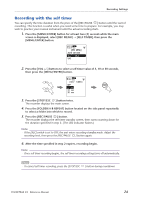
Recording Settings Selecting a recording EQ option 1. Set the [ALC] switch to "OFF." 2. Press the [FOLDER/A-B REPEAT] button repeatedly to select a folder into which to record. Select a folder from folders A-D. 3. Press the [REC/PAUSE ] button. The unit displays the [STANDBY] indicator. 4. Press and hold down the [MENU/ENTER] button for at least two (2) seconds while the [STANDBY] indicator is displayed. The unit displays the recording EQ screen. 5. Press the [ ]/[ ] buttons to select the desired recording EQ option. You can select from eight recording EQ presets and one USER recording EQ (which enables you to customize the EQ settings). Hint: · For information on how to customize the USER recording EQ option, refer to "Customizing the recording EQ" on page 20. 6. Press the [MENU/ENTER] button. The selection of the recording EQ is confirmed. Adjust the recording level, then press the [REC/PAUSE ] button again to start recording (see page 12). Note: · To cancel the operation, press the [STOP/ESC ] button. POCKETRAK CX Reference Manual 19
-
 1
1 -
2
-
3
-
4
-
5
-
6
-
7
-
8
-
9
-
10
-
11
-
12
-
13
-
 14
14 -
 15
15 -
 16
16 -
 17
17 -
 18
18 -
 19
19 -
 20
20 -
 21
21 -
 22
22 -
 23
23 -
 24
24 -
25
-
26
-
27
-
28
-
29
-
30
-
31
-
32
-
33
-
34
-
35
-
36
-
37
-
38
-
39
-
40
-
41
-
42
-
43
-
44
-
45
-
46
-
47
-
48
-
49
-
50
-
51
-
52
-
53
-
54
-
55
-
56
-
57
-
58
-
59
-
60
-
61
-
62
-
63
-
64
-
65
-
66
-
67
-
68
-
69
-
70
-
71
-
72
-
73
-
74
-
75
-
76
-
77
-
78
-
79
-
80
-
81
-
82
-
83
 |
 |
