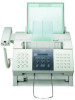
Canon FAXPHONE L75 Software User's Guide for FAXPHONE L75 - Page 31
In the Printers window in Windows XP, Printers and Faxes, Click Change Forms. - xp driver
 |
View all Canon FAXPHONE L75 manuals
Add to My Manuals
Save this manual to your list of manuals |
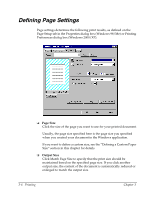
Page 31 highlights
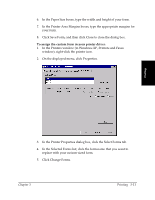
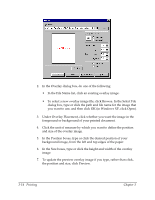
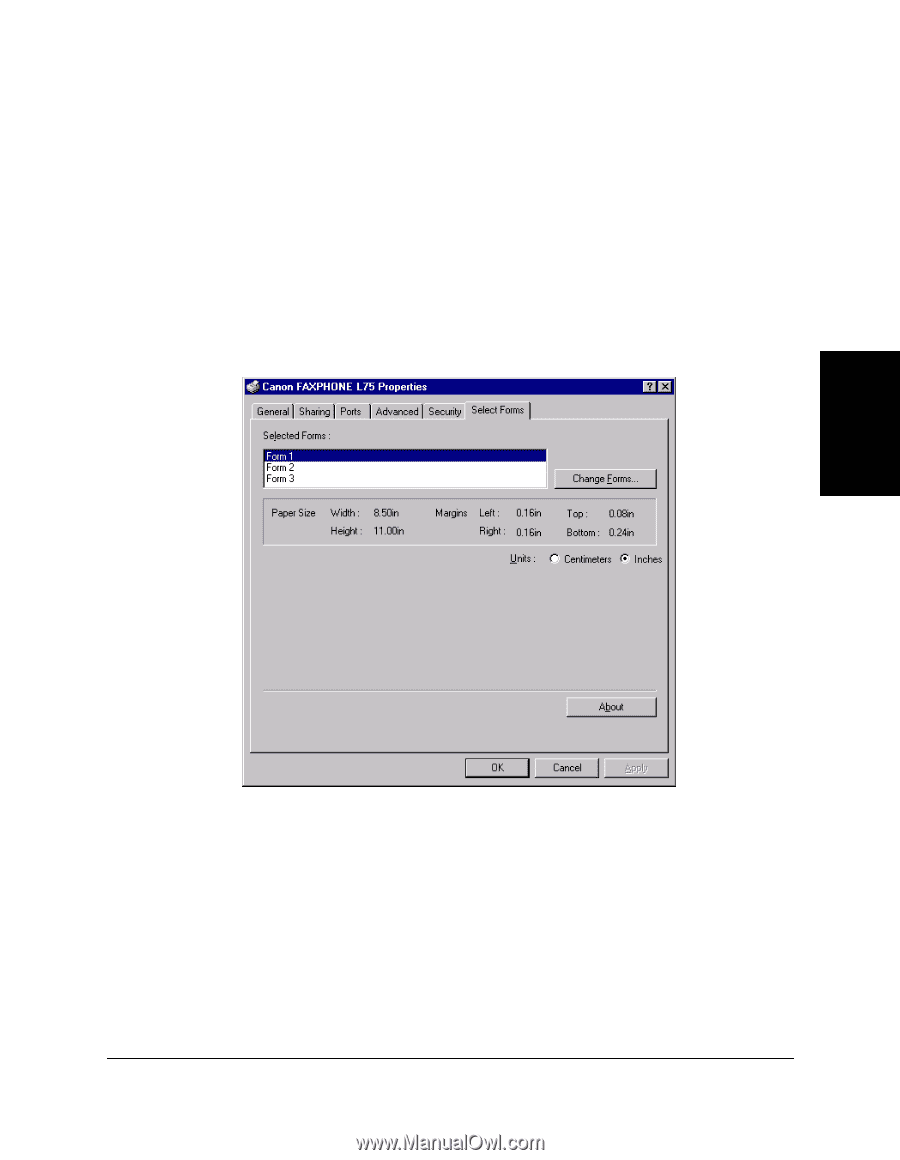
6. In the Paper Size boxes, type the width and height of your form. 7. In the Printer Area Margins boxes, type the appropriate margins for your form. 8. Click Save Form, and then click Close to close the dialog box. To assign the custom form in your printer driver: 1. In the Printers window (in Windows XP, Printers and Faxes window), right-click the printer icon. 2. On the displayed menu, click Properties. Printing 3. In the Printer Properties dialog box, click the Select Forms tab. 4. In the Selected Forms list, click the form name that you want to replace with your custom-sized form. 5. Click Change Forms. Chapter 3 Printing 3-11
-
 1
1 -
2
-
3
-
4
-
5
-
6
-
7
-
8
-
9
-
10
-
11
-
12
-
13
-
14
-
15
-
16
-
17
-
18
-
19
-
20
-
21
-
22
-
23
-
24
-
25
-
 26
26 -
 27
27 -
 28
28 -
 29
29 -
 30
30 -
 31
31 -
 32
32 -
 33
33 -
 34
34 -
 35
35 -
 36
36 -
37
-
38
-
39
-
40
-
41
-
42
-
43
-
44
-
45
-
46
-
47
-
48
-
49
-
50
-
51
-
52
-
53
-
54
-
55
-
56
-
57
-
58
-
59
-
60
-
61
-
62
-
63
-
64
-
65
-
66
 |
 |
Chapter 3
Printing
3-11
Printing
6.
In the Paper Size boxes, type the width and height of your form.
7.
In the Printer Area Margins boxes, type the appropriate margins for
your form.
8.
Click Save Form, and then click Close to close the dialog box.
To assign the custom form in your printer driver:
1.
In the Printers window (in Windows XP, Printers and Faxes
window), right-click the printer icon.
2.
On the displayed menu, click Properties.
3.
In the Printer Properties dialog box, click the Select Forms tab.
4.
In the Selected Forms list, click the form name that you want to
replace with your custom-sized form.
5.
Click Change Forms.