Canon FAXPHONE L75 Software User's Guide for FAXPHONE L75 - Page 37
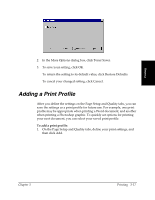
Adding a Print Profile
 |
View all Canon FAXPHONE L75 manuals
Add to My Manuals
Save this manual to your list of manuals |
Page 37 highlights
Printing 2. In the More Options dialog box, click Toner Saver. 3. To save your setting, click OK. To return the setting to its default value, click Restore Defaults. To cancel your changed setting, click Cancel. Adding a Print Profile 3 After you define the settings on the Page Setup and Quality tabs, you can save the settings as a print profile for future use. For example, one print profile may be appropriate when printing a Word document, and another when printing a Photoshop graphic. To quickly set options for printing your next document, you can select your saved print profile. To add a print profile: 1. On the Page Setup and Quality tabs, define your print settings, and then click Add. Chapter 3 Printing 3-17
-
 1
1 -
2
-
3
-
4
-
5
-
6
-
7
-
8
-
9
-
10
-
11
-
12
-
13
-
14
-
15
-
16
-
17
-
18
-
19
-
20
-
21
-
22
-
23
-
24
-
25
-
26
-
27
-
28
-
29
-
30
-
31
-
 32
32 -
 33
33 -
 34
34 -
 35
35 -
 36
36 -
 37
37 -
 38
38 -
 39
39 -
 40
40 -
 41
41 -
 42
42 -
43
-
44
-
45
-
46
-
47
-
48
-
49
-
50
-
51
-
52
-
53
-
54
-
55
-
56
-
57
-
58
-
59
-
60
-
61
-
62
-
63
-
64
-
65
-
66
 |
 |
Chapter 3
Printing
3-17
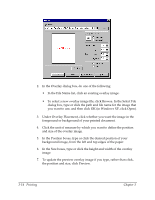
Printing
2.
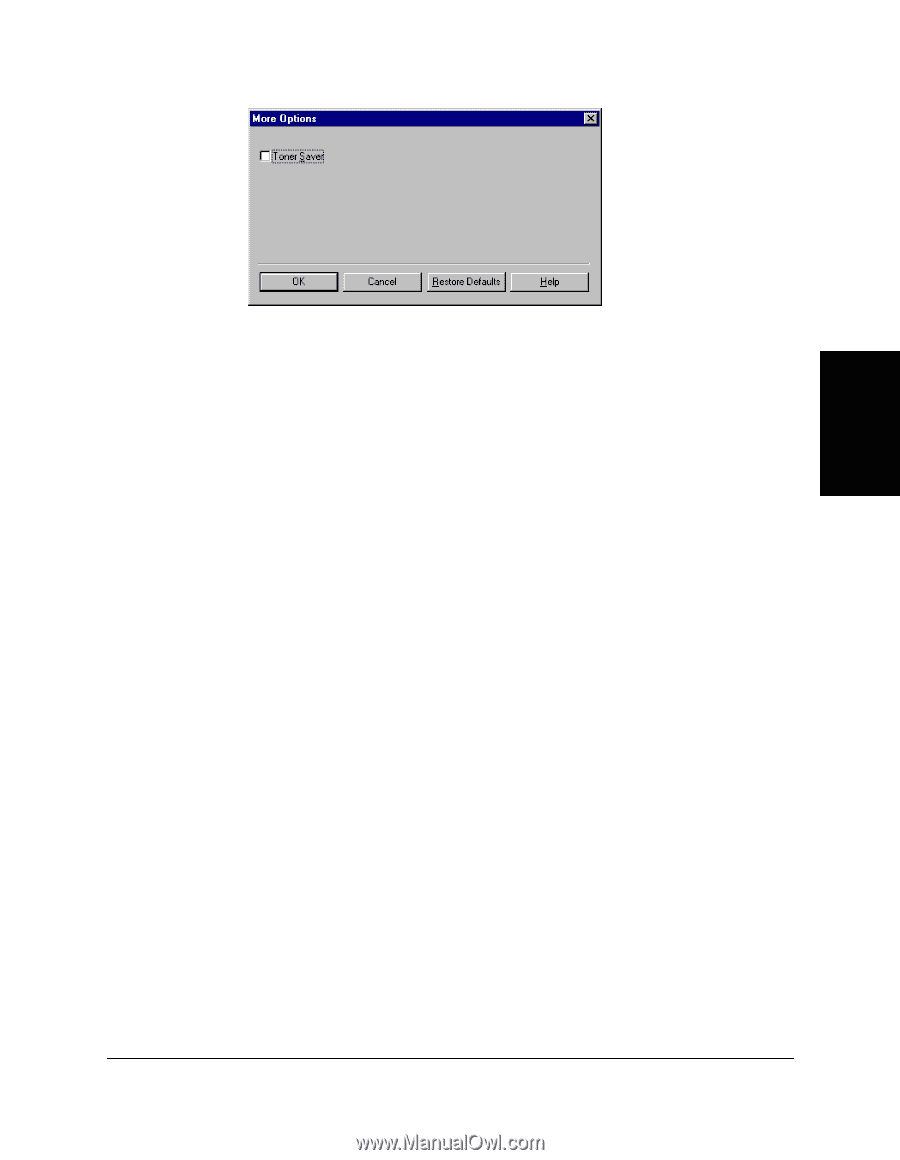
In the More Options dialog box, click Toner Saver.
3.
To save your setting, click OK.
To return the setting to its default value, click Restore Defaults.
To cancel your changed setting, click Cancel.
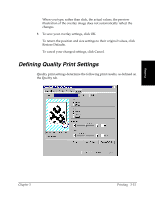
Adding a Print Profile
3
After you define the settings on the Page Setup and Quality tabs, you can
save the settings as a print profile for future use. For example, one print
profile may be appropriate when printing a Word document, and another
when printing a Photoshop graphic. To quickly set options for printing
your next document, you can select your saved print profile.
To add a print profile:
1.
On the Page Setup and Quality tabs, define your print settings, and
then click Add.