Canon PC150 PC150 Operator's Manual - Page 20
Installing the, Copier
 |
UPC - 013803046014
View all Canon PC150 manuals
Add to My Manuals
Save this manual to your list of manuals |
Page 20 highlights
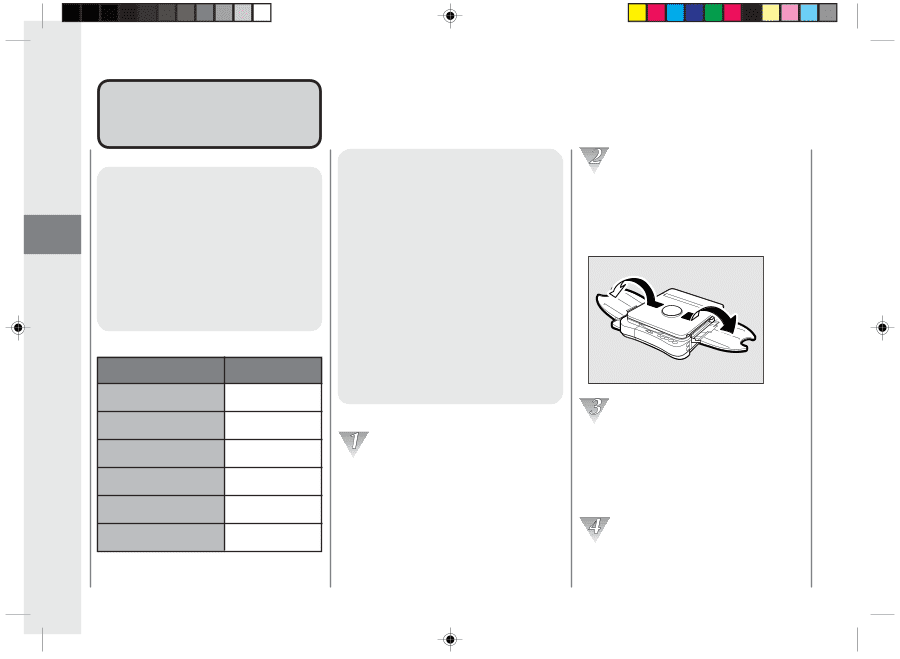
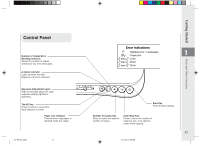
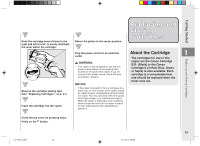
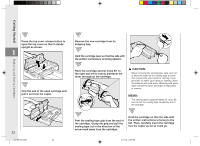
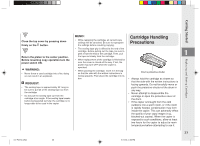
Getting Started Installing the Copier Checking the Package Contents 1 Remove the copier and the accessories from the shipping box. Use the following checklist to make sure you have received all the necessary accessories included with your copier. Installing the Copier Item Registration Card Power Cord Operator's Manual Cartridge Muliti-stack tray Copy tray Quantity 1 1 1 1 1 1 18 01/ PC150-USA 18 Installation Procedure Before installing the copier be sure to check the safety of the power source. Then proceed with the following procedure. Although the starter cartridge comes already installed in the main unit, it is necessary to remove the sealing tape from the cartridge before use. The cartridge cannot be used if the seal is not removed. (See "Installation Precautions", on p. 11 and "Replacing and Storing Cartridges", on p. 19.) Slightly slide the copy tray and the multistack tray out from the opening between the disc and the platen cover, and then open the trays fully. Remove the copier from its shipping bag and gently remove all the packing tape attached to the copier. Slide the platen to the left, press the top cover release button and lift open the top cover. Grip the end of the cartridge, and pull it out of the copier. (See "Replacing and Storing Cartridges", on p. 19.) Hold the cartridge level so that the side with the written instructions is facing upward. 5/11/04, 4:53 PM
-
 1
1 -
2
-
3
-
4
-
5
-
6
-
7
-
8
-
9
-
10
-
11
-
12
-
13
-
14
-
 15
15 -
 16
16 -
 17
17 -
 18
18 -
 19
19 -
 20
20 -
 21
21 -
 22
22 -
 23
23 -
 24
24 -
 25
25 -
26
-
27
-
28
-
29
-
30
-
31
-
32
-
33
-
34
-
35
-
36
-
37
-
38
-
39
-
40
-
41
-
42
-
43
-
44
-
45
-
46
-
47
-
48
-
49
-
50
-
51
-
52
-
53
-
54
-
55
-
56
-
57
-
58
-
59
-
60
 |
 |