Cisco SPA303 User Manual
Cisco SPA303 Manual
 |
View all Cisco SPA303 manuals
Add to My Manuals
Save this manual to your list of manuals |
Cisco SPA303 manual content summary:
- Cisco SPA303 | User Manual - Page 1
USER GUIDE Cisco Small Business Cisco Unified Communications Manager Express for IP Phone Models 30X - Cisco SPA303 | User Manual - Page 2
, Inc. and/or its affiliates in the U.S. and other countries. A listing of Cisco's trademarks can be found at www.cisco.com/go/trademarks. Third party trademarks mentioned are the property of their respective owners. The use of the word partner does not imply a partnership relationship - Cisco SPA303 | User Manual - Page 3
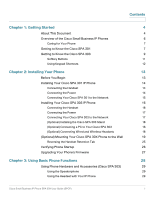
Cisco SPA 303 Stand 18 (Optional) Connecting a PC to Your Cisco SPA 303 18 (Optional) Connecting Wired and Wireless Headsets 18 (Optional) Mounting Your Cisco SPA 30X Phone to the Wall 19 Reversing the Handset Retention Tab 25 Verifying Phone Startup 26 Upgrading Your Phone's Firmware - Cisco SPA303 | User Manual - Page 4
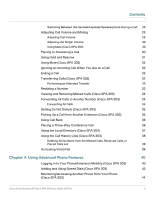
Voicemail 39 Chapter 4: Using Advanced Phone Features 40 Logging in to Your Phone/Extension Mobility (Cisco SPA 303) 40 Adding and Using Speed Dials (Cisco SPA 303) 42 Monitoring/Accessing Another Phone from Your Phone (Cisco SPA 303) 44 Cisco Small Business IP Phone SPA 30X User Guide - Cisco SPA303 | User Manual - Page 5
Menu on the Cisco SPA 301 Advanced Procedures for Technical Support Personnel Viewing Status Information and Statistics Rebooting, Restarting, and Resetting a Phone Appendix A: Where to Go From Here Contents 44 44 44 45 46 46 47 48 48 50 Cisco Small Business IP Phone SPA 30X User Guide (SPCP) 3 - Cisco SPA303 | User Manual - Page 6
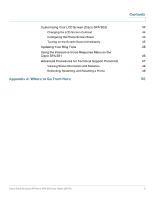
, such as the Cisco Unified Communications 500 Series. If you are using your Cisco Small Business IP Phone with a Cisco SPA 9000 Voice System or a BroadSoft or Asterisk system, see the Cisco Small Business IP Phone SPA 30X (SIP) User Guide. Cisco Small Business IP Phone SPA 30X User Guide (SPCP) 4 - Cisco SPA303 | User Manual - Page 7
: This chapter describes how to configure advanced features on your IP Phone. Cisco provides a wide range of resources to help you obtain the full benefits of the Cisco SPA 30X phones. This appendix provides link to many of these resources. Cisco Small Business IP Phone SPA 30X User Guide (SPCP) 5 - Cisco SPA303 | User Manual - Page 8
Setup of the phone network, including advanced configuration of the phones, is performed using Cisco Configuration Assistant (CCA) software. This software is available on Cisco.com. Documents for using CCA are listed in Appendix A, "Where to Go From Here." Cisco Small Business IP Phone SPA 30X User - Cisco SPA303 | User Manual - Page 9
Cisco SPA 301 1 The following table shows the Cisco Small Business IP Phones covered in this document and their respective features: Screen Lines Softkeys Navigation Button Cisco SPA 301 None 1 None None Cisco SPA 303 the Cisco SPA 301 Cisco Small Business IP Phone SPA 30X User Guide (SPCP) 7 - Cisco SPA303 | User Manual - Page 10
Press to redial the last number called. 7 Volume button Press repeatedly to increase the volume of the handset (when the handset is off the phone) or ringer volume (when the handset is on the phone). 8 Keypad Use to dial phone numbers. Cisco Small Business IP Phone SPA 30X User Guide (SPCP) 8 - Cisco SPA303 | User Manual - Page 11
red when you have a new Indicator voice mail message. Flashes red during an incoming call or when the phone's firmware is being updated. 3 LCD Screen Displays date and time, phone station name, line extensions, and softkey options. Cisco Small Business IP Phone SPA 30X User Guide (SPCP) 9 - Cisco SPA303 | User Manual - Page 12
or unmute the phone. When phone is muted, the button glows red. A flashing mute button indicates the network connection cannot be found. 11 Headset button Push to turn the headset on or off. When the headset is on, the button glows green. Cisco Small Business IP Phone SPA 30X User Guide (SPCP - Cisco SPA303 | User Manual - Page 13
a conference call. Dials a number. Do Not Disturb; prevents incoming calls from ringing your phone. Selects an item to change. Allows you to answer a call ringing on an extension by discovering the number of the ringing extension. Cisco Small Business IP Phone SPA 30X User Guide (SPCP) 11 - Cisco SPA303 | User Manual - Page 14
the number shown next to the menu or sub-menu item on the LCD screen. For example, to change your ring settings, press the Setup button, then press 3 for Settings and 2 for Ring Type. NOTE Menus and options vary depending on phone model. Cisco Small Business IP Phone SPA 30X User Guide (SPCP) 12 - Cisco SPA303 | User Manual - Page 15
Before You Begin, page 13 • Installing Your Cisco SPA 301 IP Phone, page 14 • Installing Your Cisco SPA 303 IP Phone, page 16 • (Optional) Mounting Your Cisco SPA 30X Phone to the Wall, page 19 • Verifying Phone Startup, page 26 • Upgrading Your Phone's Firmware, page 27 Before You Begin Before you - Cisco SPA303 | User Manual - Page 16
on the phone body (labeled 1 in Figure 1). NOTE To power the phone through the Ethernet connection, use the optional Cisco POES5 5-Volt Power Over Ethernet Splitter accessory. See the Cisco POES5 documentation on Cisco.com for more information. Cisco Small Business IP Phone SPA 30X User Guide (SPCP - Cisco SPA303 | User Manual - Page 17
Bridge for Phone Adapters to connect the IP phone to a Wireless-G network instead of the wired local network. To connect your phone to the Cisco WBP54G: STEP 1 Configure the Cisco WBP54G using the Setup Wizard. See the instructions in the Wireless-G Bridge for Phone Adapters Quick Installation Guide - Cisco SPA303 | User Manual - Page 18
with a phone symbol. (labeled 5 in Figure 3). STEP 3 (Optional) Route the phone cord through the cable slot (labeled 4 in Figure 3). STEP 4 Insert the other end of the phone cord into the port at the bottom of the handset (not shown). Cisco Small Business IP Phone SPA 30X User Guide (SPCP) 16 - Cisco SPA303 | User Manual - Page 19
3 Connect the power cable of the WBP54G to the power port on the IP phone base. STEP 4 Plug the IP phone power adapter into the power port of the WBP54G. STEP 5 Plug the other end of the IP phone power adapter into an electrical outlet. Cisco Small Business IP Phone SPA 30X User Guide (SPCP) 17 - Cisco SPA303 | User Manual - Page 20
Installing Your Phone Installing Your Cisco SPA 303 IP Phone 2 (Optional) Installing the Cisco SPA 303 Stand NOTE Do not attach the desk stand if you want to mount the phone to the wall. STEP 1 Connect the phone stand by lining up the tabs on the stand with the slots on the phone body. STEP 2 - Cisco SPA303 | User Manual - Page 21
the headset into the headset port on the right side of the IP phone as shown in the following graphic: (Optional) Mounting Your Cisco SPA 30X Phone to the Wall To mount the phone to the wall, you must purchase the MB100 wall mount bracket kit. Cisco Small Business IP Phone SPA 30X User Guide (SPCP - Cisco SPA303 | User Manual - Page 22
Installing Your Phone (Optional) Mounting Your Cisco SPA 30X Phone to the Wall Figure 4 MB100 Wall Mount Kit 2 Cisco Small Business IP Phone SPA 30X User Guide (SPCP) 20 - Cisco SPA303 | User Manual - Page 23
on the MB with the holes in the phone's base. STEP 2 Orient the MB such that the phone's Ethernet and handset ports are accessible after installation. STEP 3 Push the MB onto the phone's base. Slide the MB upwards to lock it in place. Cisco Small Business IP Phone SPA 30X User Guide (SPCP) 21 - Cisco SPA303 | User Manual - Page 24
Installing Your Phone (Optional) Mounting Your Cisco SPA 30X Phone to the Wall STEP 4 (Optional) If a Wi-Fi or PoE dongle is installed, place in the tray. 2 Cisco Small Business IP Phone SPA 30X User Guide (SPCP) 22 - Cisco SPA303 | User Manual - Page 25
Installing Your Phone (Optional) Mounting Your Cisco SPA 30X Phone to the Wall Plug in the Ethernet and power cables. 2 Cisco Small Business IP Phone SPA 30X User Guide (SPCP) 23 - Cisco SPA303 | User Manual - Page 26
Installing Your Phone (Optional) Mounting Your Cisco SPA 30X Phone to the Wall STEP 5 Hang onto screws mounted in the wall. 2 Cisco Small Business IP Phone SPA 30X User Guide (SPCP) 24 - Cisco SPA303 | User Manual - Page 27
5 Handset Retention Tab (Default Position) STEP 1 Insert a coin or object of similar width into the slot. STEP 2 Rotate the tab180°. (See Figure 6.) The tab now catches the slot in the handset when the handset is placed onto the cradle. Cisco Small Business IP Phone SPA 30X User Guide (SPCP) 25 - Cisco SPA303 | User Manual - Page 28
At the bottom of the LCD screen, softkeys are displayed over their associated soft buttons. On models with no screen, such as the Cisco SPA 301G, you should hear a dial tone when picking up the handset or pressing the speakerphone button. Cisco Small Business IP Phone SPA 30X User Guide (SPCP) 26 - Cisco SPA303 | User Manual - Page 29
your phone administrator or Internet Telephony Service Provider (ITSP). Upgrading Your Phone's Firmware Firmware updates are done from the Cisco Configuration Assistant. For detailed upgrade instructions, see the Cisco Configuration Assistant Smart Business Communications System Administrator Guide - Cisco SPA303 | User Manual - Page 30
(Cisco SPA 303), page 35 • "Using Call Back" section on page 36 • Placing a Three-Way Conference Call, page 36 • Using the Local Directory (Cisco SPA 303), page 37 • Using the Call History Lists (Cisco SPA 303), page 38 • Accessing Voicemail, page 39 Cisco Small Business IP Phone SPA 30X User Guide - Cisco SPA303 | User Manual - Page 31
Call Volume and Muting Adjusting Call Volume Cisco SPA 301 With the headset off the phone, press the Vol. button repeatedly to increase the volume. When the volume reaches the maximum, the next button press reduces the volume to the minimum. Cisco Small Business IP Phone SPA 30X User Guide - Cisco SPA303 | User Manual - Page 32
Speaker button (Cisco SPA 303). • Press the Headset button (Cisco SPA 303). • Press the Answer softkey (Cisco SPA 303). • Press a configured line button (to place a call) or a green flashing line button (to answer a call) - Cisco SPA 303. Cisco Small Business IP Phone SPA 30X User Guide (SPCP) 30 - Cisco SPA303 | User Manual - Page 33
Answer softkey. • Press the Hold button to place the call on hold and press the flashing green line button answer the incoming call. To resume the first call, select it using the Up or Down navigation button and press the Resume softkey. Cisco Small Business IP Phone SPA 30X User Guide (SPCP) 31 - Cisco SPA303 | User Manual - Page 34
types of transfers: • Attended-You call the person to whom you are transferring the call and speak to them before transferring the call. • Blind-You transfer the call without speaking to the other party to which you are transferring the call. Cisco Small Business IP Phone SPA 30X User Guide (SPCP - Cisco SPA303 | User Manual - Page 35
press the Dial softkey. NOTE If the call was from an outside or long distance number, you may have to edit the call before returning it. Press the EditDial softkey to edit the call and use the softkey buttons and keypad to edit the number. Cisco Small Business IP Phone SPA 30X User Guide (SPCP) 33 - Cisco SPA303 | User Manual - Page 36
an outside line, be sure to enter any access code or area code that is required. STEP 3 Press the EndCall softkey. The LCD screen displays the information about the call forwarding. NOTE Disable Call Forward All by pressing the CFwdAll softkey. Cisco Small Business IP Phone SPA 30X User Guide (SPCP - Cisco SPA303 | User Manual - Page 37
asterisk key. A call ringing any extension in the group is picked up. NOTE If all phones are configured as part of a single group, you do not have to enter an asterisk. NOTE Groups must be configured by your phone administrator to use this feature. Cisco Small Business IP Phone SPA 30X User Guide - Cisco SPA303 | User Manual - Page 38
line is opened, and you hear a dial tone. STEP 2 Dial the second person's telephone number. STEP 3 Press the Flash button again. All three parties are connected in the conference call. NOTE When you hang up, the other two parties are disconnected. Cisco Small Business IP Phone SPA 30X User Guide - Cisco SPA303 | User Manual - Page 39
Using Basic Phone Functions Using the Local Directory (Cisco SPA 303) 3 Cisco SPA 303 To initiate a conference call: STEP 1 During an active call, press the more softkey, and then press the Confrn softkey. The first call is placed on hold, a second line is opened, and you hear a dial tone. STEP 2 - Cisco SPA303 | User Manual - Page 40
Using Basic Phone Functions Using the Call History Lists (Cisco SPA 303) 3 Using the Call History Lists (Cisco SPA 303) To use the Call History lists: STEP 1 Press the Setup button. STEP 2 Scroll to Call History and press the Select softkey. STEP 3 Scroll to the Call History list that you want to - Cisco SPA303 | User Manual - Page 41
Accessing Voicemail To access voicemail, press the Messages button on your phone. Your phone administrator should configure your phone with the correct voicemail number so that pressing the Messages button automatically dials your voicemail system. Cisco Small Business IP Phone SPA 30X User Guide - Cisco SPA303 | User Manual - Page 42
and directory number to that phone. For example, if you are working at a remote location for the day, you can log in to one of the company phones on the network and make and receive calls from your phone number and access your voicemail. Cisco Small Business IP Phone SPA 30X User Guide (SPCP) 40 - Cisco SPA303 | User Manual - Page 43
Logout softkey on your phone: a. Press the Setup button. b. Scroll to CME Services and press the Select softkey. c. Scroll to Extension Mobility and press the Select softkey. STEP 2 Press the Logout softkey. STEP 3 Press the Exit softkey. Cisco Small Business IP Phone SPA 30X User Guide (SPCP) 41 - Cisco SPA303 | User Manual - Page 44
dials appear next to the line buttons to which they are assigned. To edit a speed dial entry: STEP 1 Press the Setup button. STEP 2 Scroll to CME Services and press the Select softkey. STEP 3 Scroll to My Phone Apps and press the Select softkey. Cisco Small Business IP Phone SPA 30X User Guide - Cisco SPA303 | User Manual - Page 45
call. STEP 2 If the speed dial is assigned to a line button, press the line button. If the speed dial is not assigned to a line button, press the number for the speed dial (for example, 3), then press the AbbrDial softkey. The phone number is dialed. Cisco Small Business IP Phone SPA 30X User Guide - Cisco SPA303 | User Manual - Page 46
will glow red when his monitored line is ringing. In addition, if your phone administrator has configured it, you can press the same line button (3) to speed dial Bob's extension, or to pick up a ringing call at his extension. Customizing Your LCD Screen (Cisco SPA 303) You can customize your LCD - Cisco SPA303 | User Manual - Page 47
Using Advanced Phone Features Customizing Your LCD Screen (Cisco SPA 303) 4 To configure your screen saver: STEP 1 Press the Setup button. STEP 2 Scroll to Settings and press the Select softkey. STEP 3 Scroll to Screen Saver Mode and press the Select softkey. STEP 4 To change the status of your - Cisco SPA303 | User Manual - Page 48
9 helps you through a menu of commonly used tasks. After pressing 9, you enter the number of the settings you want to change and follow the voice instructions. Cisco Small Business IP Phone SPA 30X User Guide (SPCP) 46 - Cisco SPA303 | User Manual - Page 49
rebooting. Advanced Procedures for Technical Support Personnel Technical support personnel may need to view information about your phone or phone activities. Follow these procedures if instructed to do so by technical support person who are assisting you. Cisco Small Business IP Phone SPA 30X User - Cisco SPA303 | User Manual - Page 50
message appears, press the OK softkey to confirm or press the Cancel softkey to close the message without rebooting the phone. To restart your phone: STEP 1 Press the Setup button. STEP 2 Scroll to Restart and press the Select softkey. Cisco Small Business IP Phone SPA 30X User Guide (SPCP) 48 - Cisco SPA303 | User Manual - Page 51
1 Press the Setup button. STEP 2 Scroll to Factory Reset and press the Select softkey. STEP 3 When the confirmation message appears, press the OK softkey to confirm or press the Cancel softkey to close the message without resetting the phone. Cisco Small Business IP Phone SPA 30X User Guide (SPCP - Cisco SPA303 | User Manual - Page 52
benefits of the Cisco Small Business SPA 300 Series IP Phones. Support Cisco Small Business Support Community Cisco Small Business Support and Resources Phone Support Contacts Cisco Small Business Firmware Downloads www.cisco.com/go/smallbizsupport www.cisco.com/go/smallbizhelp www.cisco.com/en/US - Cisco SPA303 | User Manual - Page 53
Where to Go From Here A Cisco Small Business Cisco Partner Central for Small Business (Partner Login Required) Cisco Small Business Home www.cisco.com/web/partners/sell/smb www.cisco.com/smb Cisco Small Business IP Phone SPA 30X User Guide (SPCP) 51
-
 1
1 -
 2
2 -
 3
3 -
 4
4 -
 5
5 -
 6
6 -
 7
7 -
8
-
9
-
10
-
11
-
12
-
13
-
14
-
15
-
16
-
17
-
18
-
19
-
20
-
21
-
22
-
23
-
24
-
25
-
26
-
27
-
28
-
29
-
30
-
31
-
32
-
33
-
34
-
35
-
36
-
37
-
38
-
39
-
40
-
41
-
42
-
43
-
44
-
45
-
46
-
47
-
48
-
49
-
50
-
51
-
52
-
53
 |
 |
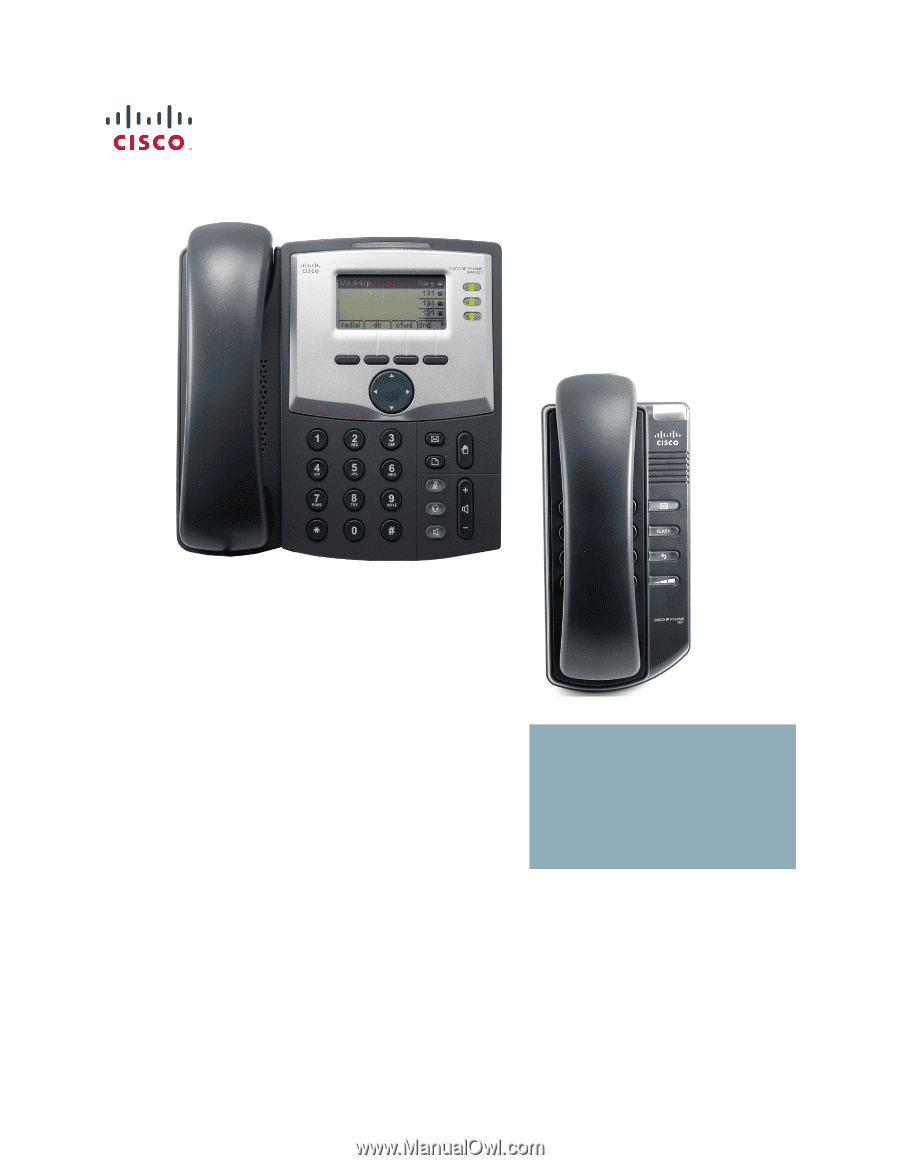
Cisco Small Business
Cisco Unified Communications Manager Express for IP
Phone Models 30X
USER GUIDE