Craftsman 21194 Operation Manual - Page 22
WA..I.G1
 |
View all Craftsman 21194 manuals
Add to My Manuals
Save this manual to your list of manuals |
Page 22 highlights
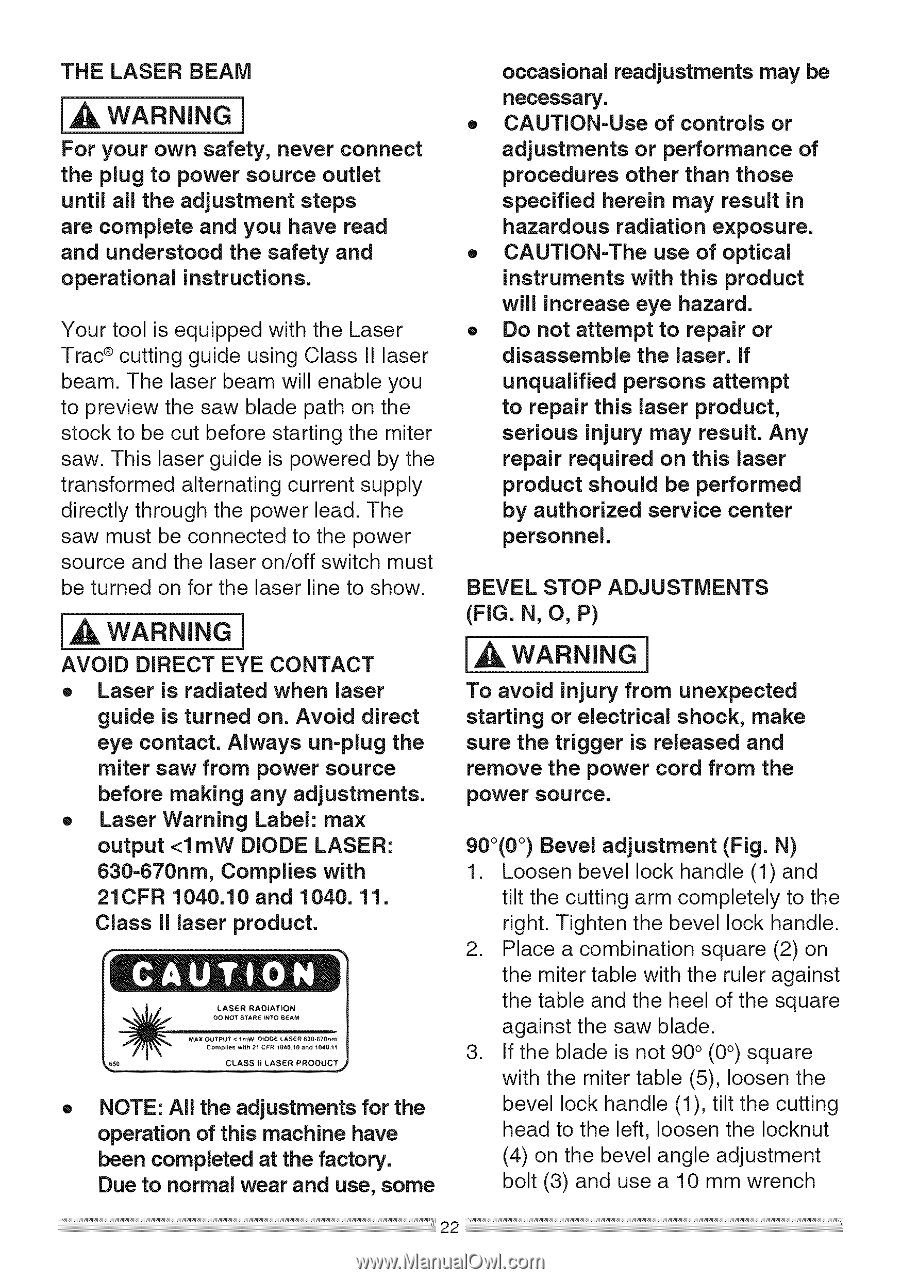
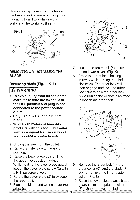
THE LASER BEAM i,_ WARNING ] For your own safety, never connect the plug to power source outlet until all the adjustment steps are complete and you have read and understood the safety and operational instructions. Your tool is equipped with the Laser Trac ®cutting guide using Class II laser beam. The laser beam will enable you to preview the saw blade path on the stock to be cut before starting the miter saw. This laser guide is powered by the transformed alternating current supply directly through the power lead. The saw must be connected to the power source and the laser on/off switch must be turned on for the laser line to show. j,AWARNIN] G AVOID DIRECT EYE CONTACT o Laser is radiated when laser guide is turned on. Avoid direct eye contact. Always un=plug the miter saw from power source before making any adjustments. o Laser Warning Label: max output
-
 1
1 -
2
-
3
-
4
-
5
-
6
-
7
-
8
-
9
-
10
-
11
-
12
-
13
-
14
-
15
-
16
-
 17
17 -
 18
18 -
 19
19 -
 20
20 -
 21
21 -
 22
22 -
 23
23 -
 24
24 -
 25
25 -
 26
26 -
 27
27 -
28
-
29
-
30
-
31
-
32
-
33
-
34
-
35
-
36
-
37
-
38
-
39
-
40
-
41
-
42
-
43
-
44
 |
 |