Craftsman 21194 Operation Manual - Page 7
Specific, Safety, Instructions, Miter Saw, You Are, Hands
 |
View all Craftsman 21194 manuals
Add to My Manuals
Save this manual to your list of manuals |
Page 7 highlights
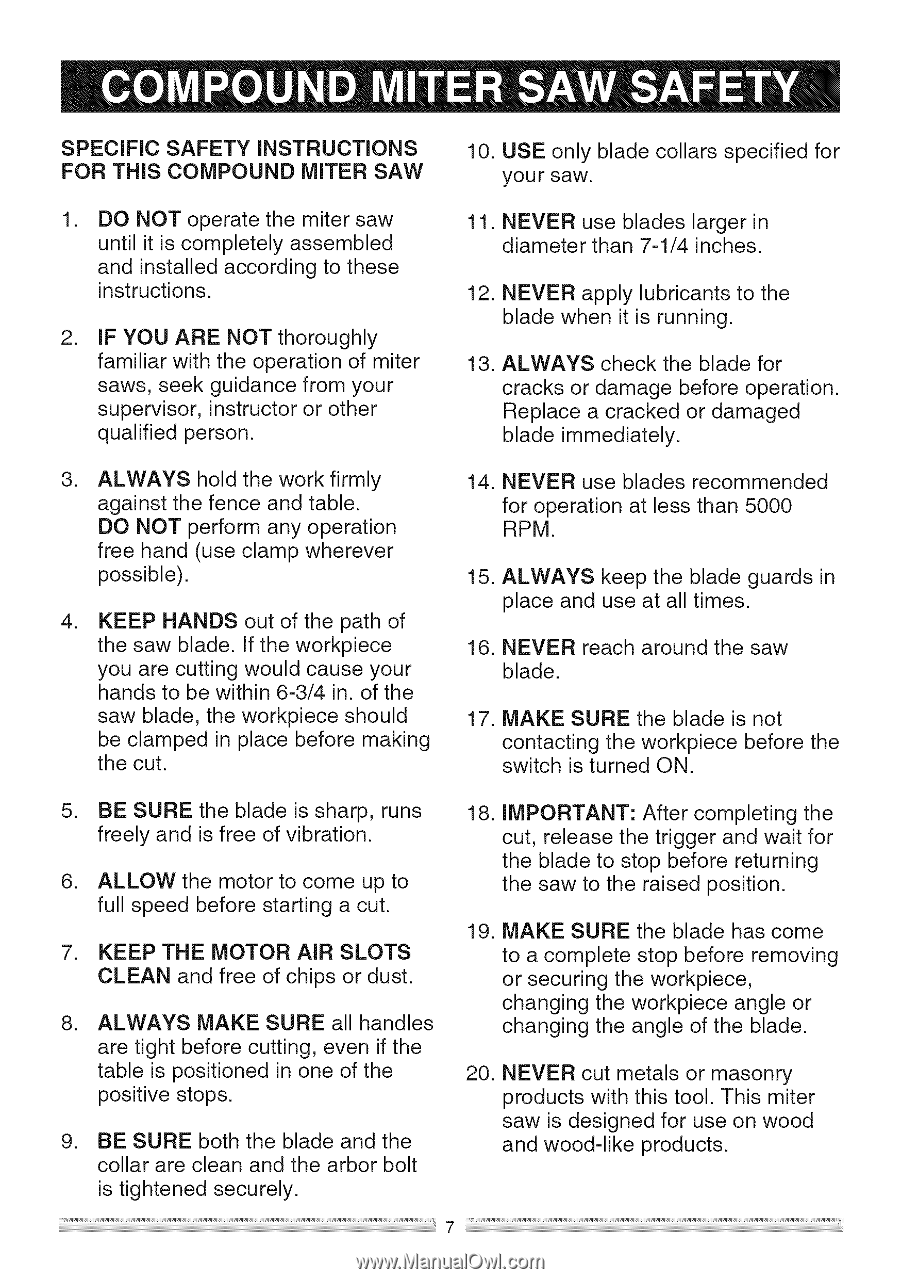
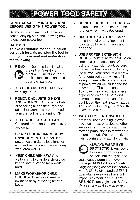
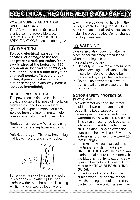
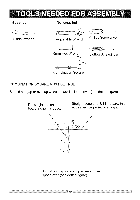
SPECiFiC SAFETY iNSTRUCTiONS FOR THiS COMPOUND MITER SAW . DO NOT operate the miter saw until it is completely assembled and installed according to these instructions. . iF YOU ARE NOT thoroughly familiar with the operation of miter saws, seek guidance from your supervisor, instructor or other qualified person. . ALWAYS hold the work firmly against the fence and table. DO NOT perform any operation free hand (use clamp wherever possible). . KEEP HANDS out of the path of the saw blade. If the workpiece you are cutting would cause your hands to be within 6-3/4 in. of the saw blade, the workpiece should be clamped in place before making the cut. 5. BE SURE the blade is sharp, runs freely and is free of vibration. 6. ALLOW the motor to come up to full speed before starting a cut. 7. KEEP THE MOTOR AiR SLOTS CLEAN and free of chips or dust. 8. ALWAYS MAKE SURE all handles are tight before cutting, even if the table is positioned in one of the positive stops. 9. BE SURE both the blade and the collar are clean and the arbor bolt is tightened securely. 10. USE only blade collars specified for your saw. 11. NEVER use blades larger in diameter than 7-1/4 inches. 12. NEVER apply lubricants to the blade when it is running. 13. ALWAYS check the blade for cracks or damage before operation. Replace a cracked or damaged blade immediately. 14. NEVER use blades recommended for operation at less than 5000 RPM. 15. ALWAYS keep the blade guards in place and use at all times. 16. NEVER reach around the saw blade. 17. MAKE SURE the blade is not contacting the workpiece before the switch is turned ON. 18. iMPORTANT: After completing the cut, release the trigger and wait for the blade to stop before returning the saw to the raised position. 19. MAKE SURE the blade has come to a complete stop before removing or securing the workpiece, changing the workpiece angle or changing the angle of the blade. 20. NEVER cut metals or masonry products with this tool. This miter saw is designed for use on wood and wood-like products.
-
 1
1 -
 2
2 -
 3
3 -
 4
4 -
 5
5 -
 6
6 -
 7
7 -
 8
8 -
 9
9 -
 10
10 -
 11
11 -
 12
12 -
13
-
14
-
15
-
16
-
17
-
18
-
19
-
20
-
21
-
22
-
23
-
24
-
25
-
26
-
27
-
28
-
29
-
30
-
31
-
32
-
33
-
34
-
35
-
36
-
37
-
38
-
39
-
40
-
41
-
42
-
43
-
44
 |
 |