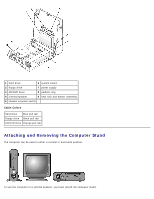
Dell OptiPlex GX260N User Guide - Page 34
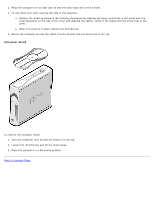
Computer Stand, Turn the computer over so that the stand is at the top.
 |
View all Dell OptiPlex GX260N manuals
Add to My Manuals
Save this manual to your list of manuals |
Page 34 highlights
1. Place the computer on its right side so that the drive bays are at the bottom. 2. Fit the stand onto what was the left side of the computer. a. Position the stand as shown in the following illustration by aligning the large round hole in the stand with the securing button on the side of the cover and aligning the captive screw in the stand with the screw hole in the cover. b. When the stand is in place, tighten the thumbscrew. 3. Rotate the computer so that the stand is at the bottom and the drives are at the top. Computer Stand To remove the computer stand: 1. Turn the computer over so that the stand is at the top. 2. Loosen the thumbscrew and lift the stand away. 3. Place the computer in a horizontal position. Back to Contents Page
-
 1
1 -
2
-
3
-
4
-
5
-
6
-
7
-
8
-
9
-
10
-
11
-
12
-
13
-
14
-
15
-
16
-
17
-
18
-
19
-
20
-
21
-
22
-
23
-
24
-
25
-
26
-
27
-
28
-
 29
29 -
 30
30 -
 31
31 -
 32
32 -
 33
33 -
 34
34 -
 35
35 -
 36
36 -
 37
37 -
 38
38 -
 39
39 -
40
-
41
-
42
-
43
-
44
-
45
-
46
-
47
-
48
-
49
-
50
-
51
-
52
-
53
-
54
-
55
-
56
-
57
-
58
-
59
-
60
-
61
-
62
-
63
-
64
-
65
-
66
-
67
-
68
-
69
-
70
-
71
-
72
-
73
-
74
-
75
-
76
-
77
-
78
-
79
-
80
-
81
-
82
-
83
-
84
-
85
-
86
-
87
-
88
-
89
-
90
-
91
-
92
-
93
-
94
-
95
-
96
-
97
-
98
-
99
-
100
-
101
-
102
-
103
-
104
-
105
-
106
-
107
-
108
-
109
-
110
-
111
-
112
-
113
-
114
-
115
-
116
-
117
-
118
-
119
-
120
-
121
-
122
-
123
-
124
-
125
-
126
-
127
-
128
-
129
-
130
-
131
-
132
-
133
-
134
-
135
-
136
-
137
-
138
-
139
-
140
-
141
-
142
-
143
-
144
-
145
-
146
-
147
-
148
-
149
-
150
-
151
-
152
-
153
-
154
-
155
-
156
-
157
-
158
-
159
-
160
-
161
-
162
-
163
-
164
-
165
-
166
-
167
-
168
-
169
-
170
-
171
-
172
-
173
-
174
-
175
-
176
-
177
-
178
-
179
-
180
-
181
-
182
-
183
-
184
-
185
-
186
-
187
-
188
-
189
-
190
-
191
-
192
-
193
-
194
-
195
-
196
-
197
-
198
-
199
-
200
-
201
-
202
-
203
-
204
-
205
-
206
-
207
-
208
-
209
-
210
-
211
-
212
-
213
-
214
-
215
-
216
-
217
-
218
-
219
-
220
-
221
-
222
-
223
-
224
-
225
-
226
-
227
-
228
-
229
-
230
-
231
-
232
-
233
-
234
-
235
 |
 |
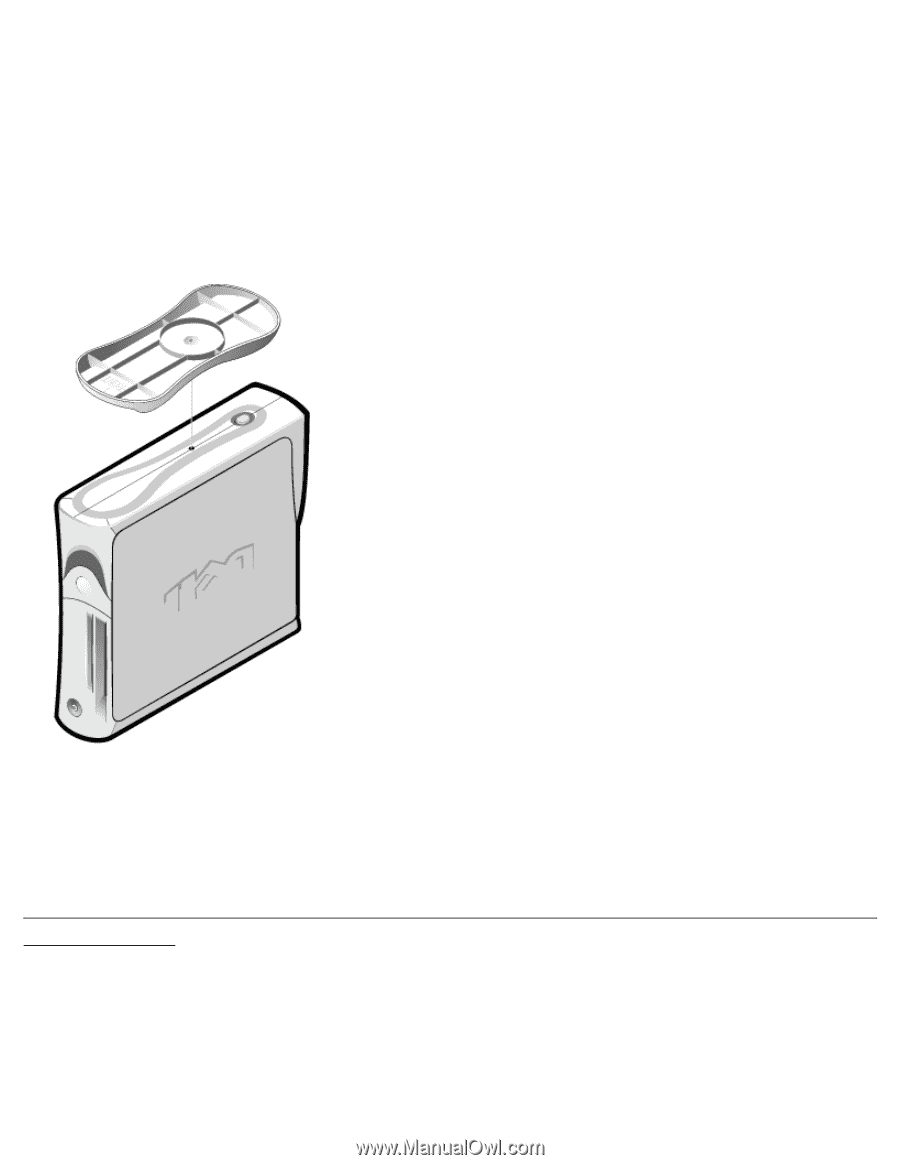
1. Place the computer on its right side so that the drive bays are at the bottom.
2. Fit the stand onto what was the left side of the computer.
a. Position the stand as shown in the following illustration by aligning the large round hole in the stand with the
securing button on the side of the cover and aligning the captive screw in the stand with the screw hole in the
cover.
b. When the stand is in place, tighten the thumbscrew.
3. Rotate the computer so that the stand is at the bottom and the drives are at the top.
Computer Stand
To remove the computer stand:
1. Turn the computer over so that the stand is at the top.
2. Loosen the thumbscrew and lift the stand away.
3. Place the computer in a horizontal position.
Back to Contents Page