Epson 740c User's Guide - Page 24
Correcting Computer Images, Shutting Down the Projector
 |
UPC - 010343851214
View all Epson 740c manuals
Add to My Manuals
Save this manual to your list of manuals |
Page 24 highlights
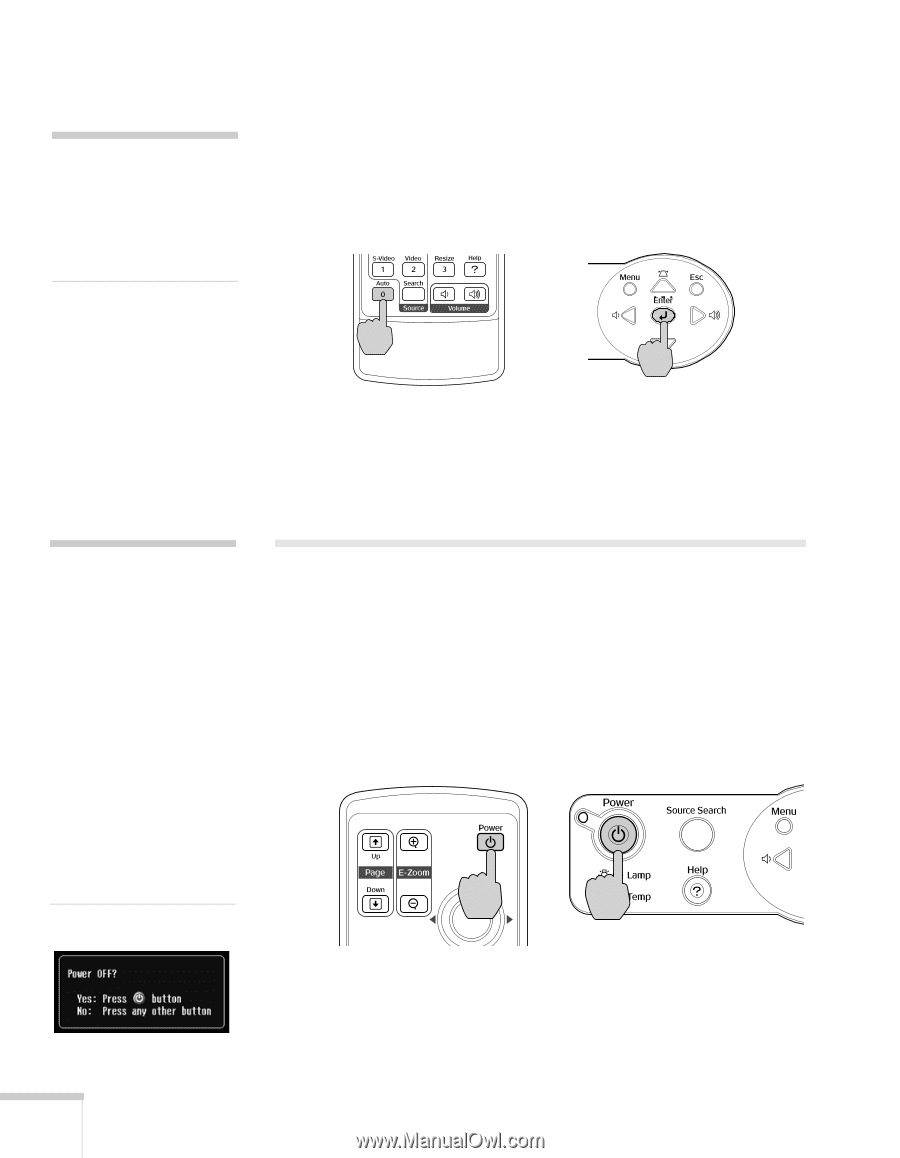
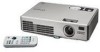
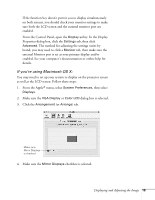
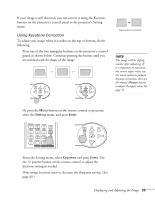
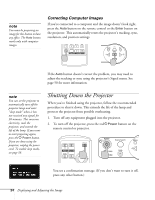
note You must be projecting an image for this button to have any effect. The Auto button works only with computer images. Correcting Computer Images If you're connected to a computer and the image doesn't look right, press the Auto button on the remote control or the Enter button on the projector. This automatically resets the projector's tracking, sync, resolution, and position settings. If the Auto button doesn't correct the problem, you may need to adjust the tracking or sync using the projector's Signal menu. See page 50 for more information. note You can set the projector to automatically turn off the projector lamp and enter "sleep mode" when it has not received any signals for 30 minutes. This conserves electricity, cools the projector, and extends the life of the lamp. If you want to start projecting again, press the P Power button. If you are done using the projector, unplug the power cord. To enable sleep mode, see page 58. Shutting Down the Projector When you've finished using the projector, follow the recommended procedure to shut it down. This extends the life of the lamp and protects the projector from possible overheating. 1. Turn off any equipment plugged into the projector. 2. To turn off the projector, press the red PPower button on the remote control or projector. You see a confirmation message. (If you don't want to turn it off, press any other button.) 24 Displaying and Adjusting the Image
-
 1
1 -
2
-
3
-
4
-
5
-
6
-
7
-
8
-
9
-
10
-
11
-
12
-
13
-
14
-
15
-
16
-
17
-
18
-
 19
19 -
 20
20 -
 21
21 -
 22
22 -
 23
23 -
 24
24 -
 25
25 -
 26
26 -
 27
27 -
 28
28 -
 29
29 -
30
-
31
-
32
-
33
-
34
-
35
-
36
-
37
-
38
-
39
-
40
-
41
-
42
-
43
-
44
-
45
-
46
-
47
-
48
-
49
-
50
-
51
-
52
-
53
-
54
-
55
-
56
-
57
-
58
-
59
-
60
-
61
-
62
-
63
-
64
-
65
-
66
-
67
-
68
-
69
-
70
-
71
-
72
-
73
-
74
-
75
-
76
-
77
-
78
-
79
-
80
-
81
-
82
-
83
-
84
-
85
-
86
-
87
-
88
-
89
-
90
-
91
-
92
-
93
-
94
-
95
-
96
-
97
-
98
-
99
-
100
 |
 |