Epson 740c User's Guide - Page 47
Restoring the Default Settings, default settings for all the settings listed in a specific menu
 |
UPC - 010343851214
View all Epson 740c manuals
Add to My Manuals
Save this manual to your list of manuals |
Page 47 highlights
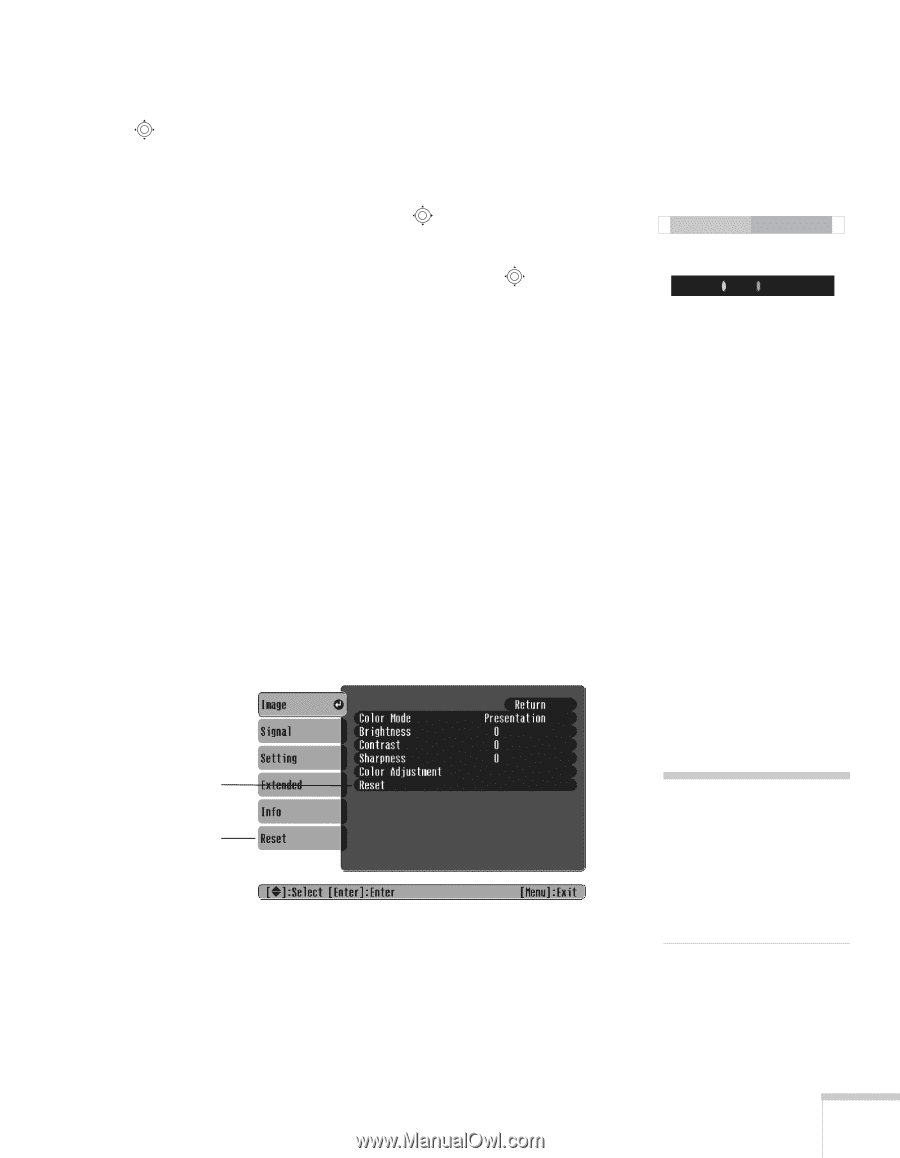
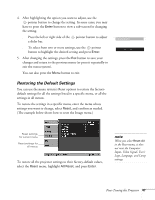
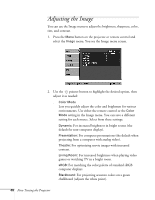
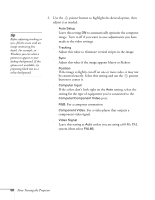
4. After highlighting the option you want to adjust, use the pointer button to change the setting. In some cases, you may have to press the Enter button to view a sub-screen for changing the setting. ■ Press the left or right side of the pointer button to adjust a slider bar. ■ To select from two or more settings, use the pointer button to highlight the desired setting and press Enter. 5. After changing the settings, press the Esc button to save your changes and return to the previous menu (or press it repeatedly to exit the menu system). You can also press the Menu button to exit. Restoring the Default Settings You can use the menu system's Reset options to restore the factorydefault settings for all the settings listed in a specific menu, or all the settings in all menus. To restore the settings in a specific menu, enter the menu whose settings you want to change, select Reset, and confirm as needed. (The example below shows how to reset the Image menu.) + ON OFF Reset settings for current menu Reset settings for all menus To restore all the projector settings to their factory-default values, select the Reset menu, highlight All Reset, and press Enter. note When you select Reset All in the Reset menu, it does not reset the Computer Input, Video Signal, User's Logo, Language, and Lamp settings. Fine-Tuning the Projector 47
-
 1
1 -
2
-
3
-
4
-
5
-
6
-
7
-
8
-
9
-
10
-
11
-
12
-
13
-
14
-
15
-
16
-
17
-
18
-
19
-
20
-
21
-
22
-
23
-
24
-
25
-
26
-
27
-
28
-
29
-
30
-
31
-
32
-
33
-
34
-
35
-
36
-
37
-
38
-
39
-
40
-
41
-
 42
42 -
 43
43 -
 44
44 -
 45
45 -
 46
46 -
 47
47 -
 48
48 -
 49
49 -
 50
50 -
 51
51 -
 52
52 -
53
-
54
-
55
-
56
-
57
-
58
-
59
-
60
-
61
-
62
-
63
-
64
-
65
-
66
-
67
-
68
-
69
-
70
-
71
-
72
-
73
-
74
-
75
-
76
-
77
-
78
-
79
-
80
-
81
-
82
-
83
-
84
-
85
-
86
-
87
-
88
-
89
-
90
-
91
-
92
-
93
-
94
-
95
-
96
-
97
-
98
-
99
-
100
 |
 |