Epson AcuLaser CX11NF Product Information Guide - Page 10
Epson AcuLaser CX11N/CX11NF
 |
View all Epson AcuLaser CX11NF manuals
Add to My Manuals
Save this manual to your list of manuals |
Page 10 highlights
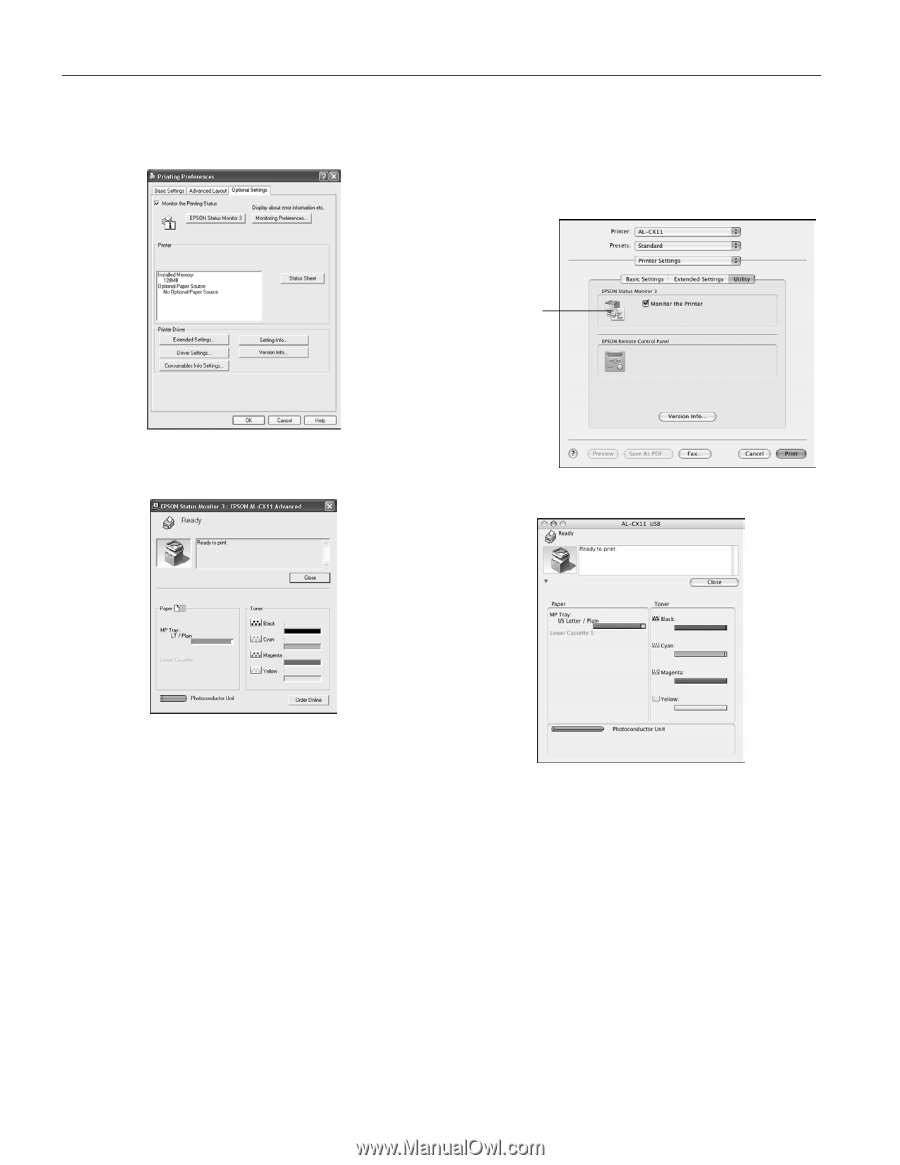
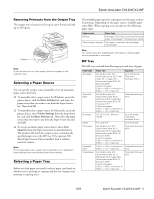
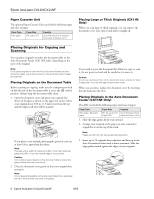
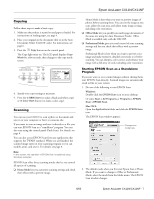
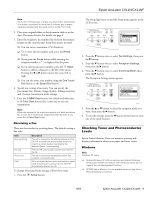
Epson AcuLaser CX11N/CX11NF 1. Open the File menu and select Print. 2. Click the Optional Settings tab. Macintosh 1. Open the File menu and select Print. 2. Select Printer Settings from the pop-up menu, then select the Utility tab. Click your printer's icon 3. Click EPSON Status Monitor 3. You see a window like this: 3. Click your printer's icon. You see a window like this: You can monitor printer status and see information on toner levels, paper levels, and the remaining life of the photoconductor. Note: This screen may vary depending on your operating system version. You can monitor printer status and see information on toner levels, paper levels, and the remaining life of the photoconductor. Note: This screen may vary depending on your operating system version. 10 - Epson AcuLaser CX11N/CX11NF 8/05
-
 1
1 -
2
-
3
-
4
-
 5
5 -
 6
6 -
 7
7 -
 8
8 -
 9
9 -
 10
10 -
 11
11 -
 12
12 -
 13
13 -
 14
14 -
 15
15 -
16
 |
 |