Epson AcuLaser CX11NF Product Information Guide - Page 6
Placing Originals for Copying and, Scanning - cleaning
 |
View all Epson AcuLaser CX11NF manuals
Add to My Manuals
Save this manual to your list of manuals |
Page 6 highlights
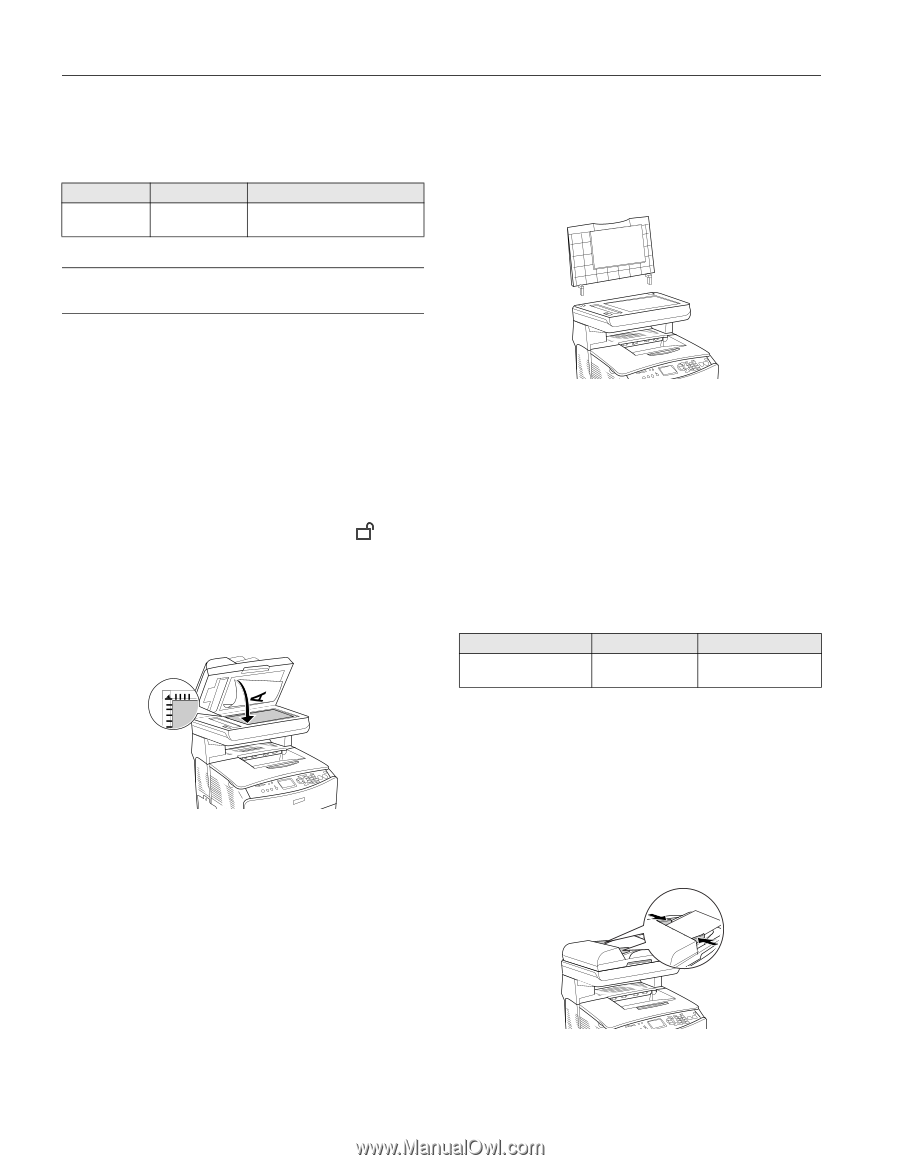
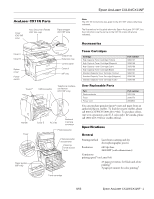
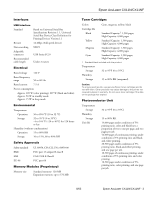
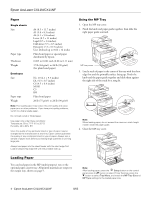
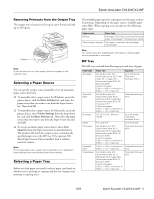
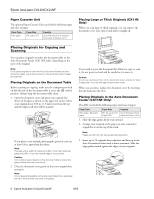
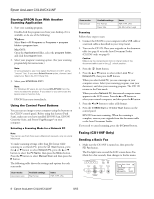
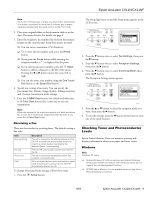
Epson AcuLaser CX11N/CX11NF Paper Cassette Unit The optional Paper Cassette Unit can hold the following types and sizes of paper. Paper Type Plain paper Paper Size A4, Letter (LT) Capacity Up to 500 sheets in a cassette Total stack thickness: 2.2 in. Placing Large or Thick Originals (CX11N Only) When you scan large or thick originals, you can remove the document cover. Just open it and pull it straight up. Placing Originals for Copying and Scanning You can place originals on either the document table or the Auto Document Feeder (CX11NF only), depending on the type of the original. Note: If you place originals on both the Auto Document Feeder and the document table, only the documents in the Auto Document Feeder are scanned. Placing Originals on the Document Table Before scanning or copying, make sure the transportation lock on the left side of the document table is set to the unlock position. Always keep the document table clean. 1. Open the document cover and place your original face- down on the glass as shown, in the upper left corner. Move your original about 0.06 in. (1.5 mm) away from the top and left edges so all of it will be scanned. If you plan to scan multiple photographs, position each one at least 0.8 in. apart from the others. Note: The area with a width of maximum 0.06 in. from the horizontal edge and 0.06 in. from the vertical edge is not scanned. Caution: Do not place heavy objects on the document table or press the glass surface with too much force. 2. Close the document cover gently so that your original does not move. Note: Do not leave photographs on the document table for an extended period of time as they may stick to the glass. If you need to press the document flat while you copy or scan it, do not press too hard and be careful not to move it. Caution: Do not use excessive force on the document cover, and do not twist it diagonally. You may damage the document cover. When you are done, replace the document cover by inserting the tabs back into the slots. Placing Originals in the Auto Document Feeder (CX11NF Only) The ADF can hold the following types and sizes of paper. Paper Type Plain paper, Recycled paper Paper Size Capacity B5, A4, Letter (LT), Up to 50 sheets (Total Legal (LGL) stack thickness: 0.4 in.) 1. Slide the edge guides all the way outward. 2. Arrange your originals so the page you want scanned or copied first is on the top of the stack. Note: Pages are fed from the top and ejected face-down. 3. Insert up to 50 originals short edge first and face-up in the Auto Document Feeder until it meets resistance. Slide the edge guides inward against the edges of your originals. 6 - Epson AcuLaser CX11N/CX11NF 8/05
-
 1
1 -
 2
2 -
 3
3 -
 4
4 -
 5
5 -
 6
6 -
 7
7 -
 8
8 -
 9
9 -
 10
10 -
 11
11 -
 12
12 -
13
-
14
-
15
-
16
 |
 |