Epson AcuLaser CX11NF Product Information Guide - Page 14
Cleaning the CX11N - fuser roller
 |
View all Epson AcuLaser CX11NF manuals
Add to My Manuals
Save this manual to your list of manuals |
Page 14 highlights
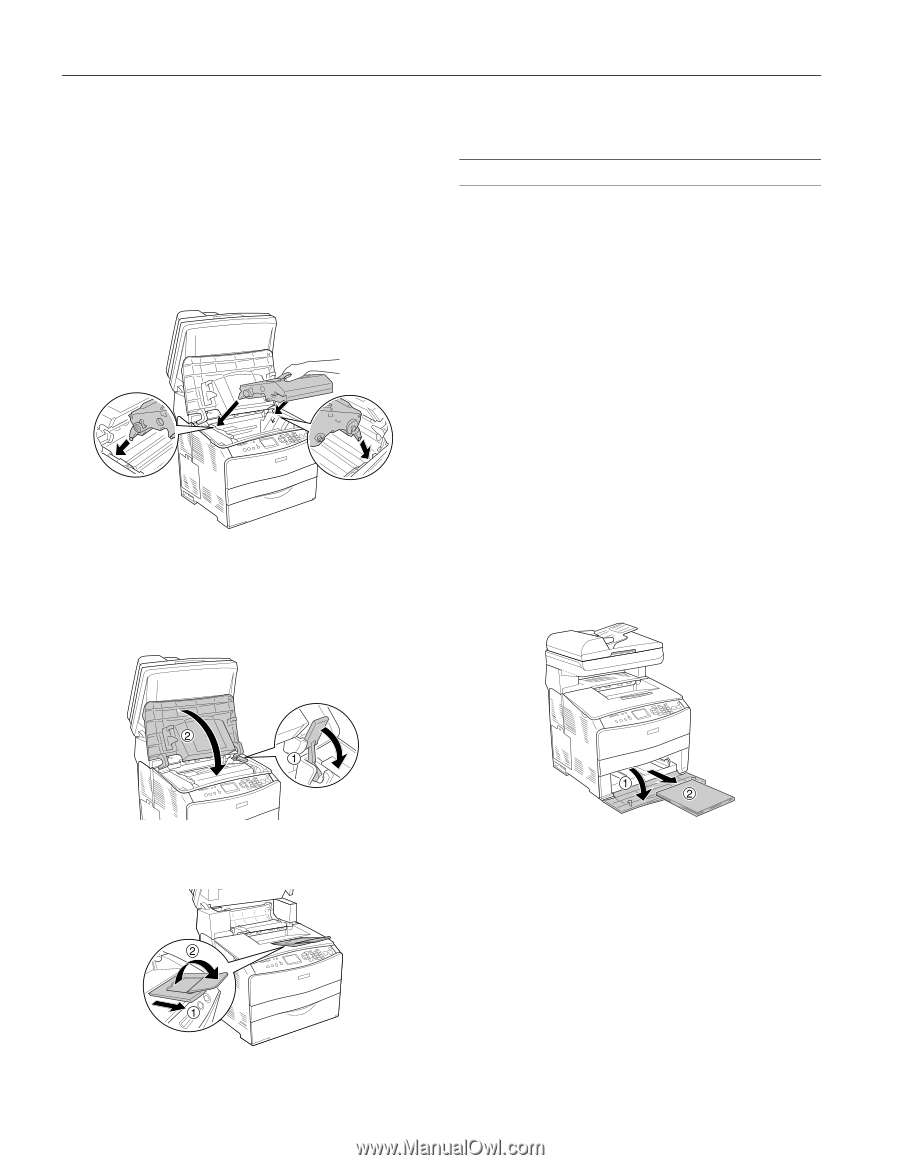
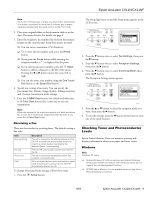
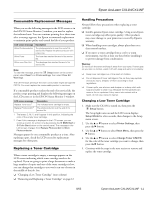
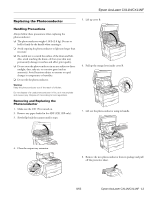
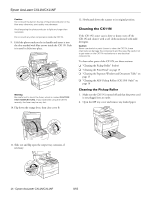
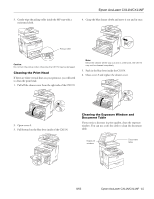
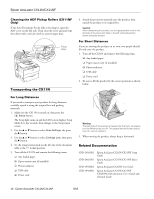
Epson AcuLaser CX11N/CX11NF Caution: Do not touch the belt on the top of the photoconductor or the blue area; otherwise, print quality may decrease. Avoid exposing the photoconductor to light any longer than necessary. Do not touch any other components inside the CX11N. 9. Hold the photoconductor by its handle and insert it into the slots marked with blue arrows inside the CX11N. Push it in until it clicks into place. Warning: Be careful not to touch the fuser, which is marked CAUTION HIGH TEMPERATURE. If you have been using the CX11N recently, the fuser may be very hot. 10. Flip down the orange lever, then close cover B. 12. Slowly push down the scanner to its original position. Cleaning the CX11N If the CX11N's outer case is dirty or dusty, turn off the CX11N and clean it with a soft cloth moistened with mild detergent. Caution: Never use alcohol or paint thinner to clean the CX11N; these chemicals can damage the components and the case. Be careful not to get water on the CX11N mechanisms or any electrical components. To clean other parts of the CX11N, see these sections: ❏ "Cleaning the Pickup Roller" (below) ❏ "Cleaning the Print Head" on page 15 ❏ "Cleaning the Exposure Window and Document Table" on page 15 ❏ "Cleaning the ADF Pickup Rollers (CX11NF Only)" on page 16 Cleaning the Pickup Roller 1. Make sure the CX11N is turned off and that the power cord is not plugged into an outlet. 2. Open the MP tray cover and remove any loaded paper. 11. Slide out and flip open the output tray extension, if necessary. 14 - Epson AcuLaser CX11N/CX11NF 8/05
-
 1
1 -
2
-
3
-
4
-
5
-
6
-
7
-
8
-
 9
9 -
 10
10 -
 11
11 -
 12
12 -
 13
13 -
 14
14 -
 15
15 -
 16
16
 |
 |