Epson AcuLaser CX11NF Product Information Guide - Page 9
Checking Toner and Photoconductor, Levels - photoconductor reset
 |
View all Epson AcuLaser CX11NF manuals
Add to My Manuals
Save this manual to your list of manuals |
Page 9 highlights
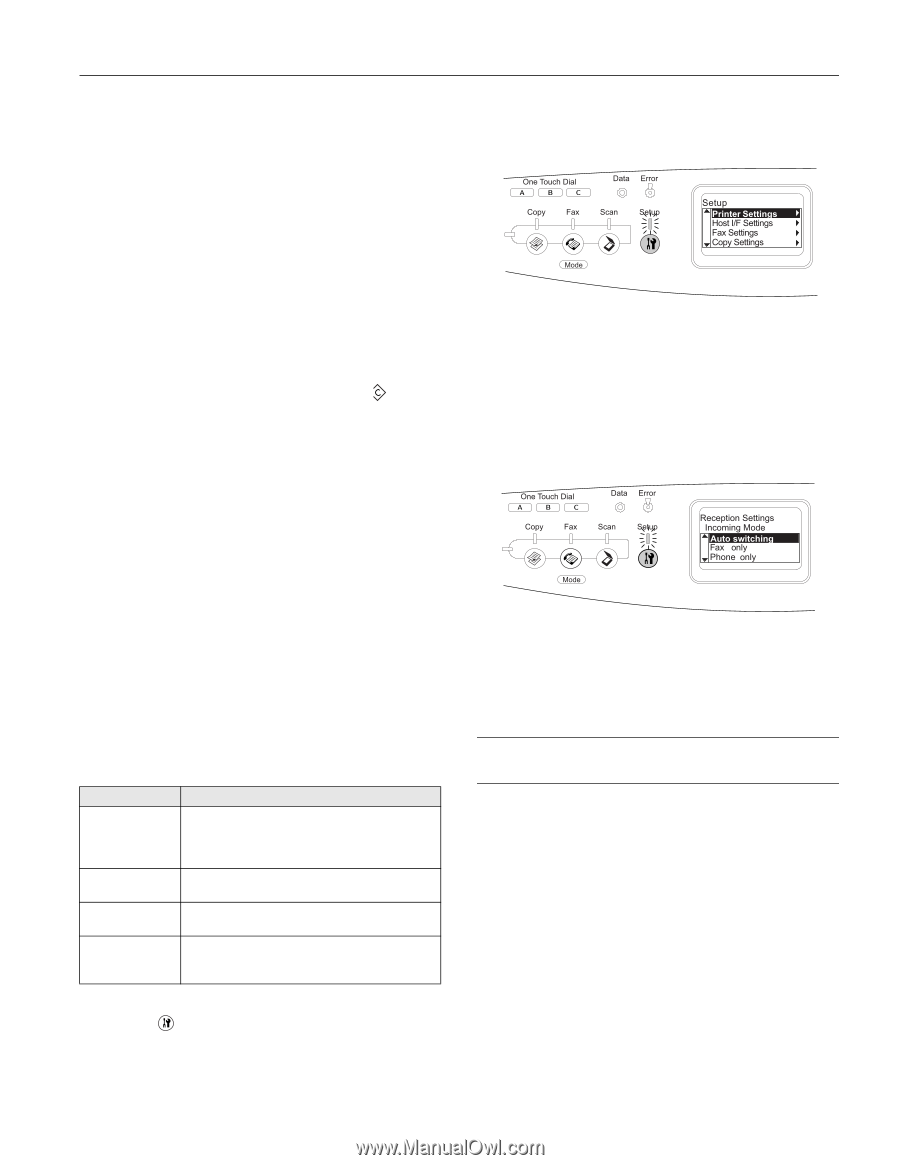
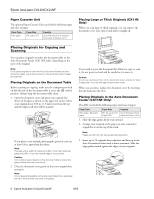
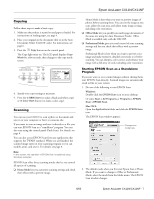
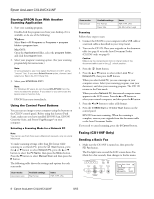
Epson AcuLaser CX11N/CX11NF Note: Do not turn off the power or press any other button while faxing. If no button is pressed for more than 3 minutes, any changes made are canceled and the mode returns to the Print mode. 2. Place your original either on the document table or in the Auto Document Feeder. For details, see page 6. 3. Enter the recipient's fax number directly from the numeric keypad on the control panel. Keep these points in mind: ❏ You can enter a maximum of 50 characters. ❏ To re-enter the last number used, press the Redial button. ❏ If you press the Pause button while entering the recipient number, a "-" is displayed for the pause. ❏ If you enter an incorrect number, press the Reset button to delete a character to the left of the cursor. Pressing the l or r button moves the cursor left or right. ❏ You can also enter a fax number using the One Touch Dial button or the Speed Dial button. 4. Specify any settings if necessary. You can specify the Document Size, Density, Image Quality, Polling reception, and Overseas transmission mode settings. 5. Press the x B&W Start button (for a black and white fax) or x Color Start button (for a color fax) to start the transmission. Note: When the recipient's fax machine supports only black-and-white fax, a color fax is received as a black-and-white fax even if you press the x Color Start button. Receiving a Fax There are four modes for receiving faxes. The default setting is Fax only. Item Auto switching Fax only Phone only TAM Description The call is received by the attached phone and the CX11NF automatically answers after the phone rings for a certain duration specified by the Attached Phone Timeout setting. The CX11NF automatically answers and receives the fax. The call is received by the attached phone. Fax reception is not performed. When an attached phone detects a fax/phone signal while answering an incoming call, the CX11NF automatically receives the fax. To change Incoming Mode settings, follow these steps. 1. Press the Setup button. The Setup light turns on and the Setup menu appears in the LCD screen. 2. Press the d button twice to select Fax Settings, then press the r button. 3. Press the d button twice to select Reception Settings, then press the r button. 4. Press the d button twice to select Incoming Mode, then press the r button. The Reception Settings menu appears. 5. Press the u or d button to select the reception mode you want, then press the r button. 6. To exit the settings, press the l button several times or press one of the mode buttons. Checking Toner and Photoconductor Levels Epson Status Monitor 3 lets you monitor printing and displays information about your paper and toner status. Windows Note: Windows XP users ❏ Shared Windows XP LPR connections and shared Windows XP Standard TCP/IP connections with Windows clients do not support the Job Management function. ❏ EPSON Status Monitor 3 is not available when printing from a Remote Desktop connection. 8/05 Epson AcuLaser CX11N/CX11NF - 9
-
 1
1 -
2
-
3
-
 4
4 -
 5
5 -
 6
6 -
 7
7 -
 8
8 -
 9
9 -
 10
10 -
 11
11 -
 12
12 -
 13
13 -
 14
14 -
15
-
16
 |
 |