Epson PictureMate Pal - PM 200 Basics - Page 13
Do More With Your Photos, Choosing a Layout
 |
View all Epson PictureMate Pal - PM 200 manuals
Add to My Manuals
Save this manual to your list of manuals |
Page 13 highlights
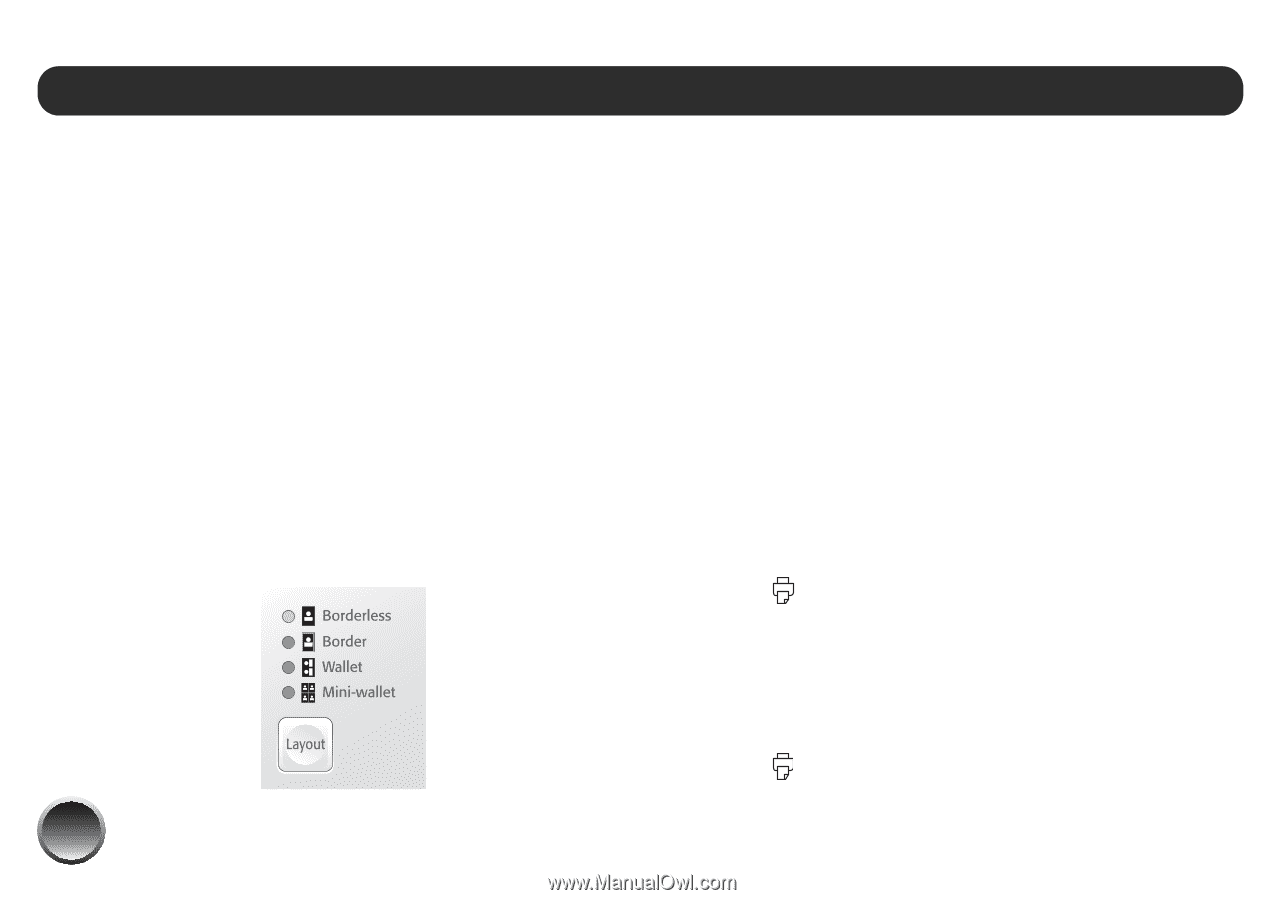
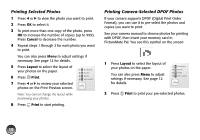
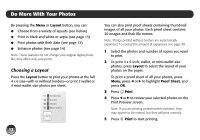
Do More With Your Photos By pressing the Menu or Layout button, you can: ● Choose from a variety of layouts (see below) ● Print in black and white or sepia (see page 13) ● Print photos with their date (see page 13) ● Enhance photos (see page 14) Note: These features do not change your original digital photo file; they affect only your prints. Choosing a Layout Press the Layout button to print your photos at the full 4 x 6 size-with or without borders-or print 2 wallet or 4 mini-wallet size photos per sheet. 12 You can also print proof sheets containing thumbnail images of all your photos. Each proof sheet contains 20 images and their file names. Note: Photos printed without borders are automatically expanded. To control the amount of expansion, see page 38. 1 Select the photos and number of copies you want to print. 2 To print 4 x 6-inch, wallet, or mini-wallet size photos, press Layout to select the layout of your photos on the paper. To print a proof sheet of all your photos, press Menu, press l or r to highlight Proof Sheet, and press OK. 3 Press Print. 4 Press l or r to review your selected photos on the Print Preview screen. Note: If you are printing portrait-oriented photos, they may appear to be rotated, but they will print correctly. 5 Press Print to start printing.
-
 1
1 -
2
-
3
-
4
-
5
-
6
-
7
-
 8
8 -
 9
9 -
 10
10 -
 11
11 -
 12
12 -
 13
13 -
 14
14 -
 15
15 -
 16
16 -
 17
17 -
 18
18 -
19
-
20
-
21
-
22
-
23
-
24
-
25
-
26
-
27
-
28
-
29
-
30
-
31
-
32
-
33
-
34
-
35
-
36
-
37
-
38
-
39
-
40
-
41
-
42
-
43
-
44
-
45
-
46
-
47
-
48
-
49
-
50
-
51
-
52
-
53
-
54
-
55
-
56
-
57
-
58
-
59
-
60
-
61
-
62
-
63
-
64
-
65
-
66
-
67
-
68
-
69
-
70
 |
 |