Garmin StreetPilot 2610 Owners Manual - Page 72
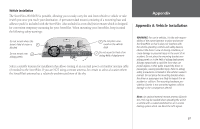
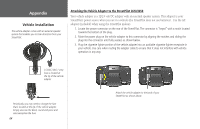
Vehicle Installation
 |
UPC - 753759042141
View all Garmin StreetPilot 2610 manuals
Add to My Manuals
Save this manual to your list of manuals |
Page 72 highlights
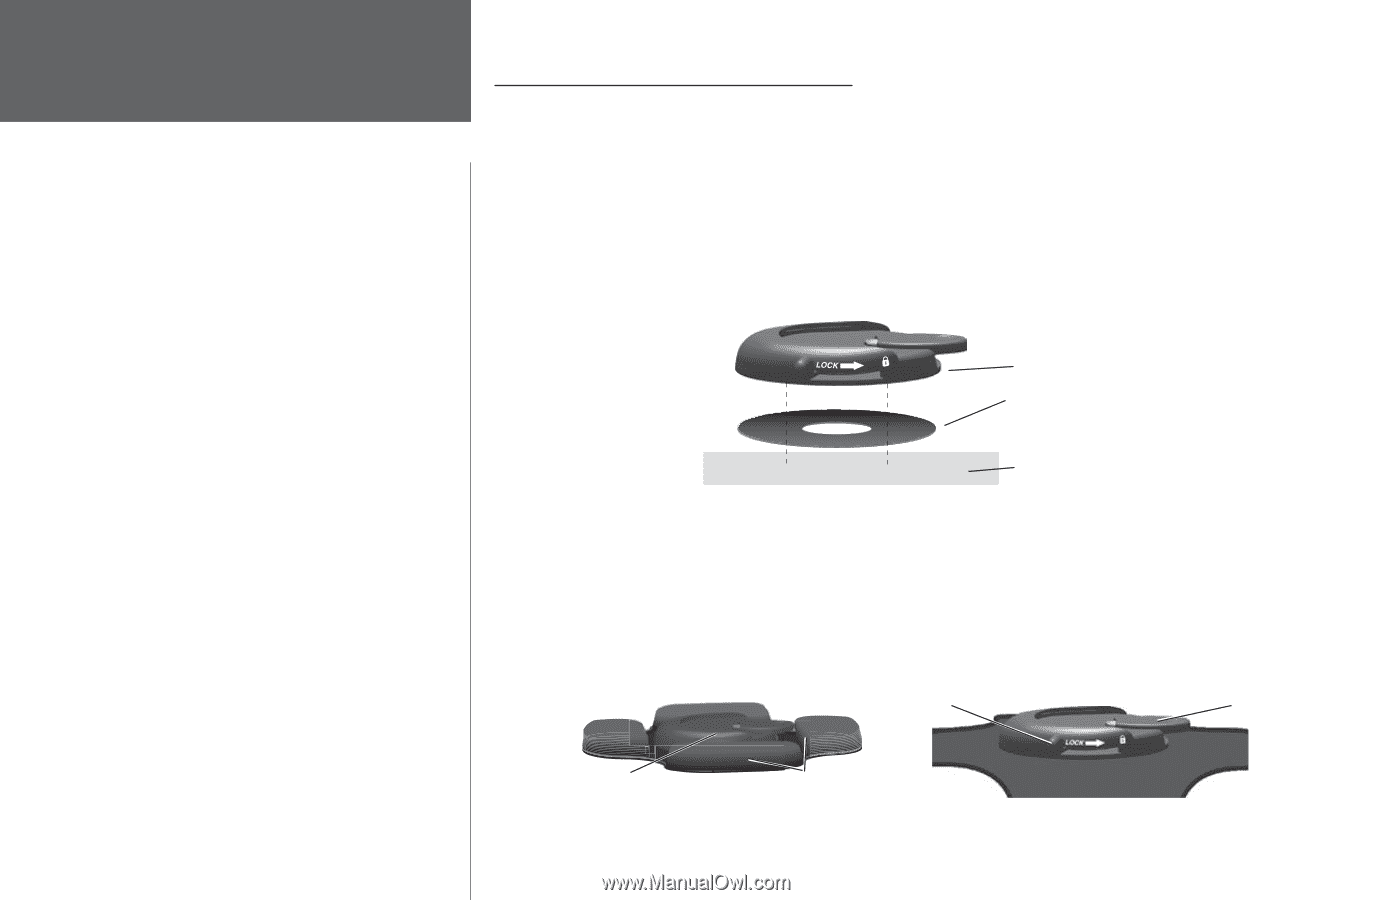
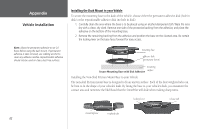
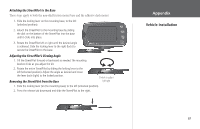
Appendix Vehicle Installation Note: Allow the permanent adhesive to set 24 hours before using the dash mount. If permanent adhesive is later removed, use rubbing alcohol to clean any adhesive residue. Repositionable adhesive should only be used on clean, dust-free surfaces. Installing the Dash Mount to your Vehicle To secure the mounting base to the dash of the vehicle, choose either the permanent adhesive disk (hole in disk) or the repositionable adhesive disk (no hole in disk). 1. Carefully clean the area where the base is to be placed using an alcohol-dampened cloth. Wipe the area dry with a clean, dry cloth. Remove one side of the protective backing from the adhesive, and place the adhesive on the bottom of the mounting base. 2. Remove the remaining backing from the adhesive and position the base on the cleaned area. Be certain the locking lever on the base faces forward for easy access. mounting base adhesive disk (permanent shown) mounting Secure Mounting Base with Disk Adhesive surface Installing the Non-Skid Friction Mount Base to your Vehicle The non-skid friction mount base is designed to fit an uneven surface. Each of the four weighted tabs can be bent to fit the shape of your vehicle's dash. By fitting the base to your vehicle's dash, you maximize the contact area and minimize the likelihood that the StreetPilot will slide when making sharp turns. locking lever release tab mounting base weighted tabs 62
-
 1
1 -
2
-
3
-
4
-
5
-
6
-
7
-
8
-
9
-
10
-
11
-
12
-
13
-
14
-
15
-
16
-
17
-
18
-
19
-
20
-
21
-
22
-
23
-
24
-
25
-
26
-
27
-
28
-
29
-
30
-
31
-
32
-
33
-
34
-
35
-
36
-
37
-
38
-
39
-
40
-
41
-
42
-
43
-
44
-
45
-
46
-
47
-
48
-
49
-
50
-
51
-
52
-
53
-
54
-
55
-
56
-
57
-
58
-
59
-
60
-
61
-
62
-
63
-
64
-
65
-
66
-
 67
67 -
 68
68 -
 69
69 -
 70
70 -
 71
71 -
 72
72 -
 73
73 -
 74
74 -
 75
75 -
 76
76 -
 77
77 -
78
-
79
-
80
-
81
-
82
-
83
-
84
-
85
-
86
-
87
-
88
-
89
-
90
-
91
-
92
-
93
-
94
-
95
 |
 |