HP 5100 HP LaserJet 5100 Series - Printer Maintenance Kit - Page 17
Step 4 Replace the Tray 2 and optional 250- sheet tray pickup roller, item 2
 |
UPC - 808736092500
View all HP 5100 manuals
Add to My Manuals
Save this manual to your list of manuals |
Page 17 highlights
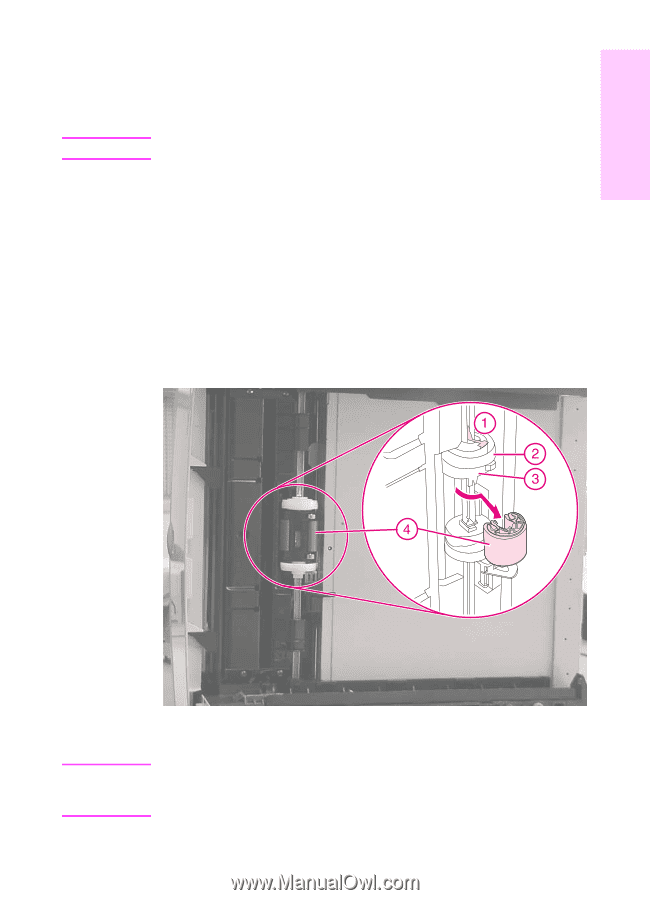
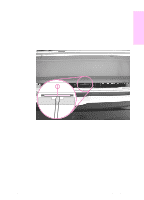
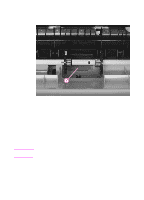
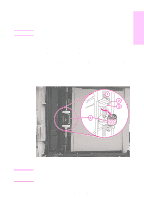
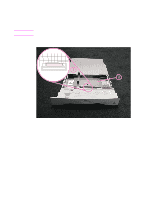
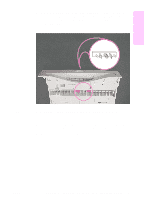
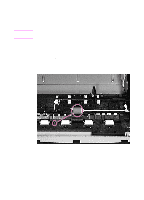
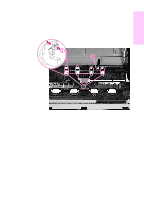
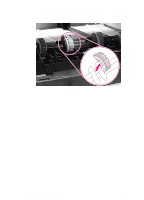
English Step 4 Replace the Tray 2 and optional 250sheet tray pickup roller Note Complete this procedure for any optional 250-sheet tray as well. 1 Remove the 250-sheet tray. 2 For Tray 2, carefully tilt the printer on its left side. -OrFor an optional 250-sheet tray, set the feeder upside down on the work surface. 3 Press the locking tab (Figure 9, item 1) on the white, side cam (item 2), and slide the cam and the black bushing (item 3) away from the roller (item 4). 4 Slide the roller between the two cams, rotate the roller 180 degrees, and then remove the roller from the shaft. Figure 9 Hint Removing the Tray 2 pickup roller (bottom of the printer) To reassemble the roller, orient the pin on the roller (item 4) so that it lines up with the hole in one of the side bushings (item 3). Slide the cam (item 2) toward the roller until the tab (item 1) snaps into place. ENWW Replace the Tray 2 and optional 250-sheet tray pickup roller 15
-
 1
1 -
2
-
3
-
4
-
5
-
6
-
7
-
8
-
9
-
10
-
11
-
 12
12 -
 13
13 -
 14
14 -
 15
15 -
 16
16 -
 17
17 -
 18
18 -
 19
19 -
 20
20 -
 21
21 -
 22
22 -
23
-
24
-
25
-
26
-
27
-
28
-
29
-
30
-
31
-
32
-
33
-
34
-
35
-
36
-
37
-
38
-
39
-
40
-
41
-
42
-
43
-
44
-
45
-
46
-
47
-
48
-
49
-
50
-
51
-
52
-
53
-
54
-
55
-
56
-
57
-
58
-
59
-
60
-
61
-
62
-
63
-
64
-
65
-
66
-
67
-
68
-
69
-
70
-
71
-
72
-
73
-
74
-
75
-
76
-
77
-
78
-
79
-
80
-
81
-
82
-
83
-
84
-
85
-
86
-
87
-
88
-
89
-
90
-
91
-
92
-
93
-
94
-
95
-
96
-
97
-
98
-
99
-
100
-
101
-
102
-
103
-
104
-
105
-
106
-
107
-
108
-
109
-
110
-
111
-
112
-
113
-
114
-
115
-
116
-
117
-
118
-
119
-
120
-
121
-
122
-
123
-
124
-
125
-
126
-
127
-
128
-
129
-
130
-
131
-
132
-
133
-
134
-
135
-
136
-
137
-
138
-
139
-
140
-
141
-
142
-
143
-
144
-
145
-
146
-
147
-
148
-
149
-
150
-
151
-
152
-
153
-
154
-
155
-
156
-
157
-
158
-
159
-
160
-
161
-
162
-
163
-
164
-
165
-
166
-
167
-
168
-
169
-
170
-
171
-
172
-
173
-
174
-
175
-
176
-
177
-
178
-
179
-
180
-
181
-
182
-
183
-
184
-
185
-
186
 |
 |