HP A6430f Advanced Setup Guide - Page 30
Type S audio card: See Using the Creative Sound Blaster X-Fi or X-Fi Fatality
 |
UPC - 883585738946
View all HP A6430f manuals
Add to My Manuals
Save this manual to your list of manuals |
Page 30 highlights
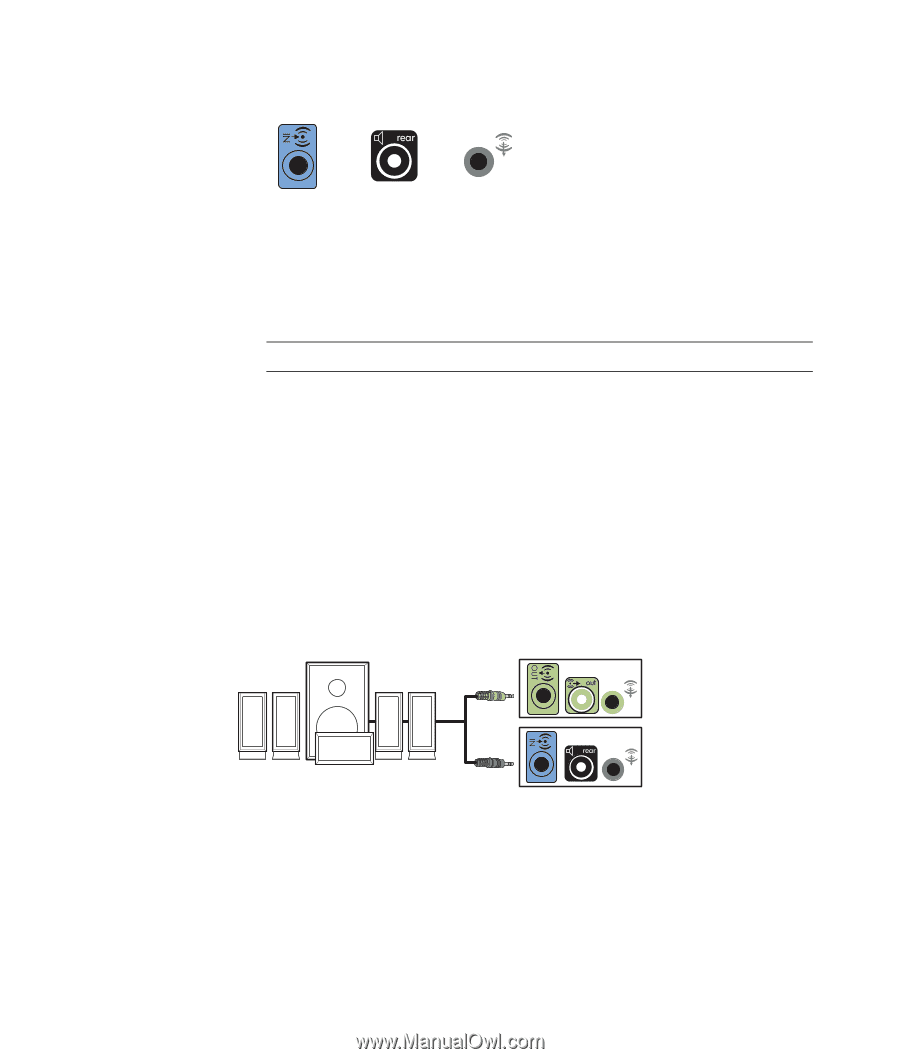
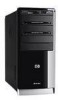
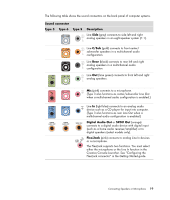
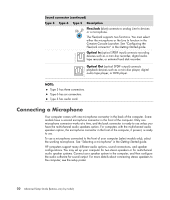
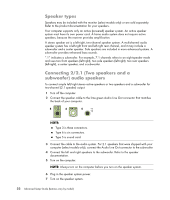
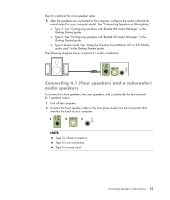
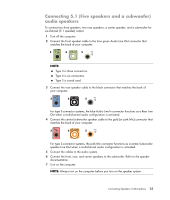
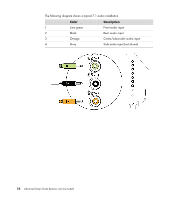
3 Connect the rear speaker cable to the black connector that matches the back of your computer. 3 6 S For type 3-connector systems, the blue Audio Line In connector functions as a Rear Line Out when a multichannel audio configuration is activated. 4 Connect the cables to the audio system. 5 Connect the front and rear speakers to the subwoofer. Refer to the speaker documentation. 6 Turn on the computer. NOTE: Always turn on the computer before you turn on the speaker system. 7 Plug in the speaker system power. 8 Turn on the speaker system. 9 After the speakers are connected to the computer, configure the audio software for sound output for your computer model. See "Configuring Speaker and Sound Options" in the Getting Started guide. Type 3: See "Configuring speakers with Realtek HD Audio Manager" in the Getting Started guide. Type 6: See "Configuring speakers with Realtek HD Audio Manager" in the Getting Started guide. Type S (audio card): See "Using the Creative Sound Blaster X-Fi or X-Fi Fatality audio card" in the Getting Started guide. The following diagram shows a typical 4.1 audio installation: 24 Advanced Setup Guide (features vary by model)
-
 1
1 -
2
-
3
-
4
-
5
-
6
-
7
-
8
-
9
-
10
-
11
-
12
-
13
-
14
-
15
-
16
-
17
-
18
-
19
-
20
-
21
-
22
-
23
-
24
-
 25
25 -
 26
26 -
 27
27 -
 28
28 -
 29
29 -
 30
30 -
 31
31 -
 32
32 -
 33
33 -
 34
34 -
 35
35 -
36
-
37
-
38
-
39
-
40
-
41
-
42
-
43
-
44
-
45
-
46
-
47
-
48
-
49
-
50
-
51
-
52
-
53
-
54
-
55
-
56
-
57
-
58
-
59
-
60
-
61
-
62
-
63
-
64
-
65
-
66
-
67
-
68
 |
 |