KitchenAid KEHU309SSS Use & Care Guide - Page 8
Settings, Sound Tones - filter
 |
UPC - 883049035307
View all KitchenAid KEHU309SSS manuals
Add to My Manuals
Save this manual to your list of manuals |
Page 8 highlights
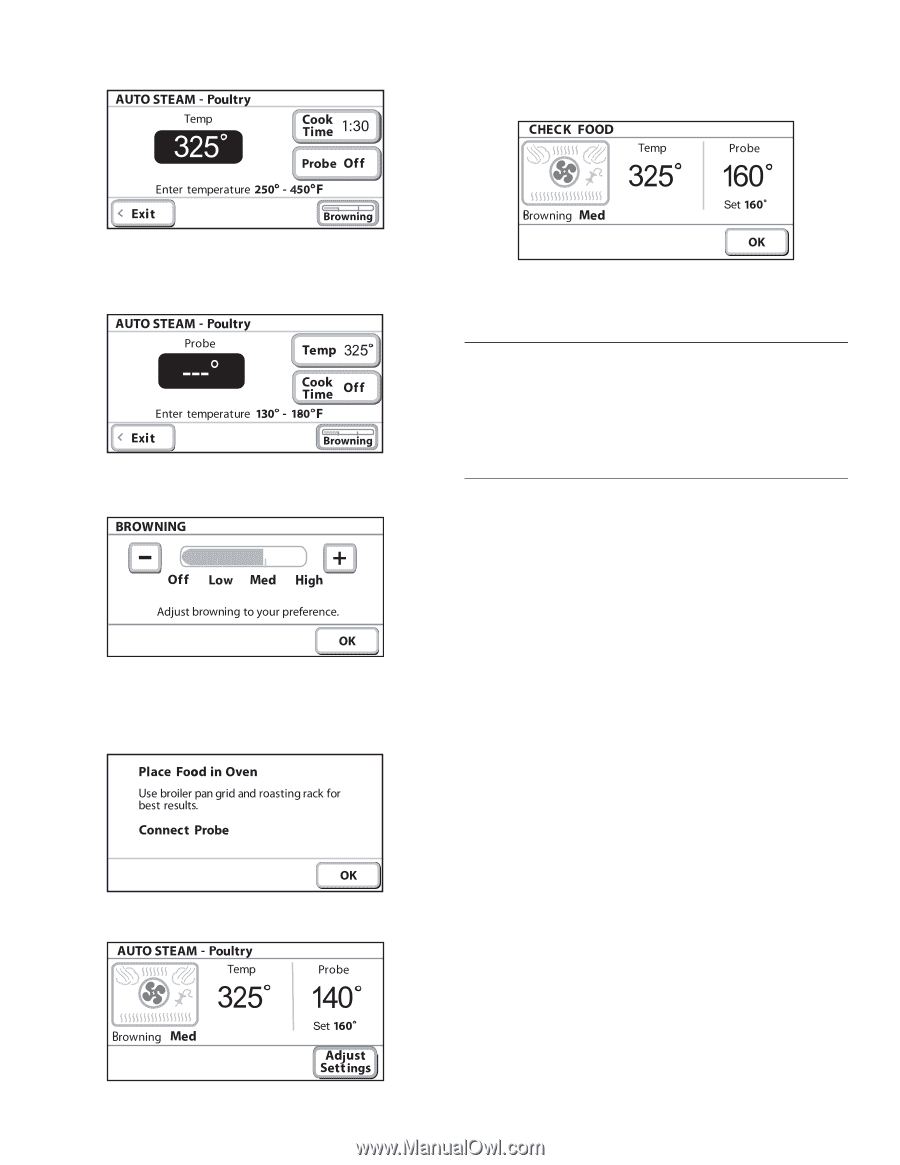
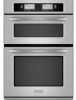
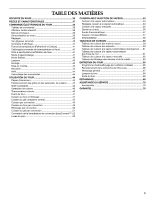
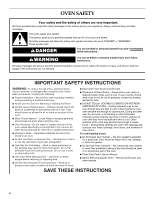
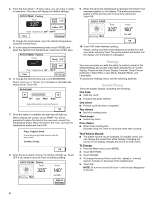
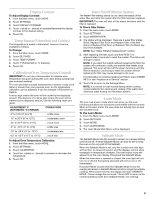
4. From the Auto Steam - Poultry menu, you can input a variety of selections. The menu will display the default settings. 9. When the set probe temperature is reached, the Check Food message appears on the display. The probe temperature begins to blink and the end of cycle tone will sound. Touch OK. To change the temperature, input the desired temperature using the number keys. 5. To cook using the temperature probe, touch PROBE and enter the desired food temperature, using the number keys. 6. To change the level of browning, touch BROWNING. Touch "plus" (+) or "minus" (-) to increase or decrease the desired level. Touch OK. 7. Once the setup is complete, the start key will light up. When settings are correct, touch START. You will be prompted to place the food in the oven and connect the temperature probe. Place the food in the oven, connect the temperature probe and touch OK. 8. Once the oven starts running, the Off key will light up. Touch OFF if you need to shut the oven off during cooking. 10. Touch OFF when finished cooking. Always unplug and remove the temperature probe from the oven when removing food. The probe symbol will remain lit in the display until the probe is unplugged. Settings Your oven provides you with the ability to control several of the default settings and access information through the on screen display. These include; Sound, Display Contrast, Temp Format, Calibration, Water Filter, Learn Mode, Sabbath Mode, and Languages. To access the Settings menu, see the following sections. Sound (Tones) Tones are audible signals, indicating the following: One beep ■ Valid key touch ■ Function has been entered One chime ■ Preheat cycle has been completed Two chimes ■ End of a cooking cycle Three beeps ■ Invalid key touch Four chimes ■ When timer reaches zero Includes using the Timer for functions other than cooking. Tone Volume (Sound) ■ The preset volume can be changed. On double ovens, you can change the sound from either display. Changing the sound on one display changes the sound for both ovens. To Change: 1. From the Main menu, touch MORE. 2. Touch SETTINGS. 3. Touch SOUND. 4. To change the sound level, touch the + (plus) or - (minus) signs to increase or decrease to the desired level. 5. Touch OK. NOTE: To turn the sound off touch - until the bar disappears to the left. 8
-
 1
1 -
2
-
 3
3 -
 4
4 -
 5
5 -
 6
6 -
 7
7 -
 8
8 -
 9
9 -
 10
10 -
 11
11 -
 12
12 -
 13
13 -
14
-
15
-
16
-
17
-
18
-
19
-
20
-
21
-
22
-
23
-
24
-
25
-
26
-
27
-
28
-
29
-
30
-
31
-
32
-
33
-
34
-
35
-
36
-
37
-
38
-
39
-
40
-
41
-
42
-
43
-
44
-
45
-
46
-
47
-
48
-
49
-
50
-
51
-
52
-
53
-
54
-
55
-
56
-
57
-
58
-
59
-
60
-
61
-
62
-
63
-
64
-
65
-
66
-
67
-
68
-
69
-
70
-
71
-
72
 |
 |