Kyocera FS-3540MFP Teaching Assistant Operation Guide (Setup) - Page 16
Setup - default password
 |
View all Kyocera FS-3540MFP manuals
Add to My Manuals
Save this manual to your list of manuals |
Page 16 highlights
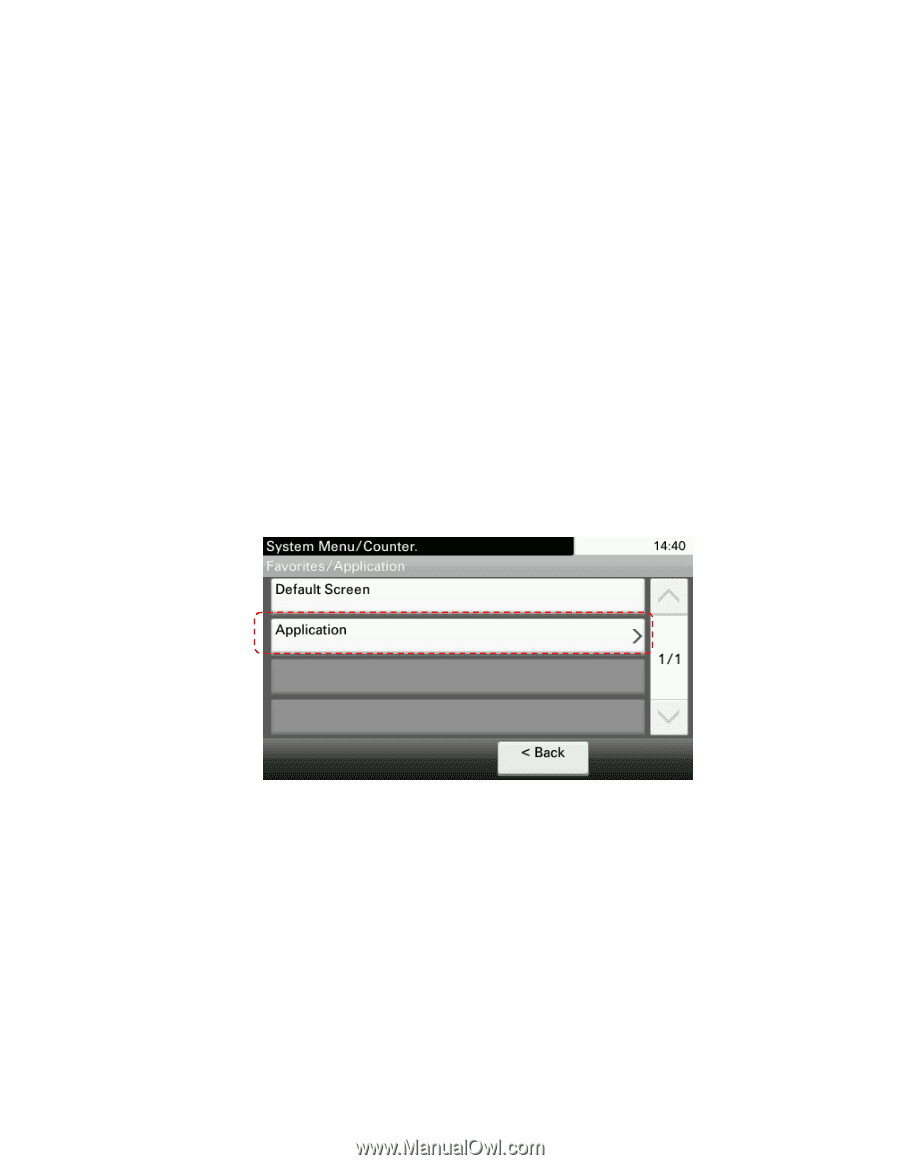
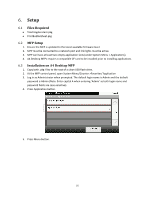
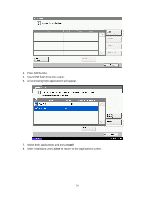
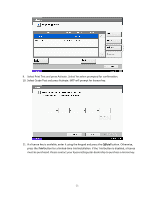
6. Setup 6.1 Files Required TeachingAssistant.pkg PrintBubbleSheet.pkg 6.2 MFP Setup 1. Ensure the MFP is updated to the latest available firmware level. 2. MFP must be connected to a network port and link lights must be active. 3. MFP can have at least two empty application slots (under System Menu > Applications). 4. A4 Desktop MFPs require a compatible CF-card to be installed prior to installing applications. 6.3 Installation on A4 Desktop MFP 1. Copy both .pkg files to the root of a clean USB flash drive. 2. At the MFP control panel, open System Menu/Counter >Favorites/ Application 3. Log in as Administrator when prompted. The default login name is Admin and the default password is Admin (Note: Enter capital A when entering 'Admin' as both login name and password fields are case-sensitive). 4. Press Application button. 5. Press Menu button. 16
-
 1
1 -
2
-
3
-
4
-
5
-
6
-
7
-
8
-
9
-
10
-
 11
11 -
 12
12 -
 13
13 -
 14
14 -
 15
15 -
 16
16 -
 17
17 -
 18
18 -
 19
19 -
 20
20 -
 21
21 -
22
-
23
-
24
-
25
-
26
-
27
 |
 |