Kyocera KM-5530 Print System Q Operators Guide (Setup) - Page 9
Set-up
 |
View all Kyocera KM-5530 manuals
Add to My Manuals
Save this manual to your list of manuals |
Page 9 highlights
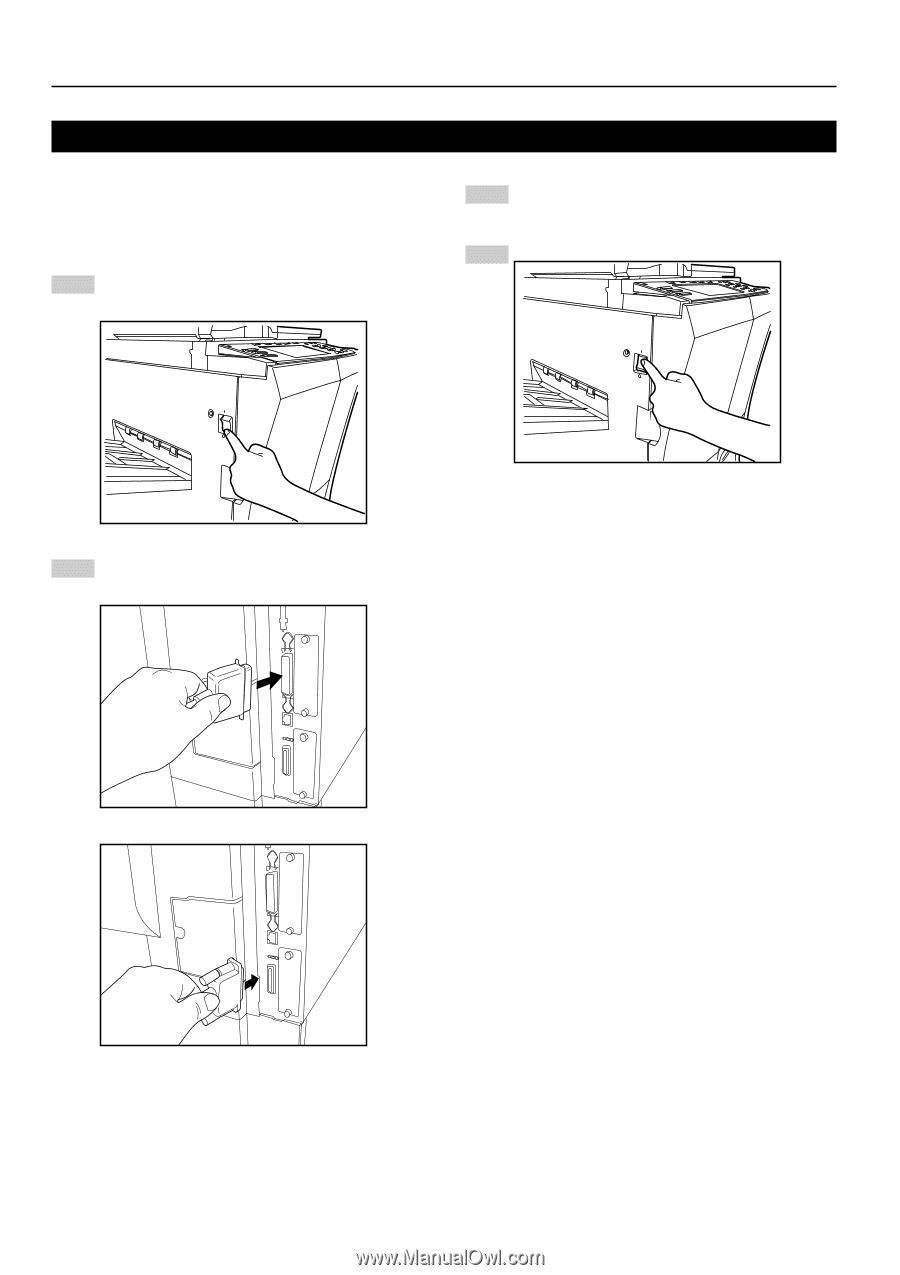
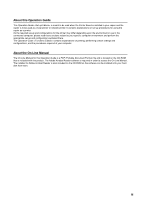
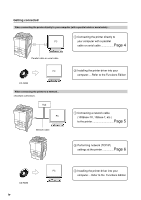
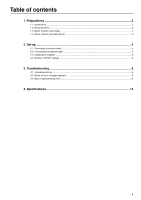
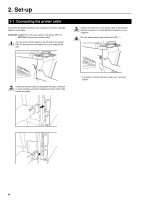
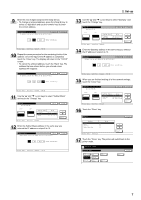
2. Set-up 2-1 Connecting the printer cable To connect the printer directly to your computer, use either a parallel cable or serial cable. CAUTION: ALWAYS turn the main switch to the printer OFF (O) BEFORE connecting the printer cable. 1 Turn the main switch located on the left side of the printer OFF (O) and then turn the power off to your computer as well. 3 Connect the other end of the printer cable to the parallel interface connector or serial interface connector on your computer. 4 Turn the main switch to the printer back ON ( | ). 2 Connect the printer cable to the parallel interface connector or serial interface connector located at the back of the right side of the printer. * For details on printer interface setup, see "Functions Edition". 4
-
 1
1 -
2
-
3
-
 4
4 -
 5
5 -
 6
6 -
 7
7 -
 8
8 -
 9
9 -
 10
10 -
 11
11 -
 12
12 -
 13
13 -
 14
14 -
15
-
16
-
17
-
18
-
19
-
20
-
21
-
22
-
23
-
24
-
25
-
26
-
27
-
28
-
29
-
30
-
31
-
32
-
33
-
34
-
35
-
36
-
37
-
38
-
39
-
40
-
41
-
42
-
43
-
44
-
45
-
46
-
47
-
48
-
49
-
50
-
51
-
52
-
53
-
54
-
55
-
56
 |
 |