Lexmark Forms Printer 2581 Quick Reference - Page 31
Setting Top-of-Form, Setting Top-Of-Form for continuous forms in push mode
 |
View all Lexmark Forms Printer 2581 manuals
Add to My Manuals
Save this manual to your list of manuals |
Page 31 highlights
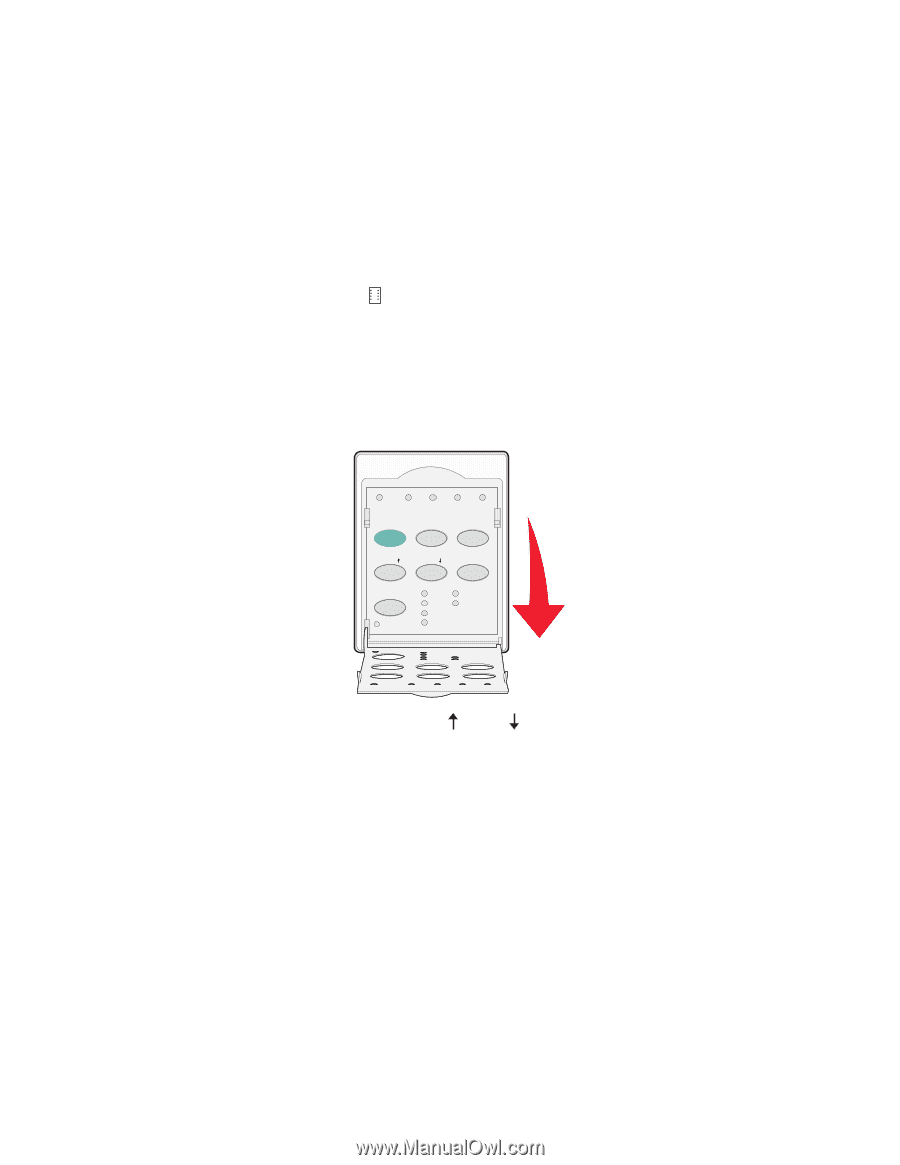
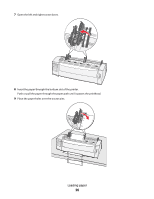
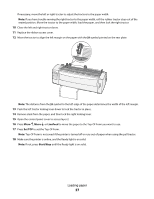
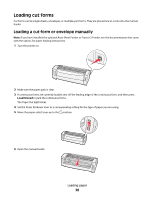
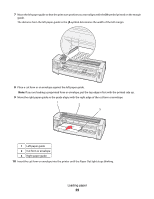
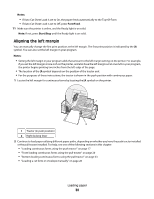
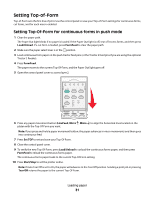
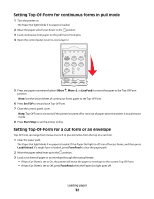
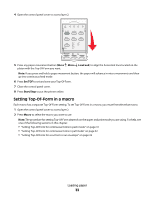
Setting Top-of-Form Top-of-Form sets the first line of print. Use the control panel to save your Top-of-Form settings for continuous forms, cut forms, and for each macro enabled. Setting Top-Of-Form for continuous forms in push mode 1 Clear the paper path. The Paper Out light blinks if no paper is loaded. If the Paper Out light is off, tear off excess forms, and then press Load/Unload. If a cut form is loaded, press FormFeed to clear the paper path. 2 Make sure the paper select lever is in the position. 3 Load continuous form paper on the push tractor feed pins (or the Tractor 2 feed pins if you are using the optional Tractor 2 Feeder). 4 Press FormFeed. The paper moves to the current Top-Of-Form, and the Paper Out light goes off. 5 Open the control panel cover to access layer 2. 1 2 3 4 Power Set TOF LineFeed Macro Micro Micro Setup Pitch Lock 10 20 12 24 15 17 6 Press any paper movement button (LineFeed, Micro , Micro ) to align the horizontal lines located on the platen with the Top-Of-Form you want. Note: If you press and hold a paper movement button, the paper advances in micro movements and then goes into continuous feed. 7 Press Set TOF to set and save your Top-Of-Form. 8 Close the control panel cover. 9 To verify the new Top-Of-Form, press Load/Unload to unload the continuous forms paper, and then press FormFeed to reload the continuous forms paper. The continuous forms paper loads to the current Top-Of-Form setting. 10 Press Start/Stop to set the printer online. Note: If Auto Tear Off is set to On, the paper will advance to the Tear Off position. Sending a print job or pressing Tear Off returns the paper to the current Top-Of-Form. Loading paper 31
-
 1
1 -
2
-
3
-
4
-
5
-
6
-
7
-
8
-
9
-
10
-
11
-
12
-
13
-
14
-
15
-
16
-
17
-
18
-
19
-
20
-
21
-
22
-
23
-
24
-
25
-
 26
26 -
 27
27 -
 28
28 -
 29
29 -
 30
30 -
 31
31 -
 32
32 -
 33
33 -
 34
34 -
 35
35 -
 36
36 -
37
-
38
-
39
-
40
-
41
-
42
-
43
-
44
-
45
-
46
-
47
-
48
-
49
 |
 |