Lexmark X6675 Fax Guide - Page 31
Printer receives a blank fax, Received fax has poor print quality - ink cartridge
 |
View all Lexmark X6675 manuals
Add to My Manuals
Save this manual to your list of manuals |
Page 31 highlights
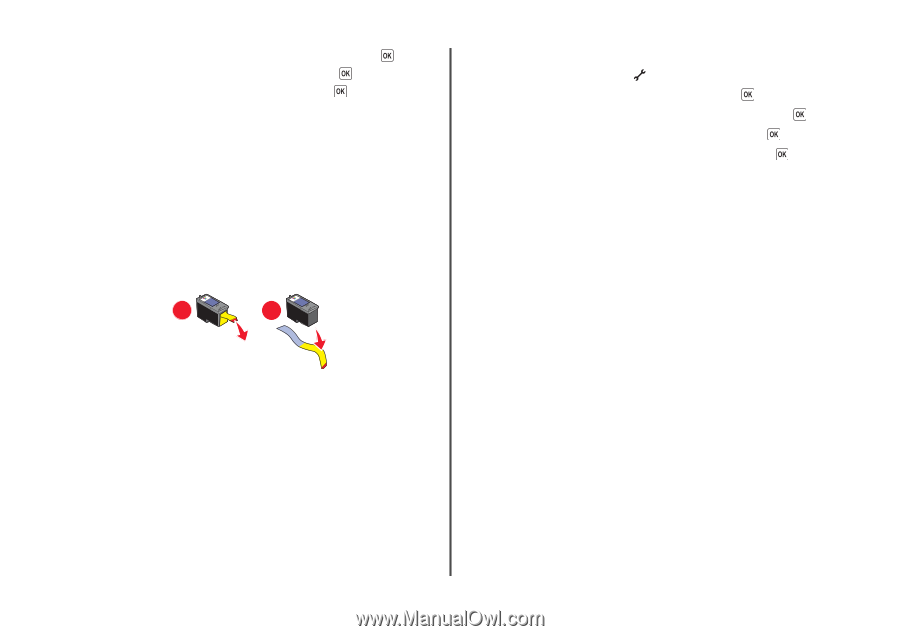
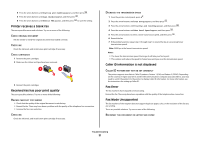
4 Press the arrow buttons until Dialing and Sending appears, and then press . 5 Press the arrow buttons until Dial Method appears, and then press . 6 Press the arrow buttons until Behind PBX appears, and then press to save the setting. Printer receives a blank fax These are possible causes and solutions. Try one or more of the following: CHECK ORIGINAL DOCUMENT Ask the sender to verify the original document was loaded correctly. CHECK INK Check the ink levels, and install a new print cartridge if necessary. CHECK CARTRIDGES 1 Remove the print cartridges. 2 Make sure the sticker and tape have been removed. 1 2 3 Reinsert the print cartridges. Received fax has poor print quality These are possible solutions. Try one or more of the following: REVIEW CHECKLIST FOR SENDER • Check that the quality of the original document is satisfactory. • Resend the fax. There may have been a problem with the quality of the telephone line connection. • Increase the fax scan resolution. CHECK INK Check the ink levels, and install a new print cartridge if necessary. DECREASE THE TRANSMISSION SPEED 1 From the printer control panel, press . 2 Press the arrow buttons until Fax Setup appears, and then press . 3 Press the arrow buttons until Dialing and Sending appears, and then press . 4 Press the arrow buttons until Max Send Speed appears, and then press . 5 Press the arrow buttons to select a lower transmission speed, and then press . 6 Resend the fax. 7 If the problem persists, repeat step 1 through step 5 to resend the fax at successively lower transmission speeds. Note: 2400 bps is the lowest transmission speed. Notes: • The lower the transmission speed, the longer it will take your fax to print. • This solution will reduce the speed for future faxes until you reset the transmission speed. Caller ID information is not displayed CALLER ID PATTERN MAY NOT BE SET CORRECTLY The printer supports two distinct Caller ID patterns: Pattern 1 (FSK) and Pattern 2 (DTMF). Depending on the country or region you live in and the telecommunications company you subscribe to, you may need to switch the pattern for the printer to display Caller ID information. For more information, see the instructions for setting up Caller ID. Fax Error The fax machines have stopped communicating. Resend the fax. There may have been a problem with the quality of the telephone line connection. Fax Mode Unsupported The fax machine of the recipient does not support legal-size paper, color, or the resolution of the fax you are sending. These are possible solutions. Try one or more of the following: REFORMAT THE DOCUMENT ON LETTER-SIZE PAPER Troubleshooting 31
-
 1
1 -
2
-
3
-
4
-
5
-
6
-
7
-
8
-
9
-
10
-
11
-
12
-
13
-
14
-
15
-
16
-
17
-
18
-
19
-
20
-
21
-
22
-
23
-
24
-
25
-
 26
26 -
 27
27 -
 28
28 -
 29
29 -
 30
30 -
 31
31 -
 32
32 -
 33
33 -
 34
34
 |
 |