Netgear RND2150 RND2110 Setup Manual - Page 6
Installing the RAIDar Widget on Mac OS X, Detecting and Accessing Your ReadyNAS Device - power
 |
UPC - 606449056822
View all Netgear RND2150 manuals
Add to My Manuals
Save this manual to your list of manuals |
Page 6 highlights
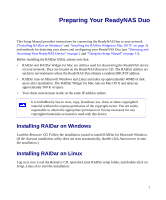
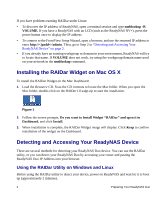
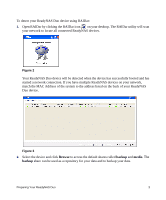
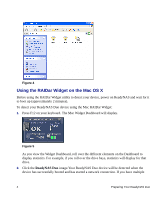
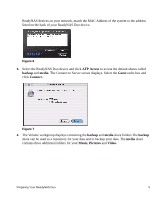
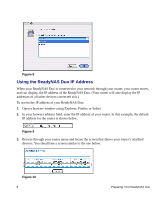
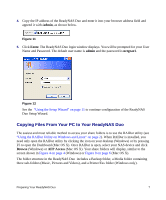
If you have problems running RAIDar under Linux: • To discover the IP address of ReadyNAS, open a terminal session and type nmblookup -R VOLUME. If you have a ReadyNAS with an LCD (such as the ReadyNAS NV+), press the power button once to display the IP address. • To connect to the FrontView Setup Wizard, open a browser, and use the returned IP address to enter http:///admin. Then, go to Step 2 in "Detecting and Accessing Your ReadyNAS Device" on page 2. • If you already have an existing workgroup or domain in your environment, ReadyNAS will try to locate that name. If VOLUME does not work, try using the workgroup/domain name used on your network in the nmblookup command. Installing the RAIDar Widget on Mac OS X To install the RAIDar Widget on the Mac Dashboard: 1. Load the Resource CD. Scan the CD contents to locate the Mac folder. When you open the Mac folder, double-click on the RAIDar1.0.wdgt.zip to start the installation. Figure 1 2. Follow the screen prompts, Do you want to Install Widget "RAIDar" and open it in Dashboard, and click Install. 3. When installation is complete, the RAIDar Widget image will display. Click Keep to confirm installation of the widget on the Dashboard. Detecting and Accessing Your ReadyNAS Device There are several methods for detecting your ReadyNAS Duo device. You can use the RAIDar utility, or you can detect your ReadyNAS Duo by accessing your router and pasting the ReadyNAS Duo IP Address into your browser. Using the RAIDar Utility on Windows and Linux Before using the RAIDar utility to detect your device, power on ReadyNAS and wait for it to boot up (approximately 2 minutes). 2 Preparing Your ReadyNAS Duo
-
 1
1 -
 2
2 -
 3
3 -
 4
4 -
 5
5 -
 6
6 -
 7
7 -
 8
8 -
 9
9 -
 10
10 -
 11
11 -
 12
12 -
13
-
14
-
15
-
16
-
17
-
18
-
19
-
20
-
21
-
22
-
23
-
24
-
25
-
26
-
27
-
28
-
29
-
30
-
31
-
32
 |
 |