Optoma EH7700 User Guide - Page 46
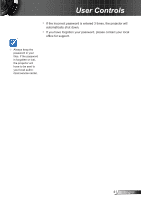
How to use web browser to control your projector, display as below
 |
View all Optoma EH7700 manuals
Add to My Manuals
Save this manual to your list of manuals |
Page 46 highlights
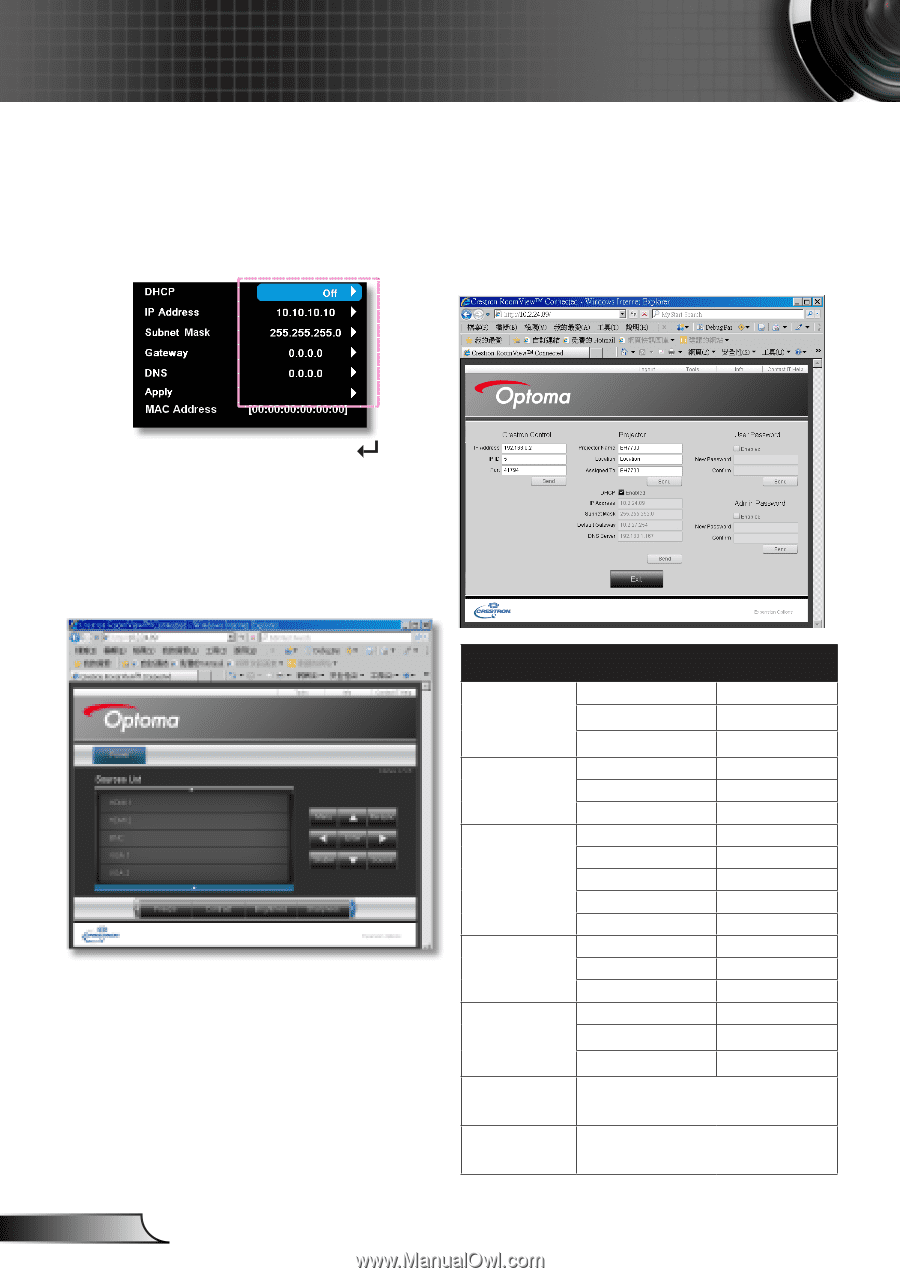
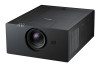
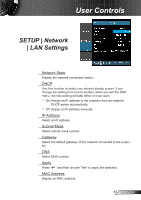
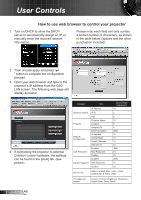
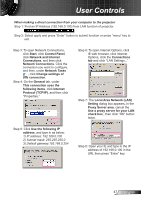
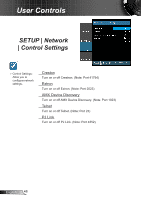
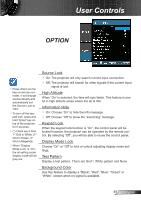
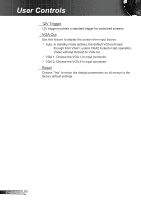
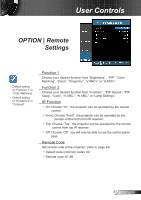
User Controls How to use web browser to control your projector 1. Turn on DHCP to allow the DHCP server to automatically assign an IP, or manually enter the required network information. Please note, each field can only contain a limited number of characters, as shown in the table below. (spaces and the other punctuation included): 2. Then choose apply and press " " button to complete the configuration process. 3. Open your web browser and type in the projector's IP address from the OSD LAN screen. The following web page will display as below: 4. If connecting the projector to external Crestron control hardware, the settings can be found in the [tools] tab. (see picture). Category Item Crestron Control Projector Network Configuration User Password Admin Password IP Address IP ID Port Projector Name Location Assigned To DHCP (Enabled) IP Address Subnet Mask Default Gateway DNS Server Enabled New Password Confirm Enabled New Password Confirm Input-Length (characters) 15 2 5 10 9 9 (N/A) 15 15 15 15 (N/A) 15 15 (N/A) 15 15 Source List HDMI1, HDMI2, BNC, VGA1, VGA2, Component, S-Video, Video. The adjust list bottom Freeze, Contrast, Brightness, Sharpness, Digital Zoom, Zoom, Focus. English 46
-
 1
1 -
2
-
3
-
4
-
5
-
6
-
7
-
8
-
9
-
10
-
11
-
12
-
13
-
14
-
15
-
16
-
17
-
18
-
19
-
20
-
21
-
22
-
23
-
24
-
25
-
26
-
27
-
28
-
29
-
30
-
31
-
32
-
33
-
34
-
35
-
36
-
37
-
38
-
39
-
40
-
 41
41 -
 42
42 -
 43
43 -
 44
44 -
 45
45 -
 46
46 -
 47
47 -
 48
48 -
 49
49 -
 50
50 -
 51
51 -
52
-
53
-
54
-
55
-
56
-
57
-
58
-
59
-
60
-
61
-
62
-
63
-
64
-
65
-
66
-
67
-
68
-
69
-
70
-
71
-
72
-
73
-
74
-
75
-
76
-
77
-
78
-
79
-
80
-
81
 |
 |