Optoma TS725 User Manual - Page 39
Setup | Advanced
 |
View all Optoma TS725 manuals
Add to My Manuals
Save this manual to your list of manuals |
Page 39 highlights
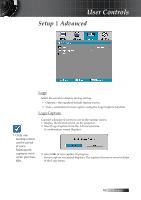
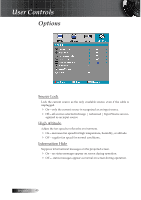
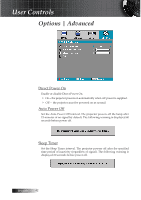
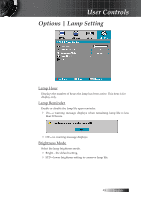
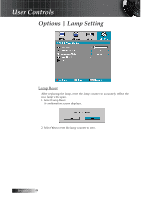
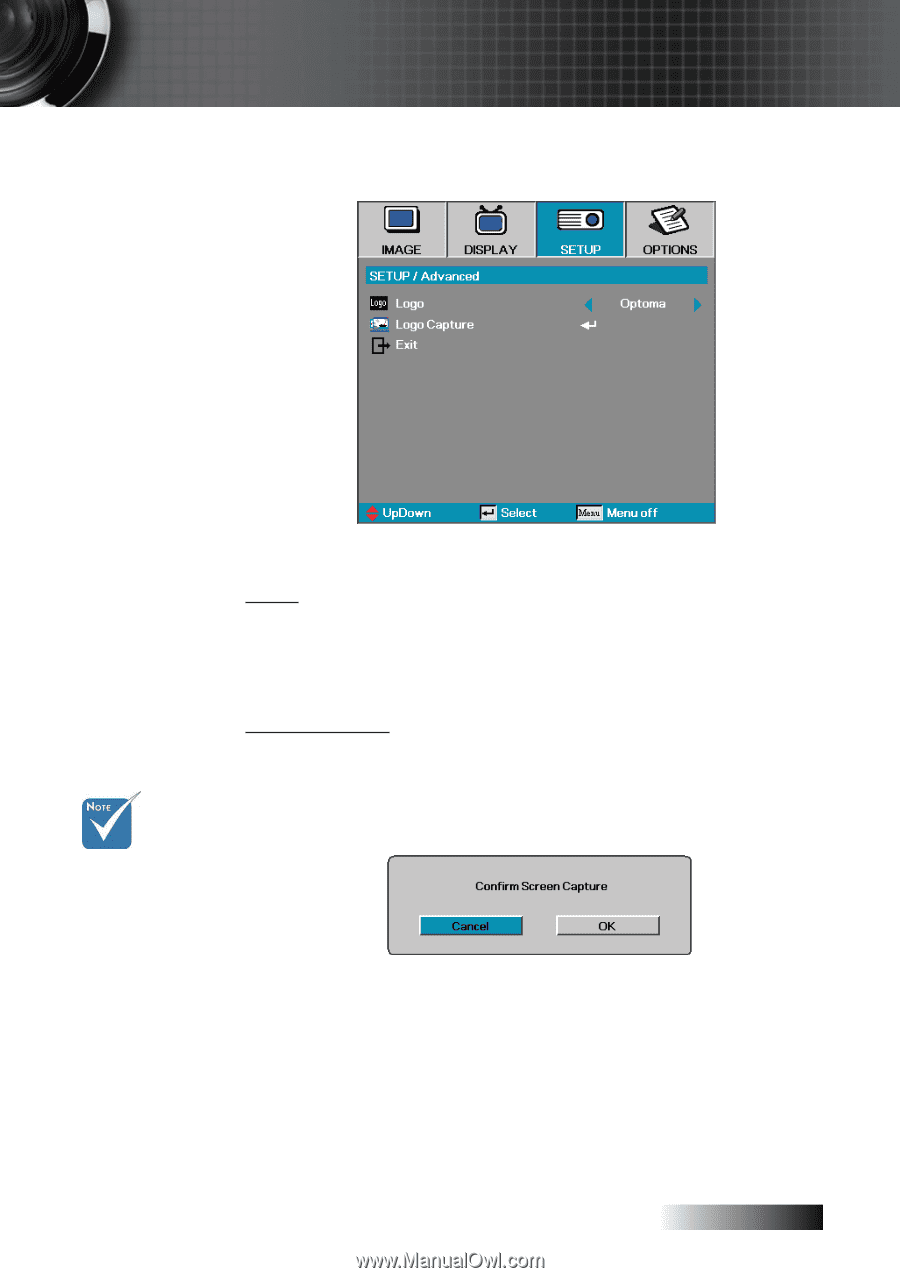
User Controls Setup | Advanced Logo Select the screen to display during startup. 4 Optoma-the supplied default startup screen. 4 User-customized screen capture using the Logo Capture function. Logo Capture v Only one startup screen can be saved at once. Subsequent captures overwrite previous files. Capture a displayed screen to use as the startup screen. 1. Display the desired screen on the projector. 2. Select Logo Capture from the Advanced menu. A confirmation screen displays. 3. Select OK. Screen capture in progress. Screen capture succeeded displays. The captured screen is saved as User in the Logo menu. 39 English
-
 1
1 -
2
-
3
-
4
-
5
-
6
-
7
-
8
-
9
-
10
-
11
-
12
-
13
-
14
-
15
-
16
-
17
-
18
-
19
-
20
-
21
-
22
-
23
-
24
-
25
-
26
-
27
-
28
-
29
-
30
-
31
-
32
-
33
-
 34
34 -
 35
35 -
 36
36 -
 37
37 -
 38
38 -
 39
39 -
 40
40 -
 41
41 -
 42
42 -
 43
43 -
 44
44 -
45
-
46
-
47
-
48
-
49
-
50
-
51
-
52
-
53
-
54
-
55
-
56
-
57
-
58
-
59
-
60
-
61
-
62
-
63
 |
 |
English
³¹
User Controls
Setup | Advanced
Logo
Select the screen to display during startup.
4
Optoma—the supplied default startup screen.
4
User—customized screen capture using the Logo Capture function.
Logo Capture
Capture a displayed screen to use as the startup screen.
1. Display the desired screen on the projector.
2. Select Logo Capture from the Advanced menu.
A confirmation screen displays.
3. Select
OK
. Screen capture in progress.
Screen capture succeeded displays. The captured screen is saved as
User
in the Logo menu.
v
Only one
startup screen
can be saved
at once.
Subsequent
captures over-
write previous
files.