Sharp ER-A450T Dealer Knowledge Book - Page 12
Sending to the ER-A450T - er a450
 |
View all Sharp ER-A450T manuals
Add to My Manuals
Save this manual to your list of manuals |
Page 12 highlights
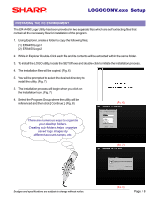
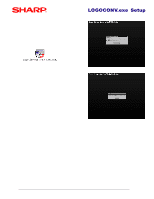
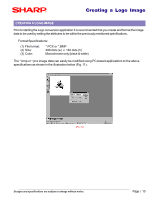
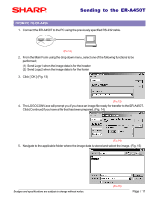
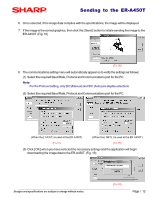
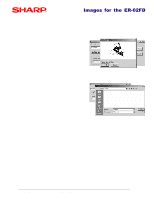
Sending to the ER-A450T FROM PC TO ER-A450 1. Connect the ER-A450T to the PC using the previously specified RS-232 cable. Channel No. Channel No. Port1(CH8) Port2(CH1) RS232 cable PC (FIG.12) 2. From the Main Form using the drop down menu, select one of the following functions to be performed; (1) Send Logo1 when the image data is for the header (2) Send Logo2 when the image data is for the footer 3. Click [ OK ] (Fig. 13) (FIG.13) 4. The LOGOCONV.exe will prompt you if you have an image file ready for transfer to the ER-A450T. Click [Continue] if you have a file that has been prepared. (Fig. 14) (FIG.14) 5. Navigate to the applicable folder where the image data is stored and select the image. (Fig. 15) Designs and specifications are subject to change without notice. (FIG.15) Page / 11
-
 1
1 -
2
-
3
-
4
-
5
-
6
-
 7
7 -
 8
8 -
 9
9 -
 10
10 -
 11
11 -
 12
12 -
 13
13 -
 14
14 -
 15
15 -
 16
16 -
 17
17 -
18
 |
 |
