Sharp ER-A450T Dealer Knowledge Book - Page 9
LOGOCONV.exe Setup - help
 |
View all Sharp ER-A450T manuals
Add to My Manuals
Save this manual to your list of manuals |
Page 9 highlights
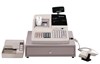
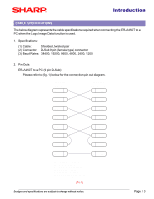
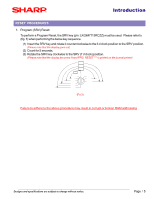
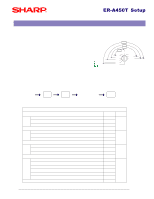
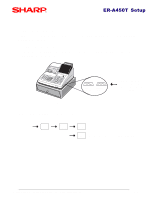
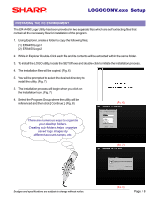
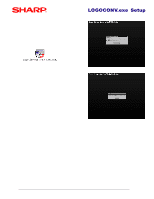
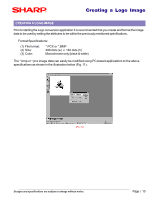
LOGOCONV.exe Setup PREPARING THE PC ENVIRONMENT The ER-A450 Logo Utility has been provided in two separate files which are self extracting files that contain all the necessary files for installation of the program. 1. Using Explorer, create a folder to copy the following files; (1) ERA450Logo1 (2) ERA450Logo2 2. While in Explorer Double-Click each file and its contents will be extracted within the same folder. 3. To install the LOGO utility, locate the SETUP.exe and double-click to initiate the installation process. 4. The installation files will be copied. (Fig. 6) 5. You will be prompted to select the desired directory to install the utility. (Fig. 7) 3. The installation process will begin when you click on the Installation Icon. (Fig. 7) 4. Select the Program Group where the utility will be referenced and then click [ Continue ]. (Fig. 8) (FIG. 6) There are numerous ways to organize your desktop folders. Creating sub-folders helps organize saved logo images by different account names, etc. (FIG. 7) Designs and specifications are subject to change without notice. (FIG. 8) Page / 8
-
 1
1 -
2
-
3
-
 4
4 -
 5
5 -
 6
6 -
 7
7 -
 8
8 -
 9
9 -
 10
10 -
 11
11 -
 12
12 -
 13
13 -
 14
14 -
15
-
16
-
17
-
18
 |
 |