Singer CE-150 Futura Instruction Manual - Page 78
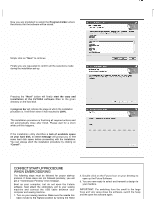
Correct Start-up Procedure, When Embroidering - software
 |
View all Singer CE-150 Futura manuals
Add to My Manuals
Save this manual to your list of manuals |
Page 78 highlights
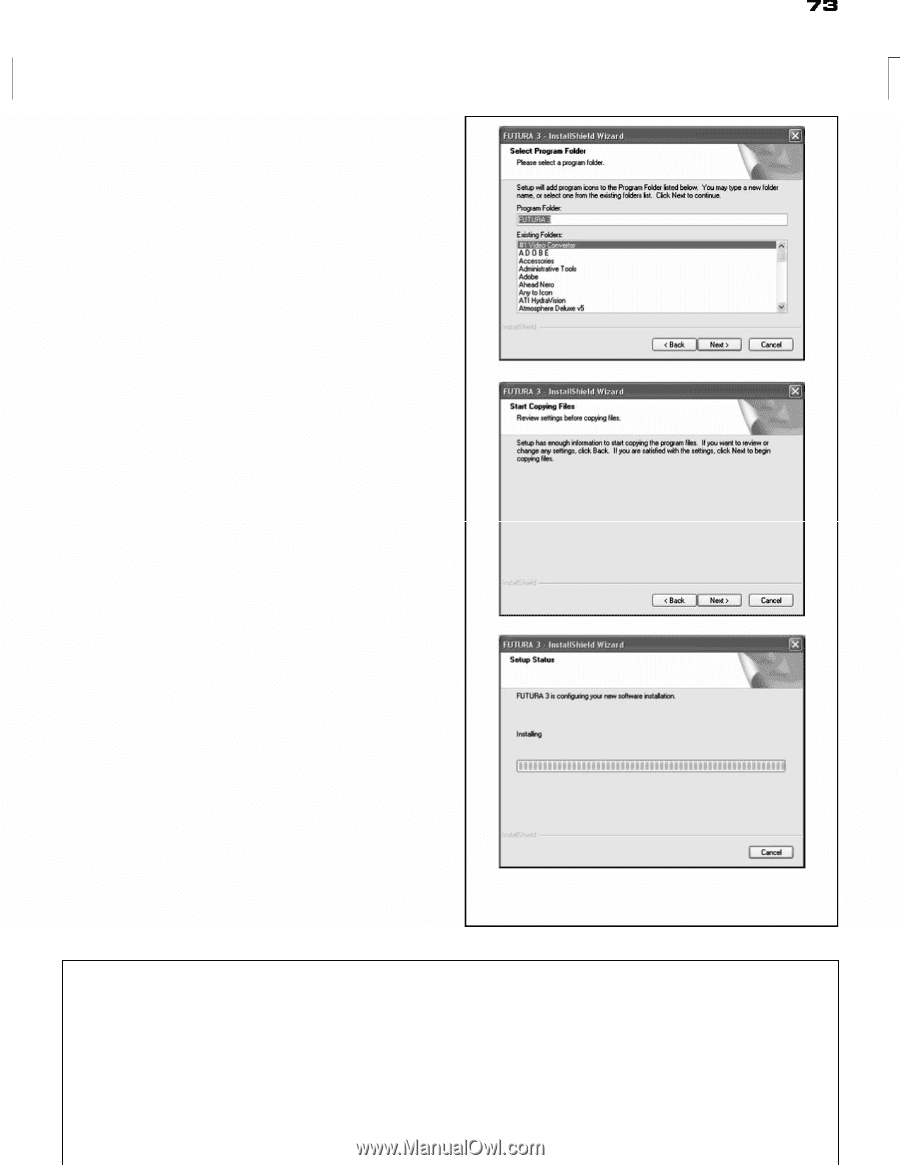
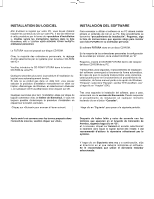
Now you are prompted to select the Program Folder where the shortcut for the software will be stored. Simply click on "Next" to continue. Finally you are requested to confirm all the selections made during the installation set-up. Pressing the "Next" button will finally start the copy and installation of the FUTURA software files to the given directory on the hard disk. A progress bar will indicate the stage at which the installation procedure is. It will finish when it has reached to 100%. The installation procedure is finalizing all required actions and will automatically close after finish. Please wait for a short while until this happens. If the installation utility identifies a lack of available space on your hard disk, an error message will prompt you to free some hard disk space before proceeding with the installation. You can always abort the installation procedure by clicking on "Cancel". CORRECT START-UP PROCEDURE WHEN EMBROIDERING The following steps must be followed for proper start-up protocol. If these steps are not followed precisely, you will get a "Transmission Pending" error message. Boot up your computer, but do not open the Futura software. Next attach the embroidery unit to your sewing machine and connect the USB cable between your computer and sewing machine. 1. Turn on your sewing machine. Make sure the needle has been moved to the highest position by turning the Hand 4. Double click on the Futura Icon on your desktop to open up the Futura Software. 5. You are now ready to select and transmit a design to your machine. IMPORTANT: For switching from the small to the large hoop and vice versa close the software, switch the hoop and the open the software again.
-
 1
1 -
2
-
3
-
4
-
5
-
6
-
7
-
8
-
9
-
10
-
11
-
12
-
13
-
14
-
15
-
16
-
17
-
18
-
19
-
20
-
21
-
22
-
23
-
24
-
25
-
26
-
27
-
28
-
29
-
30
-
31
-
32
-
33
-
34
-
35
-
36
-
37
-
38
-
39
-
40
-
41
-
42
-
43
-
44
-
45
-
46
-
47
-
48
-
49
-
50
-
51
-
52
-
53
-
54
-
55
-
56
-
57
-
58
-
59
-
60
-
61
-
62
-
63
-
64
-
65
-
66
-
67
-
68
-
69
-
70
-
71
-
72
-
 73
73 -
 74
74 -
 75
75 -
 76
76 -
 77
77 -
 78
78 -
 79
79 -
 80
80 -
 81
81 -
 82
82 -
 83
83 -
84
-
85
-
86
-
87
-
88
-
89
-
90
-
91
-
92
-
93
-
94
-
95
-
96
-
97
-
98
-
99
-
100
-
101
-
102
-
103
-
104
-
105
-
106
-
107
-
108
-
109
-
110
-
111
-
112
-
113
-
114
-
115
-
116
-
117
-
118
-
119
-
120
-
121
-
122
-
123
-
124
-
125
-
126
-
127
 |
 |