Sony DPP-FP35 Operating Instructions
Sony DPP-FP35 Manual
 |
View all Sony DPP-FP35 manuals
Add to My Manuals
Save this manual to your list of manuals |
Sony DPP-FP35 manual content summary:
- Sony DPP-FP35 | Operating Instructions - Page 1
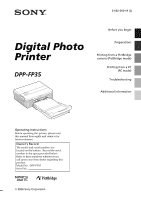
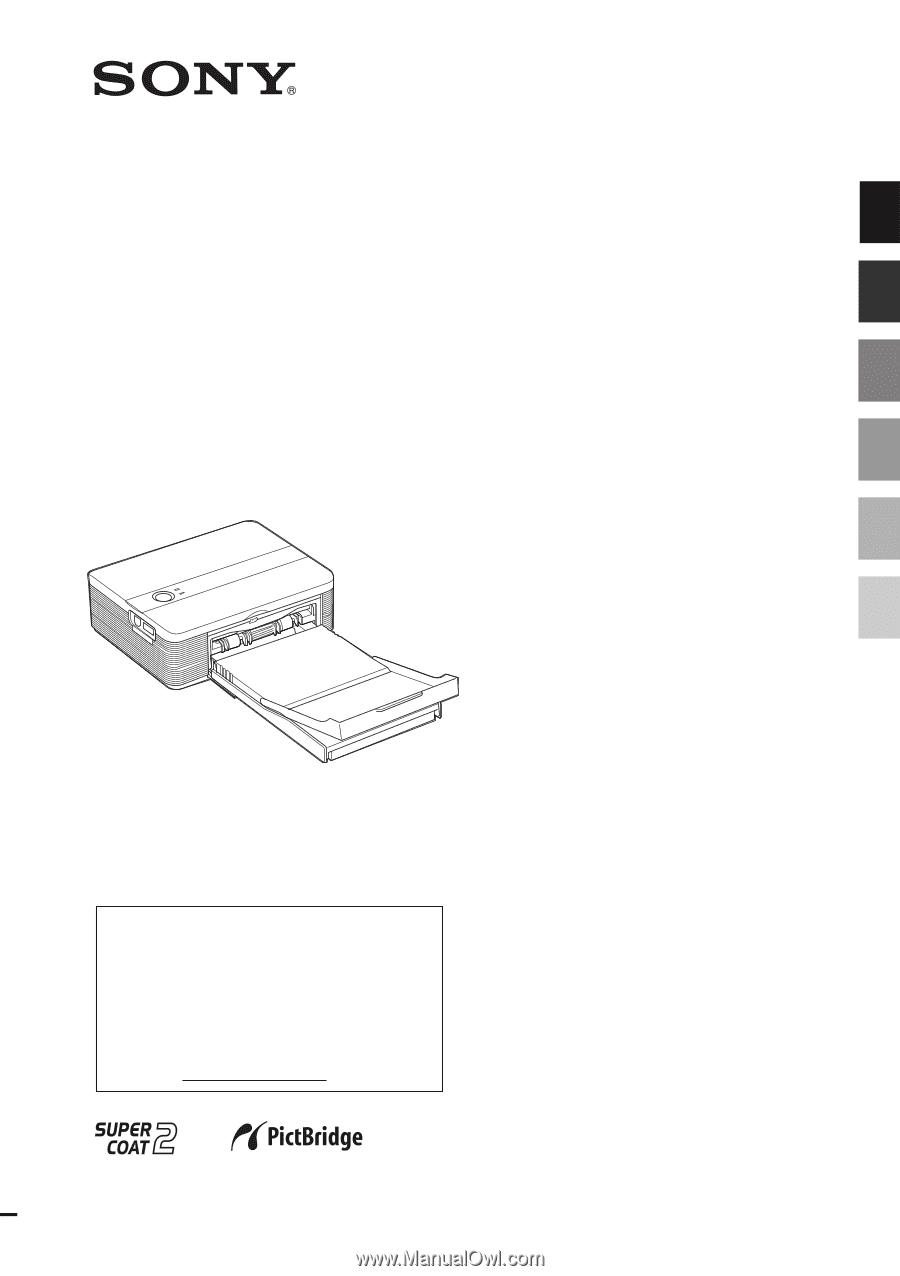
2-682-260-11 (2) Digital Photo Printer DPP-FP35 Before you begin Preparations Printing from a PictBridge camera (PictBridge mode) Printing from a PC (PC mode) Troubleshooting Additional information Operating Instructions Before operating this printer, please read this manual thoroughly and retain - Sony DPP-FP35 | Operating Instructions - Page 2
fields at the specific frequencies may influence the picture of this digital photo printer. Notice If static electricity or electromagnetism causes data transfer to discontinue midway (fail), restart the application or disconnect and connect the communication cable (USB, etc) again. Disposal of Old - Sony DPP-FP35 | Operating Instructions - Page 3
Sony service station. Duplication, edition, or printing of a CD, TV programs, copyrighted materials such as pictures . When using photo images with this printer, pay special attention of Sony Corporation. • Microsoft, Windows® and in each case in this manual. •This software is based in part on - Sony DPP-FP35 | Operating Instructions - Page 4
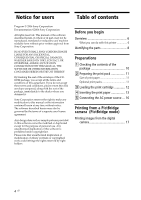
6 What you can do with this printer 6 Identifying the parts 8 Preparations 1 Checking the contents of the package 10 2 Preparing the print pack 11 Size of print paper 11 Optional print packs 11 3 Loading the print cartridge 12 4 Inserting the print paper 13 5 Connecting the AC power source - Sony DPP-FP35 | Operating Instructions - Page 5
19 Installing the printer driver 20 Installing the Picture Motion Browser ...... 23 Printing photos from the Picture Motion Browser 25 Printing from other application software .. 32 Troubleshooting If trouble occurs 34 If paper jams 42 Cleaning the inside of the printer ......... 42 Additional - Sony DPP-FP35 | Operating Instructions - Page 6
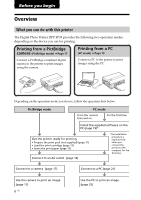
can do with this printer The Digital Photo Printer DPP-FP35 provides the following two operation modes, depending on the device you use for printing. Printing from a PictBridge camera (PictBridge mode) c Page 17 Connect a PictBridge-compliant digital camera to the printer to print images using the - Sony DPP-FP35 | Operating Instructions - Page 7
Exif 2.21** (Exif Print) support (page 29) When you use the supplied Picture Motion Browser software to print an image from your PC, you can choose Exif Print picture correction in addition to the conventional OS picture correction. In Exif Print correction, the supplied printer driver uses the Exif - Sony DPP-FP35 | Operating Instructions - Page 8
does not support the PictBridge feature is connected. Or, the image to be printed is damaged. 4 ERROR indicator (page 12) • Lights: The paper tray is not inserted. No print paper is in the paper tray. Paper remains in the printer. • Flashes slowly: The print cartridge ends. No print cartridge is - Sony DPP-FP35 | Operating Instructions - Page 9
supplied AC power cord. 0 USB connector (page 21) Connects to the USB connector of your PC. qa PictBridge connector (page 17) Connect the PictBridge-compliant digital camera. Paper tray 1 Paper eject tray (pages 13, 14) 2 Paper tray lid (pages 13, 14) 9 GB - Sony DPP-FP35 | Operating Instructions - Page 10
- Sony DPP-FP35 Printer Driver Software for Windows® XP Professional/Windows® XP Home Edition/Windows® 2000 Professional/Windows® Millennium Edition - Picture Motion Browser Ver.1.1 • Sample color print pack (Post card size, 10 sheets) • Operating Instructions (this booklet, 1) • Quick Start Guide - Sony DPP-FP35 | Operating Instructions - Page 11
2 Preparing the print pack To print an image, you need a print pack designed for the printer. The sample color print pack contains a set of 10 sheets of post card size print paper and a print cartridge for 10 prints. Size of print paper The size of the post card size print paper is as follows - Sony DPP-FP35 | Operating Instructions - Page 12
Arrow 3 Close the cartridge compartment door. Notes • Use the print cartridge contained in the same box with the print paper. • Do not touch the ink ribbon or place the print cartridge in a dusty location. Fingerprints or dust on the ink ribbon may result in imperfect printing. Ink ribbon 12 GB - Sony DPP-FP35 | Operating Instructions - Page 13
. The thermal head reaches high temperatures, especially after repeated printing. 4 Inserting the print paper 1 Open the paper eject tray. • Do not rewind the ink ribbon and use the rewound print cartridge for printing. Otherwise, proper printing result will not be obtained, or even a malfunction - Sony DPP-FP35 | Operating Instructions - Page 14
can set up to 20 sheets of print paper. Riffle the print paper thoroughly. Insert the print paper into the tray, with the protective sheet at the top. If there is no protective sheet: Riffle the print paper thoroughly. Then insert the print paper with its printing surface (the side with no imprint - Sony DPP-FP35 | Operating Instructions - Page 15
write or type on the print paper. Use the oil ink pen to write on the paper after printing. You cannot type on the print paper using an ink-jet printer, etc. - Do not attach sticker or stamps on the print paper. - Do not fold or bend the print paper. - Total number of print paper does not exceed 20 - Sony DPP-FP35 | Operating Instructions - Page 16
wall outlet close by. If some trouble occurs while using the adaptor, immediately shut off the power by disconnecting the plug from the wall outlet. • When you have finished using the AC adaptor, disconnect it from the DC IN 24V jack of the printer. • The print paper emerges from the rear a few - Sony DPP-FP35 | Operating Instructions - Page 17
For details, see the operating instructions of the digital camera you use. (In case of Sony Cyber-shot digital camera, for example, select "PictBridge" or "Auto" mode for the "USB Connect".) Note When you use a DSC-T1, you need to update software version. 2 Connect the printer to the AC power source - Sony DPP-FP35 | Operating Instructions - Page 18
indicator 5 Operate the digital camera to print an image. The printer supports the following prints: • Single-image print. • All images print • Index print • DPOF print • Border/Borderless print • Date print Notes on printing • If you replace a print cartridge while the printer is connected to - Sony DPP-FP35 | Operating Instructions - Page 19
CD-ROM The supplied CD-ROM contains the following software: • Printer driver for DPP-FP35: The software describes the printer's requirements and enables printing from the computer. • Picture Motion Browser: Sony's original software application that allows you to handle photographs and moving - Sony DPP-FP35 | Operating Instructions - Page 20
The setup starts automatically and the installation window is displayed. Note In case the installation window is not automatically displayed, double-click the "Setup.exe" of the CD-ROM. 4 Click "Installing Printer Driver". The "Sony DPP-FP35 - InstallShield Wizard" dialog box appears. 5 Click "Next - Sony DPP-FP35 | Operating Instructions - Page 21
(page 17). The 1 (on/standby) indicator of the printer lights in yellow green. 10 Click "Next". Windows PC To USB connector The printer automatically enters the PC mode and the printer setup will start automatically. When the printer setup is complete, the "InstallShield Wizard Complete" dialog - Sony DPP-FP35 | Operating Instructions - Page 22
CD-ROM into the CD-ROM drive of your computer. The setup starts automatically and the installation window is displayed. 3 Click "Installing Printer Driver". The "Sony DPP-FP35 - InstallShield Wizard" dialog box appears. 4 Click "Next". The license agreement dialog box is displayed. 5 Check "I accept - Sony DPP-FP35 | Operating Instructions - Page 23
Panel" to check if the "Sony DPPFP35" is displayed. If not, the printer driver is successfully removed. Installing the Picture Motion Browser 1 Turn on your computer and start Windows. • When installing or uninstalling the software in Windows® 2000 Professional, log on Windows as the user name of - Sony DPP-FP35 | Operating Instructions - Page 24
Next." The "Setup Status" dialog box is displayed. When the printer setup is complete, the "InstallShield Wizard Complete" dialog box is displayed. The installation of the Picture Motion Browser is complete. When you are prompted to restart your computer, restart it. 10 Remove the CD-ROM from - Sony DPP-FP35 | Operating Instructions - Page 25
"Sony Picture Utility" and click "Change/Remove" ("Remove" with Windows XP). The software is uninstalled. Printing photos from the Picture Motion Browser You can use the Picture Motion Browser to print an image from your PC using post card size print paper. 1 Start the Picture Motion Browser window - Sony DPP-FP35 | Operating Instructions - Page 26
as thumbnails on each date of the calendar. In "Calendar" view, you can switch the display according to the year, month, or hour. The Print dialog box is displayed. 4 In the "Print" drop-down list box, select "Sony DPP-FP35" and then click "Print." The preparations for printing starts. 26 GB - Sony DPP-FP35 | Operating Instructions - Page 27
Printer Select "Sony DPP-FP35". Paper size From the drop-down list box, select the paper size you actually use for printing: • P size • L size Note In some regions, L size print paper is not sold. Print options • When checked, an image will be printed over the entire printing area of the paper - Sony DPP-FP35 | Operating Instructions - Page 28
the drop-down list box, select the paper size you actually use for printing: • P size • L size Then check either of the following to specify the margins around the image: • with border: an image is printed with borders around it. • borderless: an image is printed without borders around it. Tip The - Sony DPP-FP35 | Operating Instructions - Page 29
colors are used. - Match: when you want to match colors. - Pictures: when a photograph or pictures are printed. ExifPrint Check it to adjust and print an image shot with a Exif Print (Exif 2.21)-compliant digital camera. The printer driver uses the color conversion and Exif shooting data to adjust - Sony DPP-FP35 | Operating Instructions - Page 30
detected automatically, and it may not be corrected. If red-eye phenomenon is not corrected, use the Picture Motion Browser correction function. •Red-eye reduction is enabled only when you have installed the printer driver from "Setup.exe" in the supplied CD-ROM. For the details see the Readme.txt - Sony DPP-FP35 | Operating Instructions - Page 31
window is displayed. 3 Click "Yes." Registration of the image information in the data base starts. 4 Click "Close." Printing from folder will also be registered. • When the software is first started, the message prompting you to register "My Pictures" will be displayed. • Depending on the - Sony DPP-FP35 | Operating Instructions - Page 32
On "borderless" setting in the "Paper size" section When using an application other than the Picture Motion Browser, an image might be printed with borders even if you select borderless print in the "Paper size" section of the "Paper/Output" tab in the "Sony DPP-FP35 Properties" dialog box. When you - Sony DPP-FP35 | Operating Instructions - Page 33
application software you use, the print quantity setting of the application you use may have priority over the setting specified in the printer driver dialog box. Exif Print Settings in the "Graphics" tab The Exif Print setting in the "Color reproduction/Picture quality" section supports the Picture - Sony DPP-FP35 | Operating Instructions - Page 34
Troubleshooting If trouble occurs If you run into any problems using the printer, use the following guidance to solve the problem. If the problem persists, consult your Sony dealer. Power Symptom Check The 1 (on/ standby) switch cannot be turned on. • Is the AC power cord properly connected? - Sony DPP-FP35 | Operating Instructions - Page 35
Some types of digital cameras do not support DPOF printing. Use another method for printing. Connecting with a computer Symptom Check Cause/Solutions You lost the supplied CDROM and want to obtain a new one. The printer driver cannot be installed. c Please download the printer driver from the - Sony DPP-FP35 | Operating Instructions - Page 36
1 Turn off and then on the printer. 2 Disconnect the AC power adaptor from the printer. 3 Wait for 5 to 10 seconds, and then connect the AC adaptor again. 4 Restart your computer. If these do not solve the problem, consult with your Sony dealer or service facilities. • Is an error message c Remove - Sony DPP-FP35 | Operating Instructions - Page 37
of the "Sony DPP-FP35 Properties" dialog box. c The print settings adjust the printer itself and cannot influence the preview image. Print quantity specified in the "Paper/Output" tab of the "Sony DPPFP35 Properties" dialog box does not take effect. c Depending on the application software you use - Sony DPP-FP35 | Operating Instructions - Page 38
Cause/Solutions • Is the print paper properly set in the paper tray? c If print paper is not properly loaded, the printer may develop trouble. Check the following: • Is the correct set of print paper and print cartridge loaded? (.page 11) • Is the print paper inserted in the correct direction - Sony DPP-FP35 | Operating Instructions - Page 39
image processing software including the Adobe Photoshop. The AdobeRGB, an optional color space extended with the DCF 2.0, determines the color ranges widely used in printing industry. For whether or not a digital camera supports the AdobeRGB, see the operating instructions of the digital camera. 39 - Sony DPP-FP35 | Operating Instructions - Page 40
on the type of digital camera used, the image may be stretched vertically if it has been rotated or processed using your digital camera. This is not because of trouble with the printer, but because the image was rewritten with your digital camera. cRe-insert the paper tray firmly straight in - Sony DPP-FP35 | Operating Instructions - Page 41
the cartridge. If this does not solve the problem, contact Sony service facilities or your Sony dealer. c Paper is jammed. See "If paper jams" (.page 42) and remove jammed paper from the printer. If jammed paper cannot be removed, contact the Sony service facilities. c Remove the print paper and - Sony DPP-FP35 | Operating Instructions - Page 42
and if there is a print cartridge, remove it (page 12). 2 Insert the supplied cleaning cartridge into the printer and close the cartridge compartment door. Note If you cannot remove the jammed paper, contact your Sony dealer or service facilities. To turn off the printer Keep pressing the 1 (on - Sony DPP-FP35 | Operating Instructions - Page 43
. When cleaning ends Set the print cartridge and print paper into the printer. Notes • Carry out cleaning only when there are white lines or dots on the print. • When you can obtain proper printing performances, cleaning will not improve the printed picture quality. • The maximum cleaning times - Sony DPP-FP35 | Operating Instructions - Page 44
condensation occurs, unplug the AC power cord of the printer and do not use the printer for at least one hour. On transport When you transport the printer, remove the print cartridge, paper tray or AC adaptor, from the printer and put the printer and its peripherals in the original box with the - Sony DPP-FP35 | Operating Instructions - Page 45
may infringe the provisions of the copyright law. Specifications x Printer Printing method Dye sublimation printing (Yellow/ Magenta/Cyan 3 pass) Resolution 300 (H) x 300 (V) dpi Equivalent to 3 color Ink-Jet 4800 dpi x 4800 dpi *1 6 color Ink-Jet 3810 dpi x 3810 dpi *2 Image processing per dot - Sony DPP-FP35 | Operating Instructions - Page 46
parts) (306 mm (12 1/8 inches) of depth when the paper tray is installed.) Mass Approx. 1 kg (2 lb 3 oz) (excluding the paper tray, print cartridge, AC power adaptor) Supplied accessories See "Checking the contents of the package" on page 10. x AC power adaptor AC-S2425 Power requirements AC 100 to - Sony DPP-FP35 | Operating Instructions - Page 47
/6 inch (1 800 dots) 95.5 mm/ 3 7/8 inch (1 128 dots) 101.6 mm/ 4 inch (1 200 dots) 146.4 mm/5 7/8 inch (1 729 dots) Border print range Borderless print range Perforations The above illustrations are those when an image from a PC is printed. The printing range differs for a border or a borderless - Sony DPP-FP35 | Operating Instructions - Page 48
use printer. The printer supports DPOF printing and can automatically print the preset number of copies of the DPOF preset images. Exif 2.21 (Exif Print) Exif (Exchangeable image file format for digital cameras) Print is a global standard for digital photo printing. A digital camera supporting Exif - Sony DPP-FP35 | Operating Instructions - Page 49
16 D DC IN 24V 16 DPOF (Digital Print Order Format) 48 E Eject lever 12 Enlarge/reduce 28 ERROR indicator 12, 36, 38, 41 Exif Print 7, 27, 29, 48 I Inserting Print cartridge 12 Print paper 13 Installing Picture Motion Browser 23 Printer driver 20 System requirements 19 M Moisture condensation 44 - Sony DPP-FP35 | Operating Instructions - Page 50
50 GB - Sony DPP-FP35 | Operating Instructions - Page 51
Additional information 51 GB - Sony DPP-FP35 | Operating Instructions - Page 52
Sony Corporation Printed in China 52 GB
-
 1
1 -
 2
2 -
 3
3 -
 4
4 -
 5
5 -
 6
6 -
 7
7 -
8
-
9
-
10
-
11
-
12
-
13
-
14
-
15
-
16
-
17
-
18
-
19
-
20
-
21
-
22
-
23
-
24
-
25
-
26
-
27
-
28
-
29
-
30
-
31
-
32
-
33
-
34
-
35
-
36
-
37
-
38
-
39
-
40
-
41
-
42
-
43
-
44
-
45
-
46
-
47
-
48
-
49
-
50
-
51
-
52
 |
 |
2-682-260-
11
(2)
2006 Sony Corporation
Operating Instructions
Before operating this printer, please read
this manual thoroughly and retain it for
future reference.
Owner’s Record
The model and serial numbers are
located on the bottom.
Record the serial
number in the space provided below.
Refer to these numbers whenever you
call upon your Sony dealer regarding this
product.
Model No.
DPP-FP35
Serial No.
Digital Photo
Printer
DPP-FP35
Before you begin
Preparations
Printing from a PictBridge
camera (PictBridge mode)
Printing from a PC
(PC mode)
Troubleshooting
Additional information