Sony HDR-CX230 Operating Guide - Page 29
Using the built-in projector (Models with a projector), Models with a, projector - b battery life
 |
View all Sony HDR-CX230 manuals
Add to My Manuals
Save this manual to your list of manuals |
Page 29 highlights
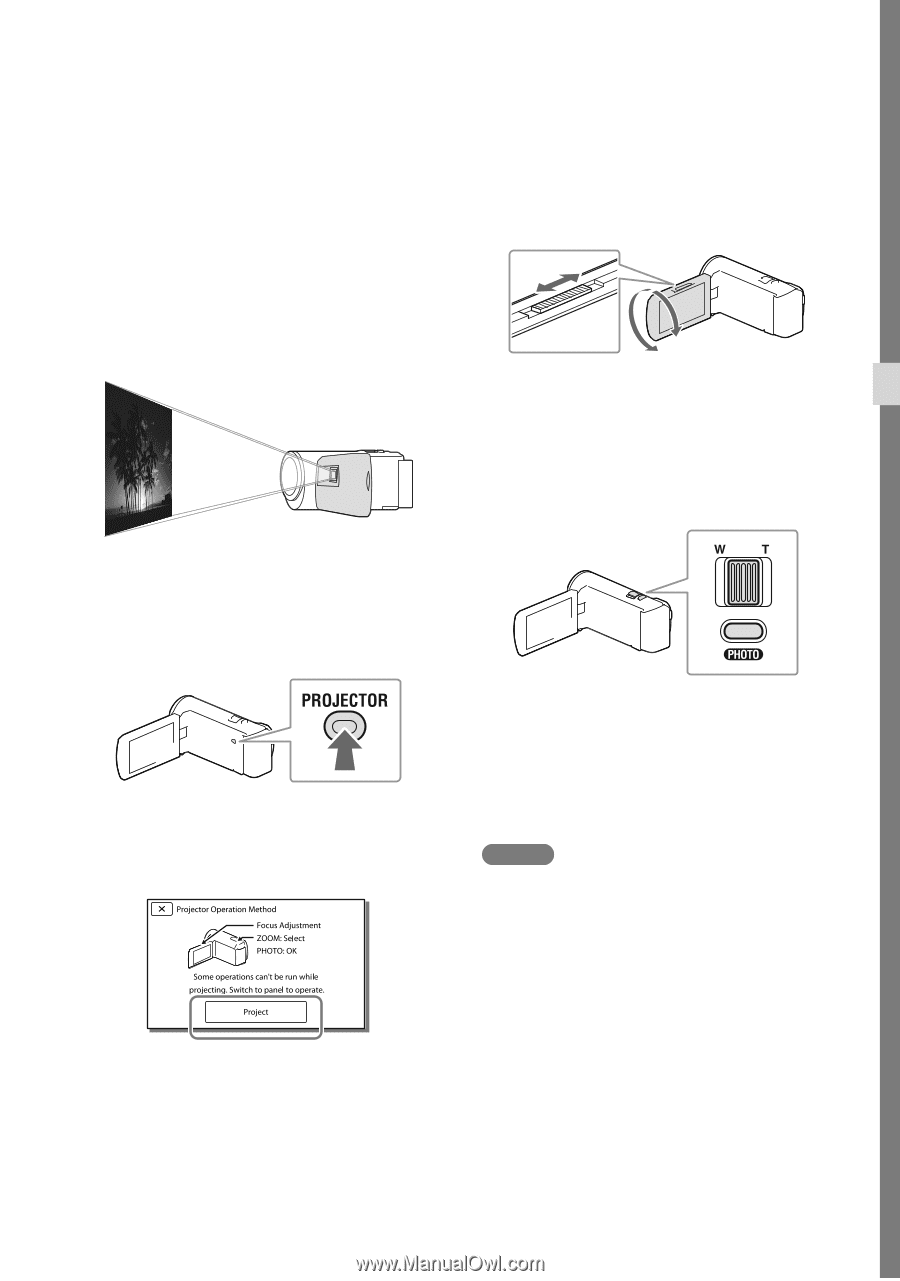
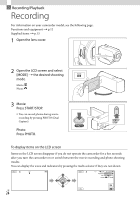
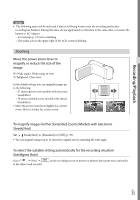
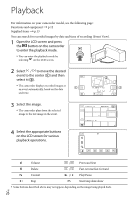
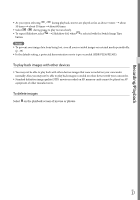
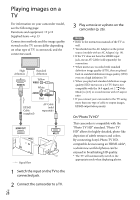
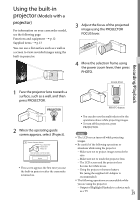
Using the built-in projector (Models with a projector) For information on your camcorder model, see the following page: Functions and equipment p.12 Supplied items p.13 You can use a flat surface such as a wall as a screen to view recorded images using the built-in projector. 3 Adjust the focus of the projected image using the PROJECTOR FOCUS lever. 4 Move the selection frame using the power zoom lever, then press PHOTO. Recording/Playback 1 Face the projector lens towards a surface, such as a wall, and then press PROJECTOR. 2 When the operating guide screen appears, select [Project]. This screen appears the first time you use the built-in projector after the camcorder is turned on. Zoom lever PHOTO button You can also use the multi-selector for the operations above while projecting images. To turn off the projector, press PROJECTOR. Notes The LCD screen turns off while projecting images. Be careful of the following operations or situations while using the projector. Make sure not to project images towards the eyes. Make sure not to touch the projector lens. The LCD screen and the projector lens become hot while in use. Using the projector shortens battery life (using the supplied AC Adaptor is recommended). The following operations are unavailable while you are using the projector. Output of Highlight Playback to a device such as a TV GB 29
-
 1
1 -
2
-
3
-
4
-
5
-
6
-
7
-
8
-
9
-
10
-
11
-
12
-
13
-
14
-
15
-
16
-
17
-
18
-
19
-
20
-
21
-
22
-
23
-
 24
24 -
 25
25 -
 26
26 -
 27
27 -
 28
28 -
 29
29 -
 30
30 -
 31
31 -
 32
32 -
 33
33 -
 34
34 -
35
-
36
-
37
-
38
-
39
-
40
-
41
-
42
-
43
-
44
-
45
-
46
-
47
-
48
-
49
-
50
-
51
-
52
 |
 |