Xerox 7300N Troubleshooting Guide - Page 15
Xerox 7300N - Phaser Color Laser Printer Manual
 |
View all Xerox 7300N manuals
Add to My Manuals
Save this manual to your list of manuals |
Page 15 highlights
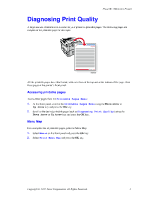
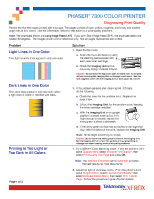
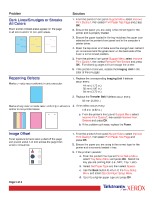
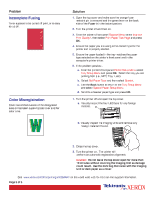
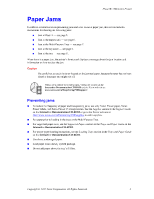
PHASER 7300 COLOR PRINTER Diagnosing Print Quality Review the five test pages printed with this page: The pages consist of cyan, yellow, magenta, and black; and another page with all four colors. Use the information below to help solve your print-quality problems. Note: The examples shown are Long-Edge Feed (LEF). If you print Short-Edge Feed (SEF), the examples below are rotated 90 degrees. The images shown are for reference only. Not all pages represented are printed. ® Problem Solution 1. Open the top cover. a. Clean the four LED bars (a) using the cleaning pad supplied with a each new toner cartridge. b. Check the Imaging Unit and remove any foreign material if found. Caution: Do not leave the top cover open for more than 10 minutes without covering the Imaging Unit as damage could result. Use the dark bag that came with the Imaging Unit or dark paper as a cover. Light Lines in One Color Thin, light or white lines appear in only one color. Dark Lines in One Color Thin, dark lines appear in only one color when a light color is faded or blended with black. 2. If the problem persists after cleaning the LED bars, do the following: a. Check the toner for the problem color. Replace the toner if low. b. Lift out the Imaging Unit, for the problem color, keeping the toner cartridge installed. c. With the Imaging Unit in an upright position (to avoid toner spills), lift it high enough to visually inspect the shiny green surface underneath. d. If the shiny green surface has scratches or damage that align with the defect of the print, replace the Imaging Unit. Note: Some slight scratching is normal. Caution: Do not touch the shiny green surface of the Imaging Unit. Set the Imaging Unit on a hard flat surface only as scratching or damage can occur causing more print-quality problems. Printing Is Too Light or Too Dark in All Colors 1. Try a different Color Matching mode. From the printer's front panel Support Menu select Improve Print Quality?, then select Print-Quality Tips Page and press OK. Note: The TekColor Correction set to Automatic provides the best results for most documents. 2. Adjust the light or darkness levels. From the printer's front panel Support Menu, select Improve Print Quality? then select Calibrate Colors Menu, then select Print Tutorial Page. Follow the procedure Lighten/Darken Colors. Page 1 of 3
-
 1
1 -
2
-
3
-
4
-
5
-
6
-
7
-
8
-
9
-
 10
10 -
 11
11 -
 12
12 -
 13
13 -
 14
14 -
 15
15 -
 16
16 -
 17
17 -
 18
18 -
 19
19 -
 20
20 -
21
-
22
-
23
-
24
-
25
-
26
-
27
-
28
-
29
-
30
-
31
-
32
-
33
-
34
-
35
-
36
-
37
-
38
-
39
-
40
 |
 |
