AIWA CX-NMT50 Operating Instructions - Page 23
Setting, The Sleep Timer
 |
View all AIWA CX-NMT50 manuals
Add to My Manuals
Save this manual to your list of manuals |
Page 23 highlights
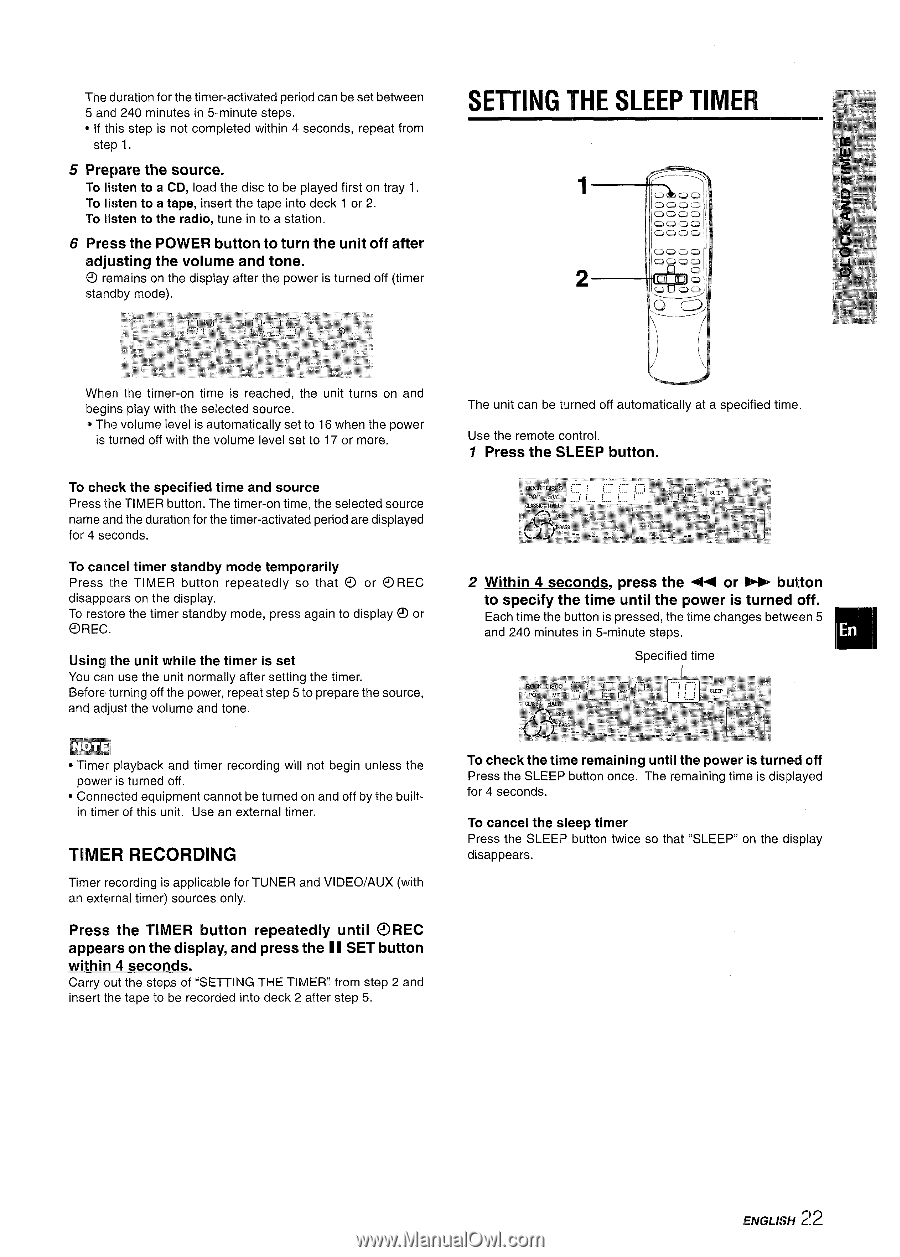
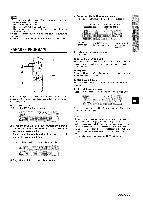
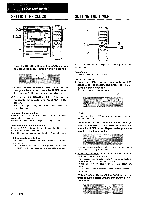
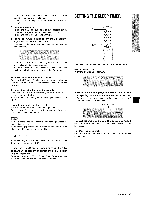
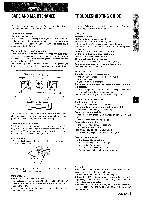
The duration for the timer-activated period can be set between 5 ancl 240 minutes in 5-minute steps. SETTING THE SLEEP TIMER ~ * If this step is not completed within 4 seconds, repeat from step 1. 5 Prepare the source. To Men to a CD, load the disc to be played first on tray 1. 1 i To listen to a tape, insert the tape into deck 1 or 2. To listen to the radio, tune in to a station. 6 Press the POWER button to turn the unit off after adjusting the volume and tone. O remains on the display after the power is turned off (timer 2 starldby mode), When the timer-on time is reached, the unit turns on and begins play with the selected source. * The volume level is automatically set to 16 when the power is turned off with the volume level set to 17 or more. To check the specified time and source Press the TIMER button. The timer-on time, the selected source name and the duration for the timer-activated period are displayed for 4 seconds. To cancel timer standby mode temporarily Press the TIMER button repeatedly so that 0 or OREC disappears on the display. To restore the timer standby mode, press again to display @l or OREC. Using the unit while the timer is set You can use the unit normally after setting the timer. Before 'turning off the power, repeat step 5 to prepare the source, and adjust the volume and tone. m: q Timer playback and timer recording will not begin unless the power is turned off. q Connected equipment cannot be turned on and off by the builtin timer of this unit. Use an external timer, T[MER RECORDING Timer recording is applicable for TUNER and VI DEO/AUX (with an external timer) sources only. Press the TIMER button repeatedly until @REC appears on the display, and press the 11 SET button within 4 seconds. Carry cwt the steps of "SETTING THE TIMER" from step 2 and insert the tape to be recorded into deck 2 after step 5. The unit can be turned off automatically at a specified time, Use the remote control, 1 Press the SLEEP button. 2 Within 4 seconds, press the - or - button to specify the time until the power is turned oft. Each time the button is pressed, the time changes between 5 and 240 minutes in 5-minute steps. m Specified time To check the time remaining until the power is turne(d off Press the SLEEP button once. The remaining time is displayed for 4 seconds. To cancel the sleep timer Press the SLEEP button twice so that "SLEEP" on the display disappears. 2 ENGLISH ~!
-
 1
1 -
2
-
3
-
4
-
5
-
6
-
7
-
8
-
9
-
10
-
11
-
12
-
13
-
14
-
15
-
16
-
17
-
 18
18 -
 19
19 -
 20
20 -
 21
21 -
 22
22 -
 23
23 -
 24
24 -
 25
25 -
 26
26 -
 27
27 -
 28
28 -
29
-
30
-
31
-
32
-
33
-
34
-
35
-
36
-
37
-
38
-
39
-
40
-
41
-
42
-
43
-
44
-
45
-
46
-
47
-
48
-
49
-
50
-
51
-
52
-
53
-
54
-
55
-
56
-
57
-
58
-
59
-
60
-
61
-
62
-
63
-
64
-
65
-
66
-
67
-
68
-
69
-
70
-
71
-
72
-
73
-
74
-
75
-
76
-
77
-
78
-
79
-
80
 |
 |