Acer Aspire 6600 User Guide - Page 16
Adding Options - motherboard
 |
View all Acer Aspire 6600 manuals
Add to My Manuals
Save this manual to your list of manuals |
Page 16 highlights
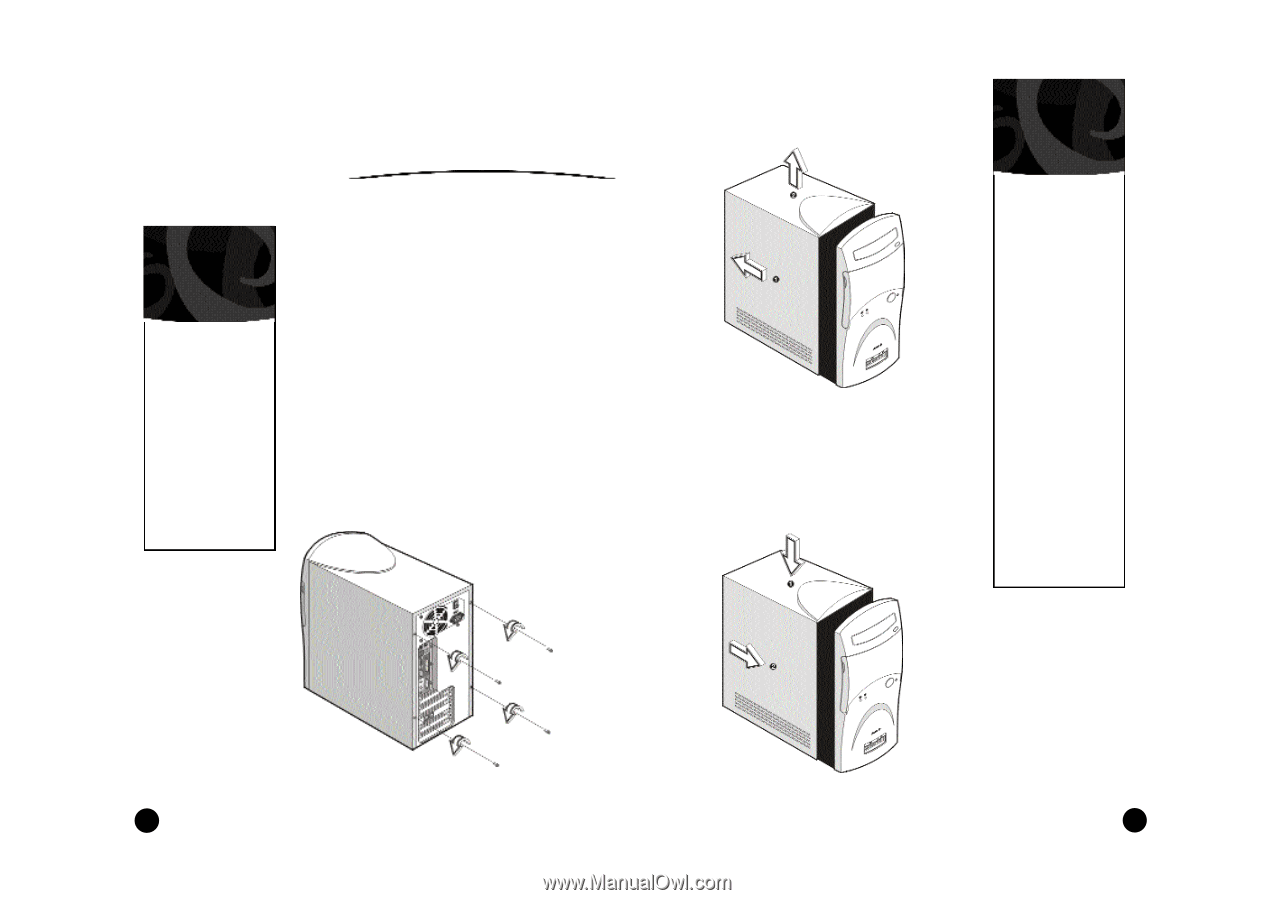
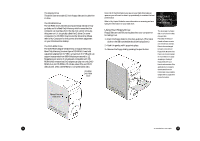
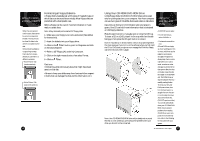
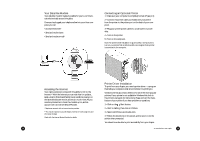
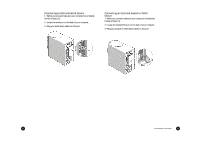
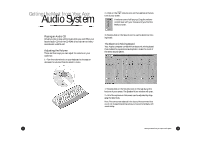
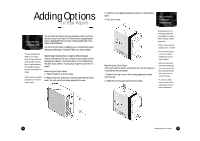
Adding Options to Your Aspire Connecting USB Devices You can add hard drives, memory, expansion cards, and other options to your Acer Aspire. For directions on upgrading and how to disassemble the computer chassis, please refer to My Aspire Guide software. You can find information regarding your motherboard jumper settings by referring to the panel inside your Aspire chassis. The Universal Serial Bus (USB) on your Aspire allows for easy and convenient expansion options. With it, installing devices such as digital cameras, scanners, and joysticks is a breeze. USB connectors are easily accessible from the front of your Aspire. Opening/Closing Your Aspire Microtower Caution! Always turn off your computer and unplug it before opening the case. For more information on the complete system shut-down, refer to "Turning Your Aspire On and Off" on page 6. Removing the Cover Panel 1 • Place the system on a flat surface. 2 • Remove the four screws from the rear panel. Set the screws aside. You will need them when replacing the cover. 3 • Push the cover slightly backward as shown in the following figure. 4 • Lift up the cover. Electrostatic Discharge Precautions Replacing the Cover Panel After you install the system components into the housing, you must replace the cover panel. 1 • Position the top cover on the housing, aligning the sides with the rails. 2 • Slide the cover forward until it fits into place. Always observe the following electrostatic discharge (ESD) precautions before installing a system component: • ESD can cause permanent damage to your computer. • Do not remove a component from its antistatic packaging until you are ready to install it. • Wear a wrist grounding strap before handling electronic components. Wrist grounding straps are available at most electronic component stores. • At a minimum, keep a hand in contact with the metal system housing to reduce the ESD effect. 24 Adding Options to you Aspire 25
-
 1
1 -
2
-
3
-
4
-
5
-
6
-
7
-
8
-
9
-
10
-
 11
11 -
 12
12 -
 13
13 -
 14
14 -
 15
15 -
 16
16 -
 17
17 -
 18
18 -
 19
19 -
 20
20 -
 21
21 -
22
-
23
-
24
 |
 |