Alesis SR18 User Manual - Page 15
Steps To Instant Gratification Setup And Checkout, Pattern, Preset - demo
 |
View all Alesis SR18 manuals
Add to My Manuals
Save this manual to your list of manuals |
Page 15 highlights
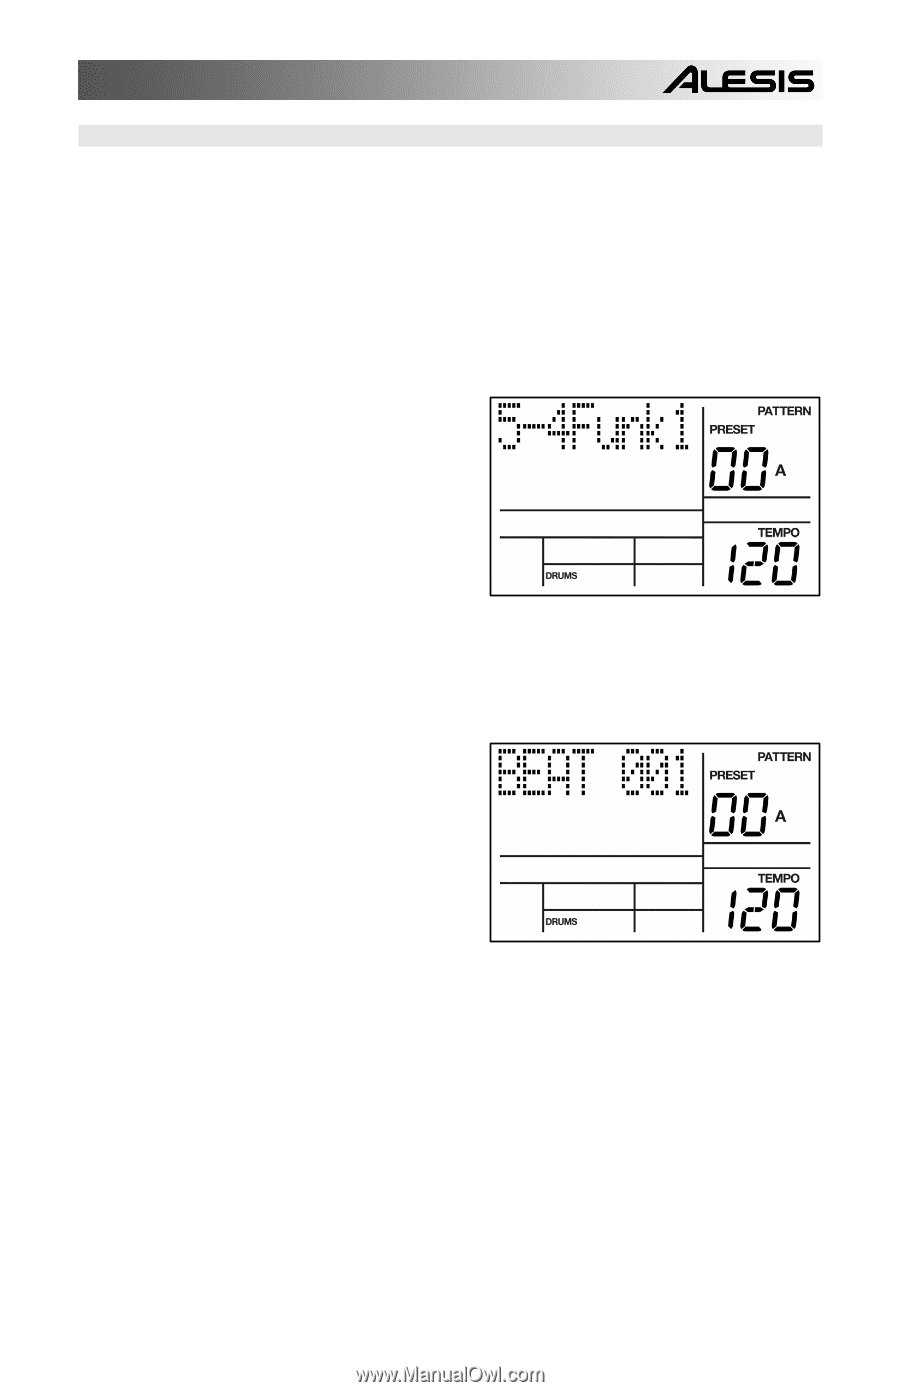
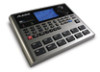
10 STEPS TO INSTANT GRATIFICATION (SETUP AND CHECKOUT) 1. Connect the Main outputs (either left or right for a mono monitoring system, or both for stereo) to a musical instrument amplifier, PA, or plug headphones into the headphone output on the back of the SR18. The amp and SR18 volume control (on back) should be all the way down (counter-clockwise). 2. Leave the MIDI OUT jack (rear panel) disconnected for now. 3. Plug the SR18's AC adapter into the wall. The smaller plug inserts in the 12V DC Power jack on the back. 4. Turn on the rear panel ON/OFF switch, and then turn on the amplifier. 5. The LCD will illuminate. The upper right of the display should say PATTERN and not SONG; if it shows SONG, press the PATTERN/SONG button so the display shows PATTERN. 6. Start hitting the pads. Adjust the volume control for a comfortable listening level, and check out the sounds. 7. Try pressing one of the Pad Play Mode buttons (DRUMS, PERC, BASS) to access the different instrument layers and play the pads. 8. To hear the built-in demo, hold down the PATTERN/SONG button and press PLAY. To stop the demo, press STOP. If you want to play along with the demo, feel free to bash away on the pads. 9. To hear a Preset Pattern, stop the SR18 and press the PRESET / USER button to select Preset Patterns (the display should show PRESET). Then, press PLAY to hear the Preset Pattern. 10. Try the following: ƒ While in Preset Patterns, enter a twodigit number between 00-99 using the number keys, then press PLAY. ƒ Press the INC button to select the next higher-numbered Preset Pattern. It will play at the end of the current Pattern. ƒ Press the DEC button to select the next lower-numbered Preset Pattern. ƒ Press the B button to select the B variation of the selected Pattern. ƒ Press the A button to select the A variation of the selected Pattern. ƒ Press FILL briefly while a Main (A or B) Pattern is playing. Note how the Main Pattern switches from either A to B or B to A after the Fill has played. ƒ Press FILL and hold it down until after the Fill has played. If the FILL button is held down past the next downbeat, the Fill's associated Main Pattern (A or B) continues to play rather than switch from A to B or B to A. ƒ Hold down TAP TEMPO and use the VALUE dial (or INC / DEC buttons) to change the tempo. 15
-
 1
1 -
2
-
3
-
4
-
5
-
6
-
7
-
8
-
9
-
 10
10 -
 11
11 -
 12
12 -
 13
13 -
 14
14 -
 15
15 -
 16
16 -
 17
17 -
 18
18 -
 19
19 -
 20
20 -
21
-
22
-
23
-
24
-
25
-
26
-
27
-
28
-
29
-
30
-
31
-
32
-
33
-
34
-
35
-
36
-
37
-
38
-
39
-
40
-
41
-
42
-
43
-
44
-
45
-
46
-
47
-
48
-
49
-
50
-
51
-
52
-
53
-
54
-
55
-
56
-
57
-
58
-
59
-
60
 |
 |