Asus P2E-VM P2E-VM User Manual - Page 60
Installing and Running ASUS PC Probe
 |
View all Asus P2E-VM manuals
Add to My Manuals
Save this manual to your list of manuals |
Page 60 highlights
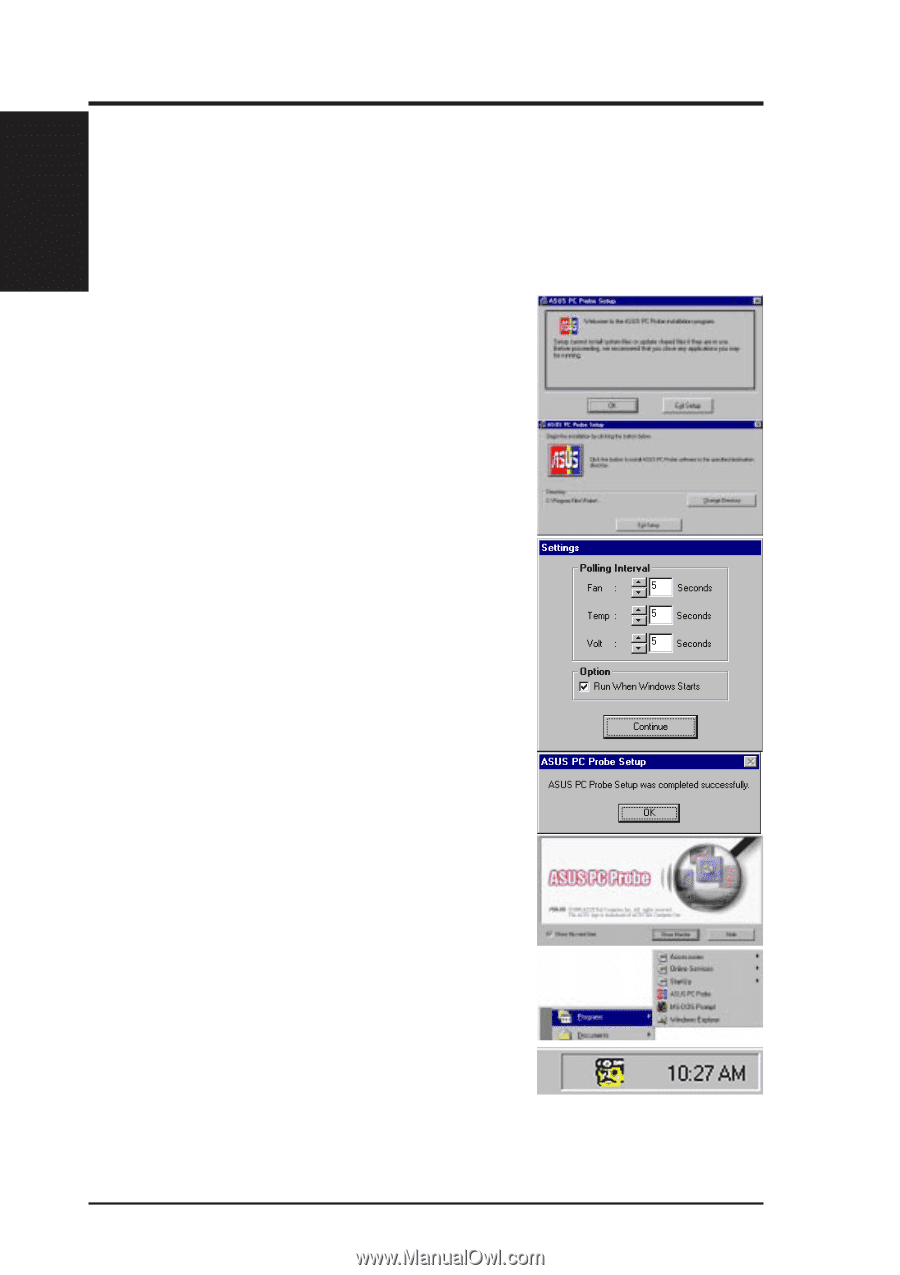
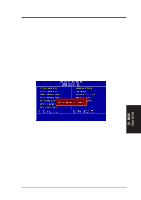
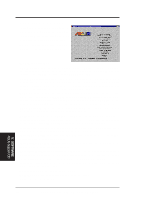
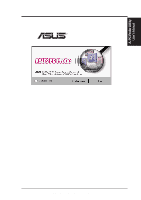
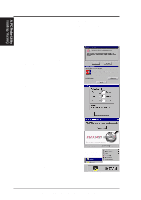
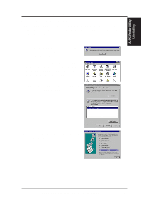
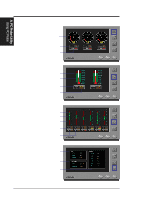
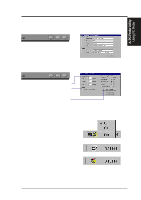
A. PC Probe Utility Installing / Running A. PC Probe Utility Installing and Running ASUS PC Probe The ASUS PC Probe is a convenient utility to monitor the computer system's vital components: fan rotations, voltages, and temperatures. NOTE: In order for the ASUS PC Probe to run, Intel's LDCM utility cannot be installed. 1. Click on "ASUS PC Probe Setup" from the main menu. 2. Click "OK" after reading the welcome message. 3. Click the install button. 4. Make any desired setting changes. 5. Click "OK" when the installation is completed. PC Probe will run automatically. When ASUS PC Probe starts, a splash screen appears allowing you to "Show Monitor" or "Close." You can select whether you want the splash screen to show in the future. Click "ASUS PC Probe" from the "Start" button to run the utility if you exit the utility or did not check "Run when Windows Starts." A "doctor" will appear on the task bar indicating that ASUS PC Probe is running. Left clicking the "doctor" will allow you to see your PC status. 60 ASUS P2L-VM/P2E-VM User's Manual
-
 1
1 -
2
-
3
-
4
-
5
-
6
-
7
-
8
-
9
-
10
-
11
-
12
-
13
-
14
-
15
-
16
-
17
-
18
-
19
-
20
-
21
-
22
-
23
-
24
-
25
-
26
-
27
-
28
-
29
-
30
-
31
-
32
-
33
-
34
-
35
-
36
-
37
-
38
-
39
-
40
-
41
-
42
-
43
-
44
-
45
-
46
-
47
-
48
-
49
-
50
-
51
-
52
-
53
-
54
-
 55
55 -
 56
56 -
 57
57 -
 58
58 -
 59
59 -
 60
60 -
 61
61 -
 62
62 -
 63
63 -
 64
64 -
 65
65 -
66
-
67
-
68
-
69
-
70
-
71
-
72
-
73
-
74
-
75
-
76
-
77
-
78
-
79
-
80
-
81
-
82
-
83
-
84
-
85
-
86
-
87
-
88
-
89
-
90
-
91
-
92
-
93
-
94
-
95
-
96
-
97
-
98
-
99
-
100
-
101
-
102
-
103
-
104
-
105
-
106
-
107
-
108
-
109
-
110
-
111
-
112
-
113
-
114
-
115
-
116
 |
 |