BenQ mp777 User Manual - Page 14

Positioning your projector, Choosing a location

Page 14 highlights

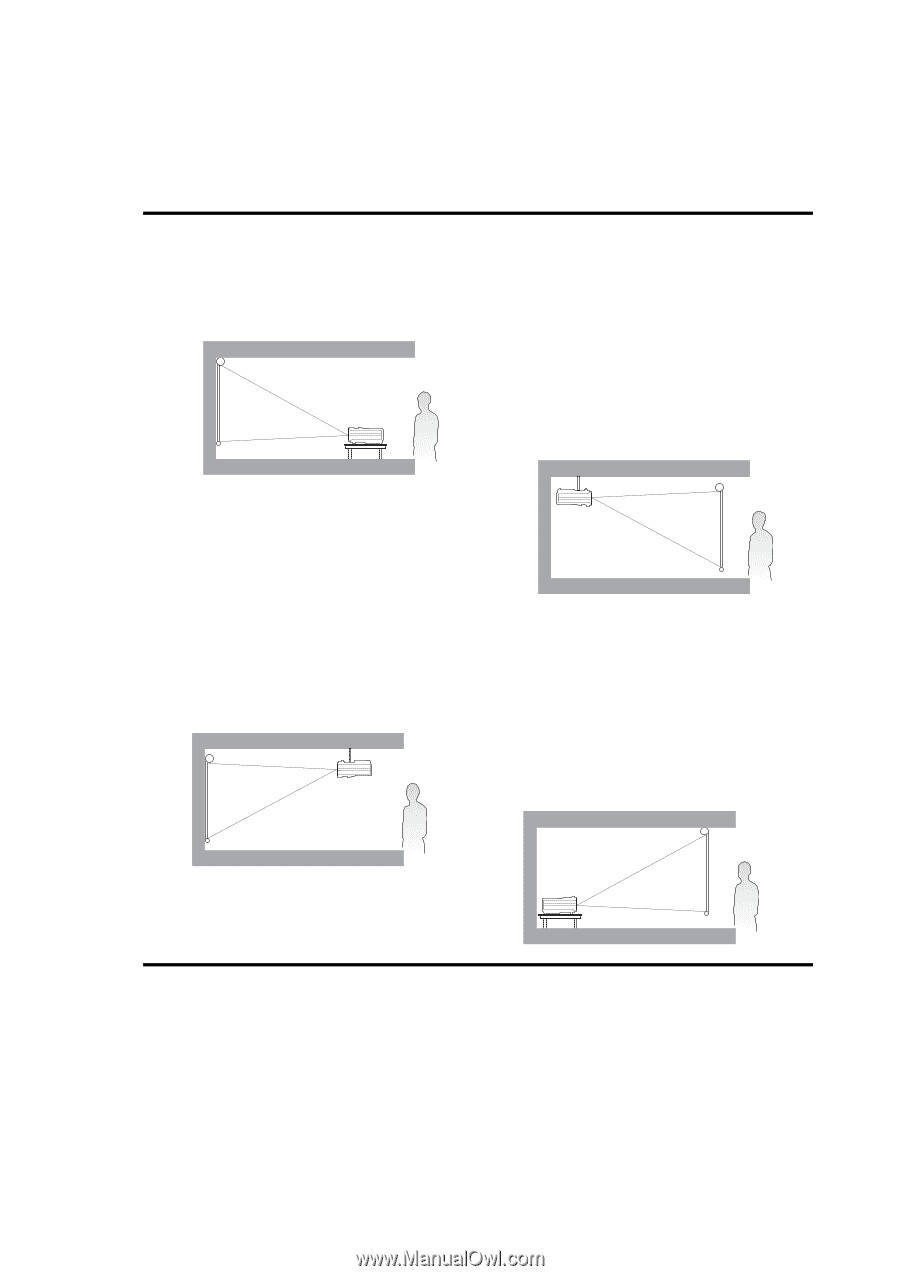
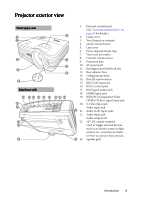
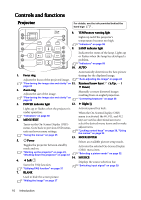
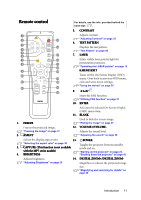
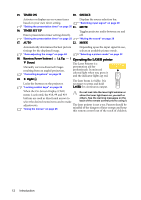
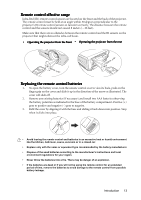
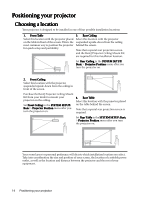
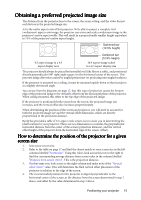
Positioning your projector Choosing a location Your projector is designed to be installed in one of four possible installation locations: 1. Front Table 3. Rear Ceiling Select this location with the projector placed Select this location with the projector on the table in front of the screen. This is the suspended upside-down from the ceiling most common way to position the projector behind the screen. for quick setup and portability. Note that a special rear projection screen and the BenQ Projector Ceiling Mount Kit are required for this installation location. Set Rear Ceiling in the SYSTEM SETUP: Basic > Projector Position menu after you turn the projector on. 2. Front Ceiling Select this location with the projector suspended upside-down from the ceiling in front of the screen. Purchase the BenQ Projector Ceiling Mount Kit from your dealer to mount your projector on the ceiling. Set Front Ceiling in the SYSTEM SETUP: Basic > Projector Position menu after you turn the projector on. 4. Rear Table Select this location with the projector placed on the table behind the screen. Note that a special rear projection screen is required. Set Rear Table in the SYSTEM SETUP: Basic > Projector Position menu after you turn the projector on. Your room layout or personal preference will dictate which installation location you select. Take into consideration the size and position of your screen, the location of a suitable power outlet, as well as the location and distance between the projector and the rest of your equipment. 14 Positioning your projector

  • 1
  • 2
  • 3
  • 4
  • 5
  • 6
  • 7
  • 8
  • 9
  • 10
  • 11
  • 12
  • 13
  • 14
  • 15
  • 16
  • 17
  • 18
  • 19
  • 20
  • 21
  • 22
  • 23
  • 24
  • 25
  • 26
  • 27
  • 28
  • 29
  • 30
  • 31
  • 32
  • 33
  • 34
  • 35
  • 36
  • 37
  • 38
  • 39
  • 40
  • 41
  • 42
  • 43
  • 44
  • 45
  • 46
  • 47
  • 48
  • 49
  • 50
  • 51
  • 52
  • 53
  • 54
  • 55
  • 56
  • 57
  • 58
  • 59
  • 60
  • 61
  • 62
  • 63
  • 64
  • 65
  • 66
  • 67

Positioning your projector
14
Positioning your projector
Choosing a location
Choosing a location
Choosing a location
Choosing a location
Your projector is designed to be installed in one of four possible installation locations:
Your room layout or personal preference will dictate which installation location you select.
Take into consideration the size and position of your screen, the location of a suitable power
outlet, as well as the location and distance between the projector and the rest of your
equipment.
1.
1.
1.
1.
Front Table
Front Table
Front Table
Front Table
Select this location with the projector placed
on the table in front of the screen. This is the
most common way to position the projector
for quick setup and portability.
2.
2.
2.
2.
Front Ceiling
Front Ceiling
Front Ceiling
Front Ceiling
Select this location with the projector
suspended upside-down from the ceiling in
front of the screen.
Purchase the BenQ Projector Ceiling Mount
Kit from your dealer to mount your
projector on the ceiling.
Set Front Ceiling
Front Ceiling
Front Ceiling
Front Ceiling in the SYSTEM SETUP:
SYSTEM SETUP:
SYSTEM SETUP:
SYSTEM SETUP:
Basic
Basic
Basic
Basic > Projector Position
Projector Position
Projector Position
Projector Position menu after you
turn the projector on.
3.
3.
3.
3.
Rear Ceiling
Rear Ceiling
Rear Ceiling
Rear Ceiling
Select this location with the projector
suspended upside-down from the ceiling
behind the screen.
Note that a special rear projection screen
and the BenQ Projector Ceiling Mount Kit
are required for this installation location.
Set Rear Ceiling
Rear Ceiling
Rear Ceiling
Rear Ceiling in the SYSTEM SETUP:
SYSTEM SETUP:
SYSTEM SETUP:
SYSTEM SETUP:
Basic
Basic
Basic
Basic > Projector Position
Projector Position
Projector Position
Projector Position menu after you
turn the projector on.
4.
4.
4.
4.
Rear Table
Rear Table
Rear Table
Rear Table
Select this location with the projector placed
on the table behind the screen.
Note that a special rear projection screen is
required.
Set Rear Table
Rear Table
Rear Table
Rear Table in the SYSTEM SETUP: Basic
SYSTEM SETUP: Basic
SYSTEM SETUP: Basic
SYSTEM SETUP: Basic
> Projector Position
Projector Position
Projector Position
Projector Position menu after you turn
the projector on.