Bernina 531 Manual - Page 25
completely.
 |
View all Bernina 531 manuals
Add to My Manuals
Save this manual to your list of manuals |
Page 25 highlights
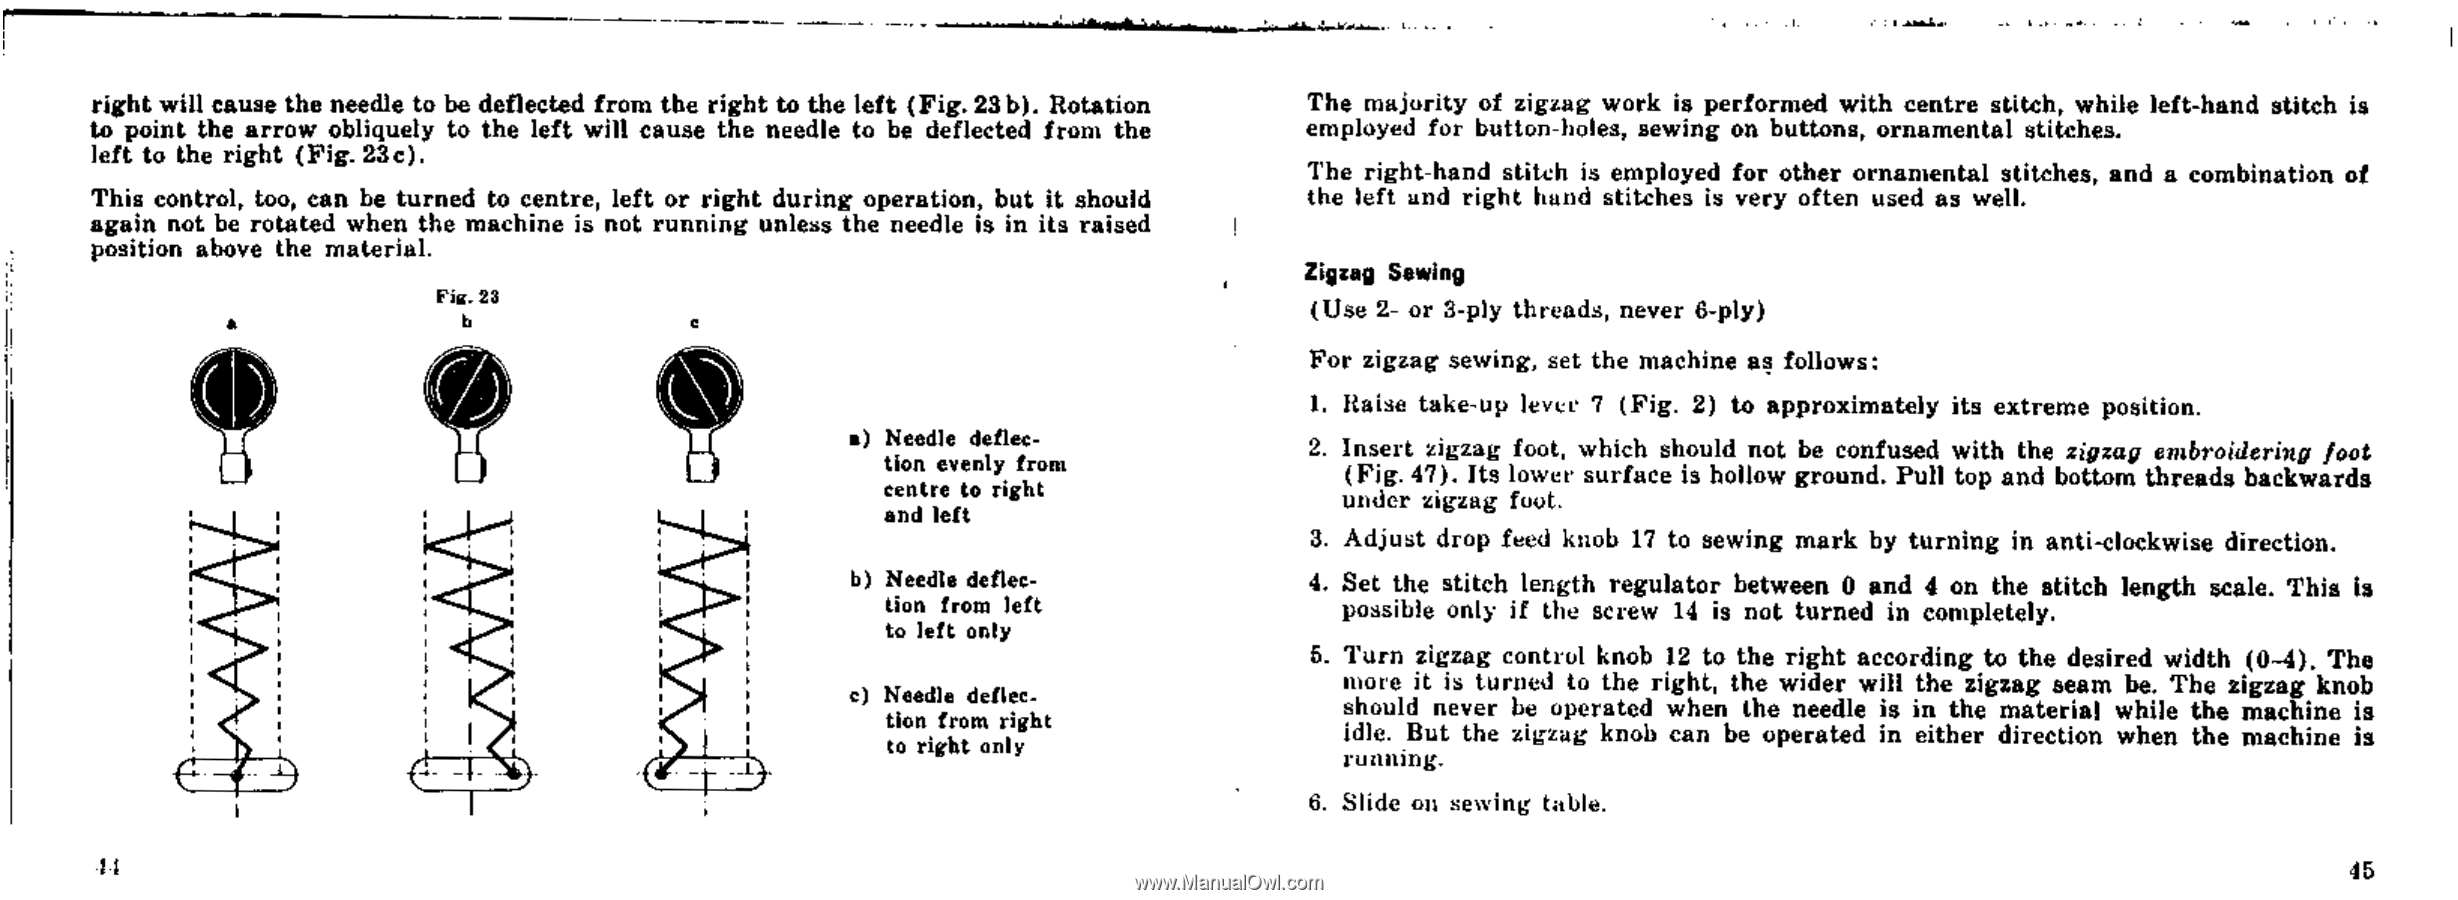
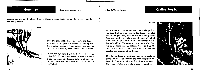
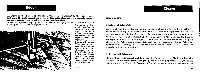
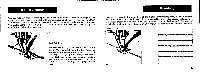
right will cause the needle to be deflected from the right to the left (Fig. 23 b). Rotation to point the arrow obliquely to the left will cause the needle to be deflected from the left to the right (Fig. 23c). This control, too, can be turned to centre, left or right during operation, but it should again not be rotated when the machine is not running unless the needle is in its raised position above the material. Fig. 23 a) Needle deflection evenly from centre to right and left to) Needle deflection from left to left only c) Needle deflection from right to right only 11 The majority of zigzag work is performed with centre stitch, while left-hand stitch is employed for button-boles, sewing on buttons, ornamental stitches. The right-hand stitch is employed for other ornamental stitches, and a combination of the left and right hand stitches is very often used as well. Zigzag Sawing (Use 2- or 3-ply threads, never 6-ply) For zigzag sewing, set the machine as follows: 1. Raise take-up levet. 7 (Fig. 2) to approximately its extreme position. 2. Insert zigzag foot, which should not be confused with the zigzag embroidering foot (Fig. 47). Its lower surface is hollow ground. Pull top and bottom threads backwards under zigzag foot. 3. Adjust drop feed knob 17 to sewing mark by turning in anti-clockwise direction. 4. Set the stitch length regulator between 0 and 4 on the stitch length scale. This Is possible only if the screw 14 is not turned in completely. 5. Turn zigzag control knob 12 to the right according to the desired width (0-4). The more it is turned to the right, the wider will the zigzag seam be. The zigzag knob should never be operated when the needle is in the material while the machine is idle. But the zigzag knob can be operated in either direction when the machine is running. 6. Slide on sewing table. 45
-
 1
1 -
2
-
3
-
4
-
5
-
6
-
7
-
8
-
9
-
10
-
11
-
12
-
13
-
14
-
15
-
16
-
17
-
18
-
19
-
 20
20 -
 21
21 -
 22
22 -
 23
23 -
 24
24 -
 25
25 -
 26
26 -
 27
27 -
 28
28 -
 29
29 -
 30
30 -
31
-
32
-
33
-
34
-
35
-
36
-
37
-
38
-
39
-
40
-
41
-
42
-
43
-
44
-
45
-
46
-
47
-
48
-
49
-
50
-
51
-
52
-
53
-
54
 |
 |