Brother International HL-4200CN Quick Setup Guide - English - Page 36
For Administrators, Setting your IP Address, Subnet Mask and Gateway (Using the Control panel)
 |
View all Brother International HL-4200CN manuals
Add to My Manuals
Save this manual to your list of manuals |
Page 36 highlights
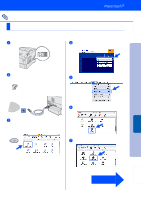
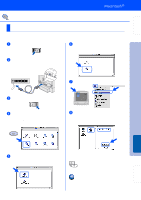
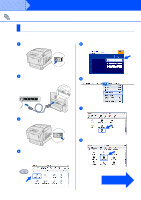
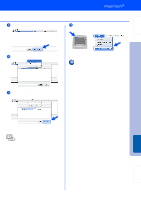
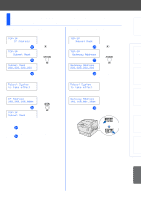
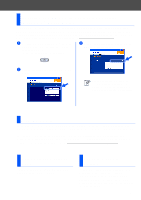
■ For Administrators Setting your IP Address, Subnet Mask and Gateway (Using the Control panel) Your printer is configured to receive an IP address, Subnet mask and Gateway address from a DHCP server. If you do not use a DHCP server follow the steps below. Setting the IP Address Acquisition Method to Control Panel. 1 Press . MENU 1:System 2 Press 4 times. Menu 5:Network 3 Press . 5:Network Ethernet 4 Press . 5:Network TCP/IP 5 Press . TCP/IP Setup IP Address 6 Press . Setup IP Address DHCP * 7 Press Setup IP Address Panel 8 Press . Reboot System to take effect 3 seconds later, an asterisk appears. Setup IP Address Panel * 9 Press . TCP/IP Setup IP Address Setting Your Printer IP Address. Continued from the previous step. TCP/IP Setup IP Address 0 Press . TCP/IP IP Address A Press . IP Address 000.000.000.000 B Using or , set the desired value (for example 192). IP Address 192.000.000.000 C Press and move the cursor to the next value. IP Address 192.000.000.000 D Repeat Steps B and C to finish setting you IP address. IP Address 192.168.001.100 E Press . Reboot System to take effect 3 seconds later, an asterisk appears. IP Address 192.168.001.100* F Press . TCP/IP IP Address 35
-
 1
1 -
2
-
3
-
4
-
5
-
6
-
7
-
8
-
9
-
10
-
11
-
12
-
13
-
14
-
15
-
16
-
17
-
18
-
19
-
20
-
21
-
22
-
23
-
24
-
25
-
26
-
27
-
28
-
29
-
30
-
 31
31 -
 32
32 -
 33
33 -
 34
34 -
 35
35 -
 36
36 -
 37
37 -
 38
38 -
 39
39 -
 40
40 -
 41
41
 |
 |
