Brother International MFC 3220C Quick Setup Guide - English - Page 8
Installing the Ink Cartridges, Installing the Ink, Cartridges - print head
 |
UPC - 012502607106
View all Brother International MFC 3220C manuals
Add to My Manuals
Save this manual to your list of manuals |
Page 8 highlights
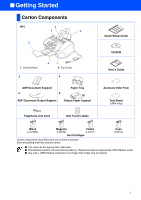
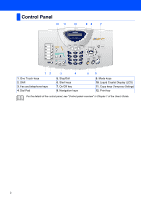
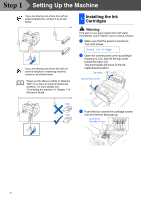
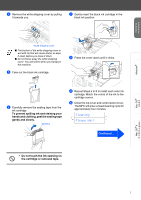
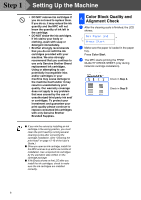
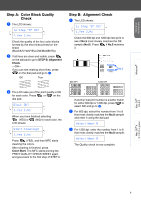
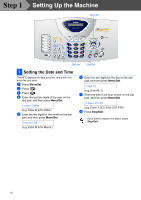
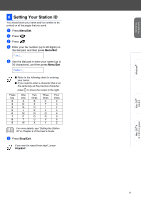
Step 1 Setting Up the Machine If you are sharing one phone line with an external telephone, connect it as shown below. If you are sharing one phone line with an external telephone answering machine, connect it as shown below. Please set the Receive Mode to "External TAD" if you have an external answering machine. For more details, see "Connecting the machine" in Chapter 1 of the User's Guide. 5 Installing the Ink Cartridges Warning If ink gets in your eyes irrigate them with water immediately, and if irritation occurs consult a doctor. 1 Make sure that the power is turned on. The LCD shows; Check Cartridge 2 Open the control panel cover by pulling it toward you (1), then lift the top cover toward the back (2). The print heads will move to the ink replacement position. Top Cover Control Panel Cover TAD 3 Push the four colored ink cartridge covers TAD one at a time so they pop up. Colored Ink Cartridge Covers PUSH PUSH PUSH PUSH 6
-
 1
1 -
2
-
 3
3 -
 4
4 -
 5
5 -
 6
6 -
 7
7 -
 8
8 -
 9
9 -
 10
10 -
 11
11 -
 12
12 -
 13
13 -
14
-
15
-
16
-
17
-
18
-
19
-
20
-
21
-
22
-
23
-
24
-
25
-
26
-
27
-
28
-
29
-
30
-
31
 |
 |
