Canon 8400F CanoScan 8400F Quick Start Guide - Page 16
Select the [Output Size]., Click [Scan]., Save the scanned image., Click close box, Windows or, - scanner software
 |
UPC - 013803045703
View all Canon 8400F manuals
Add to My Manuals
Save this manual to your list of manuals |
Page 16 highlights
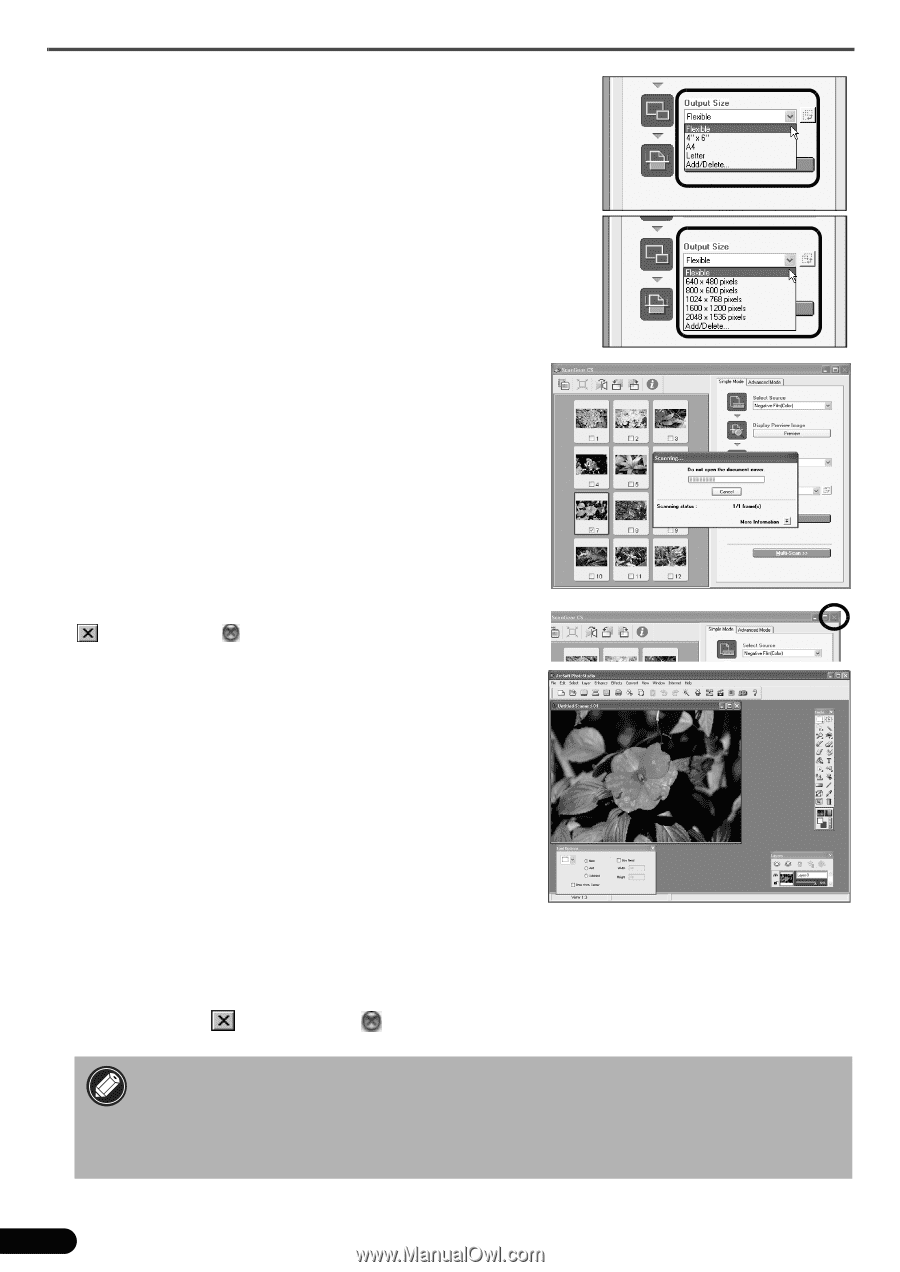
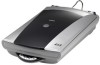
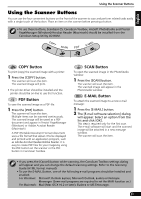
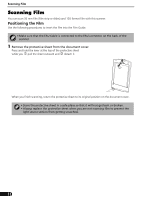
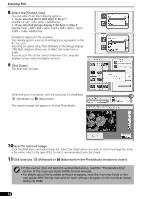
Scanning Film 8 Select the [Output Size]. You can select from the following options. • If you selected [Print (300 dpi)] in Step 7: Flexible / 4"x6" / A4 / Letter / Add/Delete • If you selected [Image display (150 dpi)] in Step 7: Flexible / 640 x 480 / 800 x 600 / 1024 x 768 / 1600 x 1200 / 2048 x 1536 / Add/Delete [Flexible] is selected in this example. The Flexible option scans at an enlarged size equivalent to the 4" x 6" size. Selecting an option other than [Flexible] in the [Image Display (150 dpi)] category allows you to select the output size in pixels. You can scan film at the correct dimensions for computer displays (screen area) and digital cameras. 9 Click [Scan]. The final scan will start. When the scan is complete, click the ScanGear CS close box (Windows) or (Macintosh). The scanned image will appear in ArcSoft PhotoStudio. 10Save the scanned image. Click the [File] menu and select [Save As]. Select the folder where you wish to store the image file, enter a file name, select a file type (JPEG format is recommended) and click [Save]. 11Click close box (Windows) or (Macintosh) in the PhotoStudio window to close it. • If the scanner does not perform as described above, read the "Troubleshooting" section of the Scanning Guide (HTML format manual). • For details about the bundled software programs, read the Scanning Guide or the user guides (PDF format manuals) for each software program on the CanoScan Setup Utility CD-ROM. 16
-
 1
1 -
2
-
3
-
4
-
5
-
6
-
7
-
8
-
9
-
10
-
 11
11 -
 12
12 -
 13
13 -
 14
14 -
 15
15 -
 16
16 -
 17
17 -
 18
18
 |
 |