Canon EOS M3 EF-M 18-55mm IS STM Kit User Guide - Page 74
Shooting in Manual Focus Mode
 |
View all Canon EOS M3 EF-M 18-55mm IS STM Kit manuals
Add to My Manuals
Save this manual to your list of manuals |
Page 74 highlights
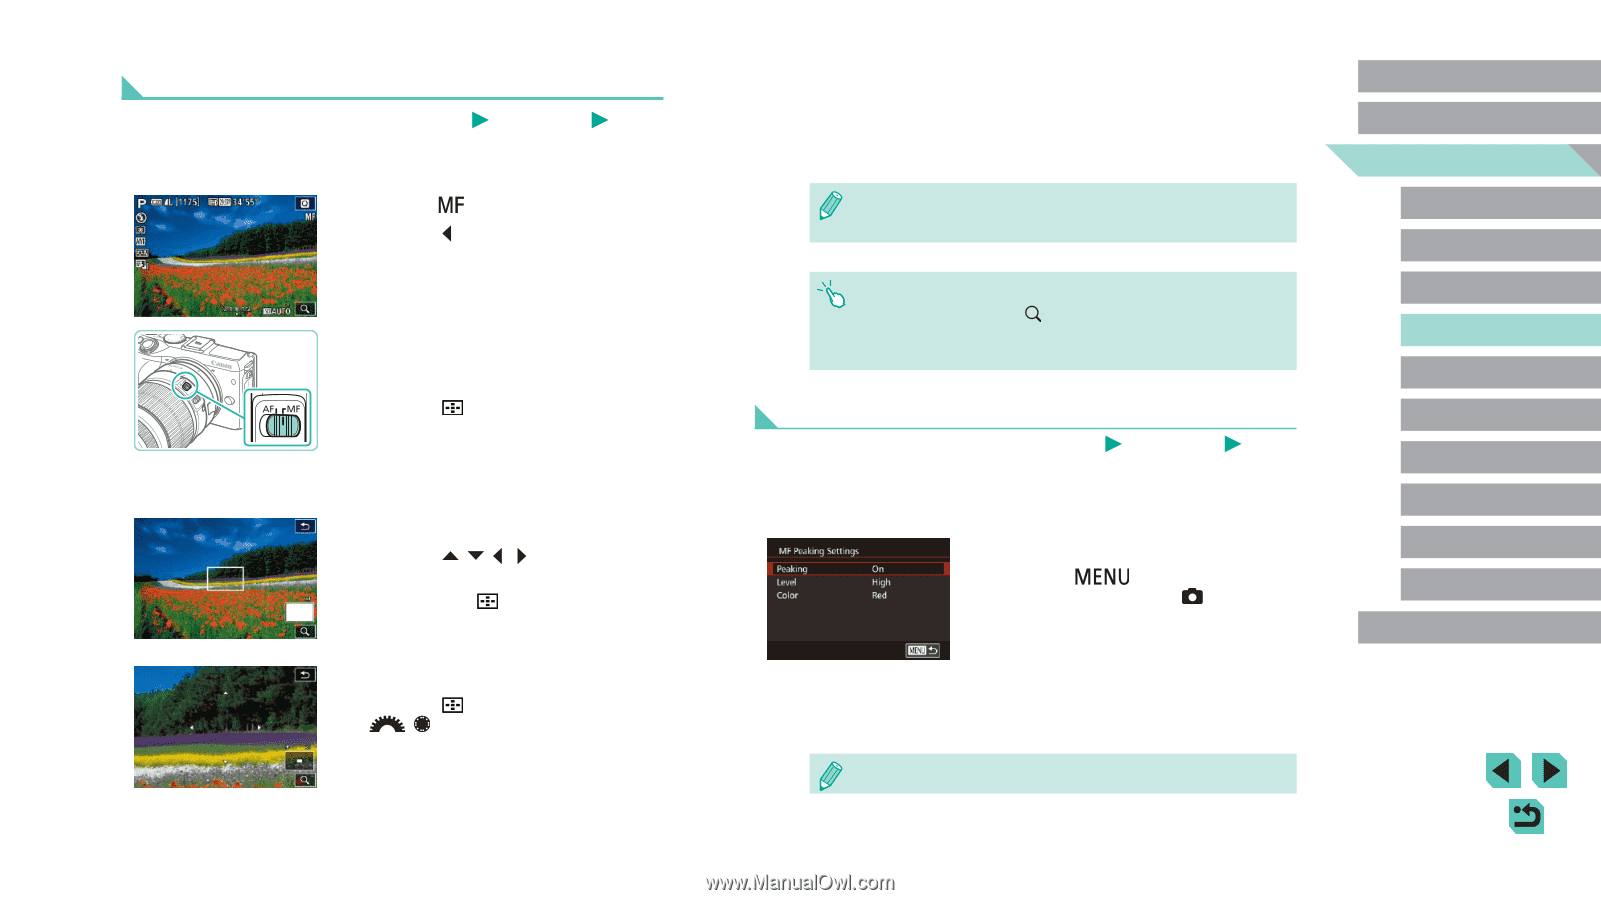
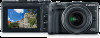
Shooting in Manual Focus Mode Still Images Movies When focusing is not possible in AF mode, use manual focus. Magnifying the screen display will make it easier to focus. 1 Choose [ ]. ●●Press the [ ] button if you have an EF-M lens attached. ●●If you have a non-EF-M lens, turn off the camera, set the lens switch to [MF], and then turn the camera back on. ●●[MF] is displayed. 2 Display the magnifying frame. ●●Press the [ ] button. ●●The magnifying frame will appear in the center of the screen. On the bottom right, you will see a magnification ratio and the area currently being magnified. 3 Select the area to magnify. ●●Press the buttons to move the frame and select the area to magnify. ●●Hold down the [ ] button for at least two seconds to reset the frame to the center of the screen. 4 Use the magnified display. ●●Press the [ ] button or turn the [ ][ ] dials to switch the overall magnification between 1x (no magnification), 5x, or 10x. 5 Focus. ●●While looking at the magnified display, turn the lens focusing ring to focus. 6 Shoot. ●● If [Continuous AF] is set to [Off], you do not need to turn off the camera when switching to [MF] when using a non-EF-M lens. ●● You can drag the frame in step 3 to move the magnified display. ●● You can also touch the [ ] on the bottom right to change the magnification level or drag the screen to change the magnified display position. Easily Identifying the Focus Area (MF Peaking) Still Images Movies Edges of subjects in focus are displayed in color to make manual focusing easier. You can adjust the colors and the sensitivity (level) of edge detection as needed. 1 Access the setting screen. ●●Press the [ ] button, choose [MF Peaking Settings] on the [ 2] tab, and then set [Peaking] to [On] (=32). 2 Configure the setting. ●●Choose a menu item to configure, and then choose the desired option (=32). ●● Colors displayed for MF peaking are not recorded in your shots. Before Use Basic Guide Advanced Guide 1 Camera Basics 2 Auto Mode / Hybrid Auto Mode 3 Other Shooting Modes 4 P Mode 5 Tv, Av, aMn,danMdMCoMdeodes 6 Playback Mode 7 Wi-Fi Functions 8 Set-Up Menu 9 Accessories 10 Appendix Index 74
-
 1
1 -
2
-
3
-
4
-
5
-
6
-
7
-
8
-
9
-
10
-
11
-
12
-
13
-
14
-
15
-
16
-
17
-
18
-
19
-
20
-
21
-
22
-
23
-
24
-
25
-
26
-
27
-
28
-
29
-
30
-
31
-
32
-
33
-
34
-
35
-
36
-
37
-
38
-
39
-
40
-
41
-
42
-
43
-
44
-
45
-
46
-
47
-
48
-
49
-
50
-
51
-
52
-
53
-
54
-
55
-
56
-
57
-
58
-
59
-
60
-
61
-
62
-
63
-
64
-
65
-
66
-
67
-
68
-
 69
69 -
 70
70 -
 71
71 -
 72
72 -
 73
73 -
 74
74 -
 75
75 -
 76
76 -
 77
77 -
 78
78 -
 79
79 -
80
-
81
-
82
-
83
-
84
-
85
-
86
-
87
-
88
-
89
-
90
-
91
-
92
-
93
-
94
-
95
-
96
-
97
-
98
-
99
-
100
-
101
-
102
-
103
-
104
-
105
-
106
-
107
-
108
-
109
-
110
-
111
-
112
-
113
-
114
-
115
-
116
-
117
-
118
-
119
-
120
-
121
-
122
-
123
-
124
-
125
-
126
-
127
-
128
-
129
-
130
-
131
-
132
-
133
-
134
-
135
-
136
-
137
-
138
-
139
-
140
-
141
-
142
-
143
-
144
-
145
-
146
-
147
-
148
-
149
-
150
-
151
-
152
-
153
-
154
-
155
-
156
-
157
-
158
-
159
-
160
-
161
-
162
-
163
-
164
-
165
-
166
-
167
-
168
-
169
-
170
-
171
-
172
-
173
-
174
-
175
-
176
-
177
-
178
-
179
-
180
-
181
-
182
-
183
-
184
-
185
-
186
-
187
-
188
-
189
-
190
-
191
-
192
-
193
-
194
-
195
-
196
-
197
-
198
-
199
-
200
-
201
 |
 |