Canon PowerShot SD870 IS PowerShot SD870 IS DIGITAL ELPH / DIGITAL IXUS 860 IS - Page 167
Select], Select Range], Protect the image., Select the first image.
 |
UPC - 013803085136
View all Canon PowerShot SD870 IS manuals
Add to My Manuals
Save this manual to your list of manuals |
Page 167 highlights
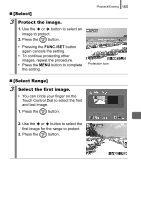
„ [Select] 3 Protect the image. 1. Use the or button to select an image to protect. 2. Press the button. • Pressing the FUNC./SET button again cancels the setting. • To continue protecting other images, repeat the procedure. • Press the MENU button to complete the setting. Playback/Erasing 165 Protection Icon „ [Select Range] 3 Select the first image. • You can circle your finger on the Touch Control Dial to select the first and last image. 1. Press the button. 2. Use the or button to select the first image for the range to protect. 3. Press the button.
-
 1
1 -
2
-
3
-
4
-
5
-
6
-
7
-
8
-
9
-
10
-
11
-
12
-
13
-
14
-
15
-
16
-
17
-
18
-
19
-
20
-
21
-
22
-
23
-
24
-
25
-
26
-
27
-
28
-
29
-
30
-
31
-
32
-
33
-
34
-
35
-
36
-
37
-
38
-
39
-
40
-
41
-
42
-
43
-
44
-
45
-
46
-
47
-
48
-
49
-
50
-
51
-
52
-
53
-
54
-
55
-
56
-
57
-
58
-
59
-
60
-
61
-
62
-
63
-
64
-
65
-
66
-
67
-
68
-
69
-
70
-
71
-
72
-
73
-
74
-
75
-
76
-
77
-
78
-
79
-
80
-
81
-
82
-
83
-
84
-
85
-
86
-
87
-
88
-
89
-
90
-
91
-
92
-
93
-
94
-
95
-
96
-
97
-
98
-
99
-
100
-
101
-
102
-
103
-
104
-
105
-
106
-
107
-
108
-
109
-
110
-
111
-
112
-
113
-
114
-
115
-
116
-
117
-
118
-
119
-
120
-
121
-
122
-
123
-
124
-
125
-
126
-
127
-
128
-
129
-
130
-
131
-
132
-
133
-
134
-
135
-
136
-
137
-
138
-
139
-
140
-
141
-
142
-
143
-
144
-
145
-
146
-
147
-
148
-
149
-
150
-
151
-
152
-
153
-
154
-
155
-
156
-
157
-
158
-
159
-
160
-
161
-
 162
162 -
 163
163 -
 164
164 -
 165
165 -
 166
166 -
 167
167 -
 168
168 -
 169
169 -
 170
170 -
 171
171 -
 172
172 -
173
-
174
-
175
-
176
-
177
-
178
-
179
-
180
-
181
-
182
-
183
-
184
-
185
-
186
-
187
-
188
-
189
-
190
-
191
-
192
-
193
-
194
-
195
-
196
-
197
-
198
-
199
-
200
-
201
-
202
-
203
-
204
-
205
-
206
-
207
-
208
-
209
-
210
-
211
-
212
-
213
-
214
-
215
-
216
-
217
-
218
-
219
-
220
-
221
-
222
-
223
-
224
-
225
-
226
-
227
-
228
-
229
-
230
-
231
-
232
-
233
-
234
-
235
-
236
-
237
-
238
-
239
-
240
-
241
-
242
-
243
 |
 |
Playback/Erasing
165
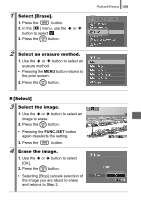
[Select]
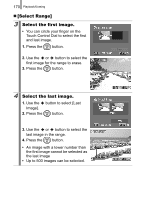
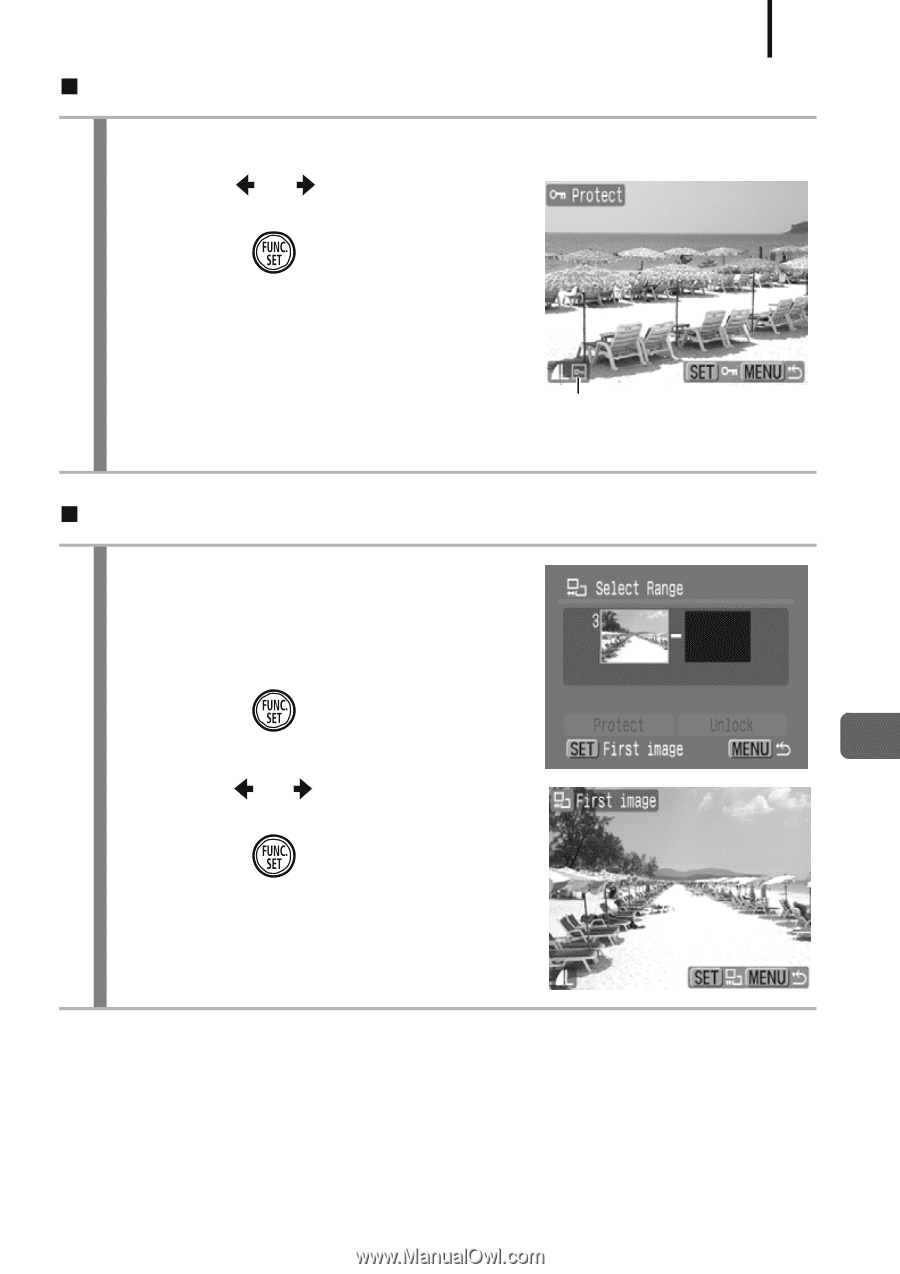
[Select Range]
3
Protect the image.
1.
Use the
or
button to select an
image to protect.
2.
Press the
button.
•
Pressing the
FUNC./SET
button
again cancels the setting.
•
To continue protecting other
images, repeat the procedure.
•
Press the
MENU
button to complete
the setting.
3
Select the first image.
•
You can circle your finger on the
Touch Control Dial to select the first
and last image.
1.
Press the
button.
2.
Use the
or
button to select the
first image for the range to protect.
3.
Press the
button.
Protection Icon