Canon PowerShot SX710 HS User Guide - Page 120
Registering Other Web Services
 |
View all Canon PowerShot SX710 HS manuals
Add to My Manuals
Save this manual to your list of manuals |
Page 120 highlights
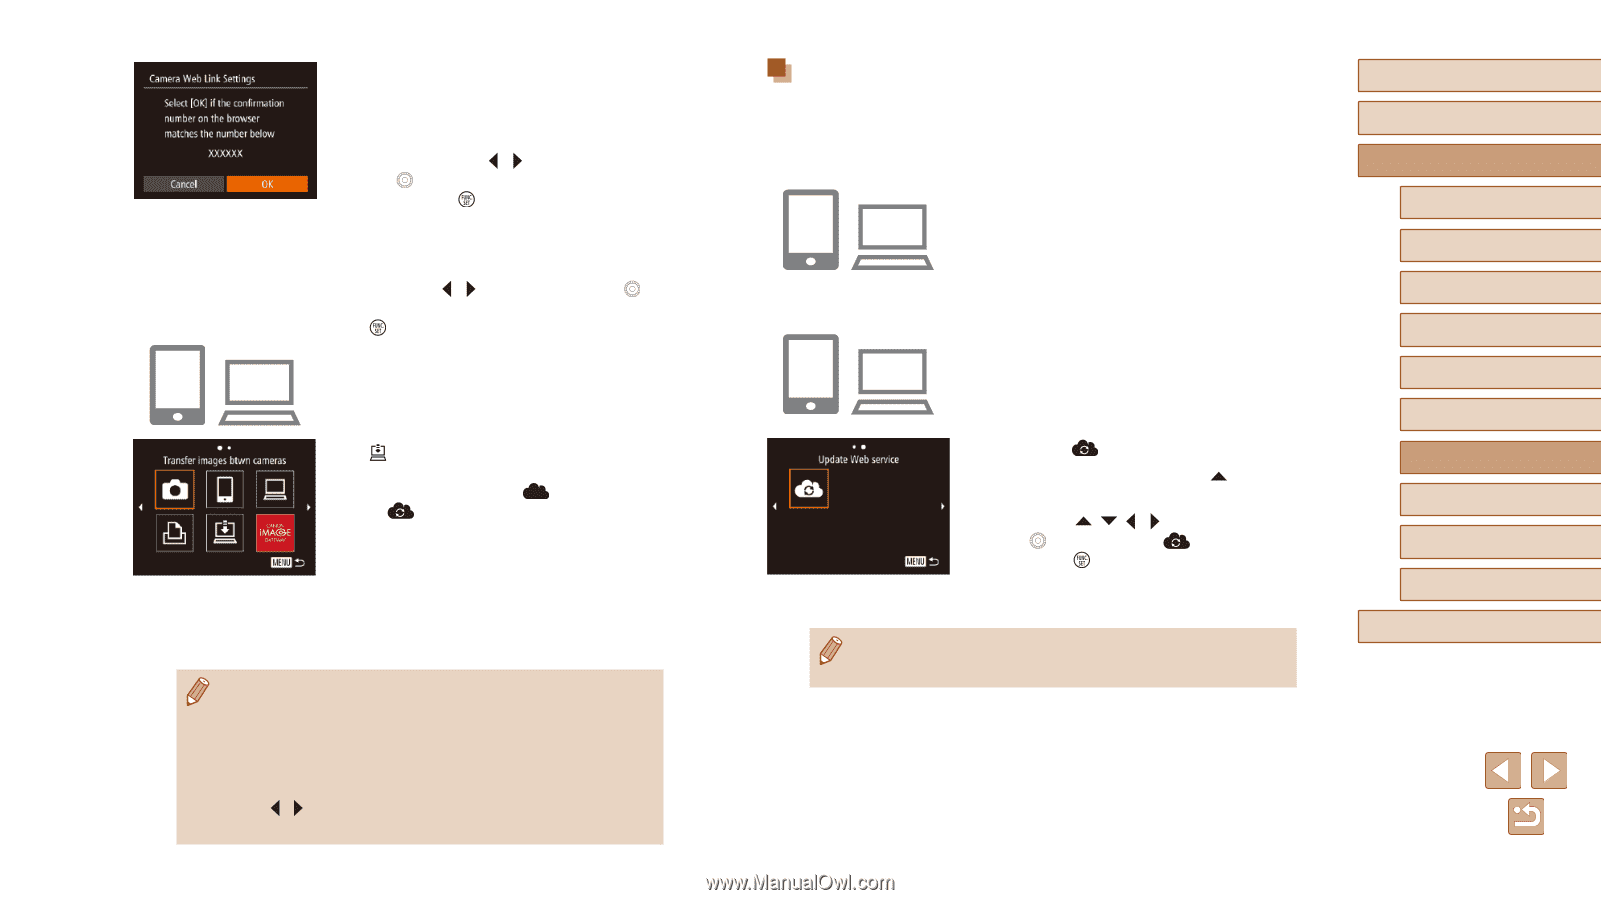
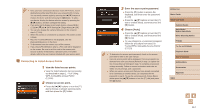
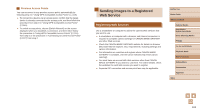
8 Check the confirmation number and complete the setup process. ●●Check the confirmation number on the second screen in step 6 (displayed after you pressed the [ ][ ] buttons or turned the [ ] dial to choose [OK], and then pressed the [ ] button). ●●Make sure the confirmation number on the camera matches the number on the smartphone or computer. ●●Press the [ ][ ] buttons or turn the [ ] dial to choose [OK], and then press the [ ] button. ●●Complete the setup process on the smartphone or computer. ●●[ ] (=127) and CANON iMAGE GATEWAY are now added as destinations, and the [ ] icon changes to [ ]. ●●A message is displayed on the smartphone or computer to indicate that this process is finished. You can add other Web services, as needed. In this case, follow the instructions from step 2 in "Registering Other Web Services" (= 120). ●● Connections require that a memory card with saved images be in the camera. ●● You can also change the camera nickname on the screen in step 3 (=131). ●● Once you have connected to devices via the Wi-Fi menu, recent destinations will be listed first when you access the menu. Press the [ ][ ] buttons to access the device selection screen and then configure the setting. Registering Other Web Services You can also add Web services besides CANON iMAGE GATEWAY to the camera. Note that CANON iMAGE GATEWAY must be registered on the camera first (=119). 1 Access the Web service settings screen. ●●Follow step 1 in "Registering CANON iMAGE GATEWAY" (= 119) to log in to CANON iMAGE GATEWAY, and then access the Web service settings screen. 2 Configure the Web service you want to use. ●●Follow the instructions displayed on the smartphone or computer to set up the Web service. 3 Choose [ ]. ●●In Playback mode, press the [ ] button to access the Wi-Fi menu. ●●Press the buttons or turn the [ ] dial to choose [ ], and then press the [ ] button. ●●The Web service settings are now updated. ●● If any configured settings change, follow these steps again to update the camera settings. Before Use Basic Guide Advanced Guide Camera Basics Auto Mode / Hybrid Auto Mode Other Shooting Modes P Mode Tv, Av, and M Mode Playback Mode Wi-Fi Functions Setting Menu Accessories Appendix Index 120
-
 1
1 -
2
-
3
-
4
-
5
-
6
-
7
-
8
-
9
-
10
-
11
-
12
-
13
-
14
-
15
-
16
-
17
-
18
-
19
-
20
-
21
-
22
-
23
-
24
-
25
-
26
-
27
-
28
-
29
-
30
-
31
-
32
-
33
-
34
-
35
-
36
-
37
-
38
-
39
-
40
-
41
-
42
-
43
-
44
-
45
-
46
-
47
-
48
-
49
-
50
-
51
-
52
-
53
-
54
-
55
-
56
-
57
-
58
-
59
-
60
-
61
-
62
-
63
-
64
-
65
-
66
-
67
-
68
-
69
-
70
-
71
-
72
-
73
-
74
-
75
-
76
-
77
-
78
-
79
-
80
-
81
-
82
-
83
-
84
-
85
-
86
-
87
-
88
-
89
-
90
-
91
-
92
-
93
-
94
-
95
-
96
-
97
-
98
-
99
-
100
-
101
-
102
-
103
-
104
-
105
-
106
-
107
-
108
-
109
-
110
-
111
-
112
-
113
-
114
-
 115
115 -
 116
116 -
 117
117 -
 118
118 -
 119
119 -
 120
120 -
 121
121 -
 122
122 -
 123
123 -
 124
124 -
 125
125 -
126
-
127
-
128
-
129
-
130
-
131
-
132
-
133
-
134
-
135
-
136
-
137
-
138
-
139
-
140
-
141
-
142
-
143
-
144
-
145
-
146
-
147
-
148
-
149
-
150
-
151
-
152
-
153
-
154
-
155
-
156
-
157
-
158
-
159
-
160
-
161
-
162
-
163
-
164
-
165
-
166
-
167
-
168
-
169
-
170
-
171
-
172
-
173
-
174
-
175
-
176
-
177
 |
 |