Canon PowerShot SX710 HS User Guide - Page 46
Checking and Editing Registered Information
 |
View all Canon PowerShot SX710 HS manuals
Add to My Manuals
Save this manual to your list of manuals |
Page 46 highlights
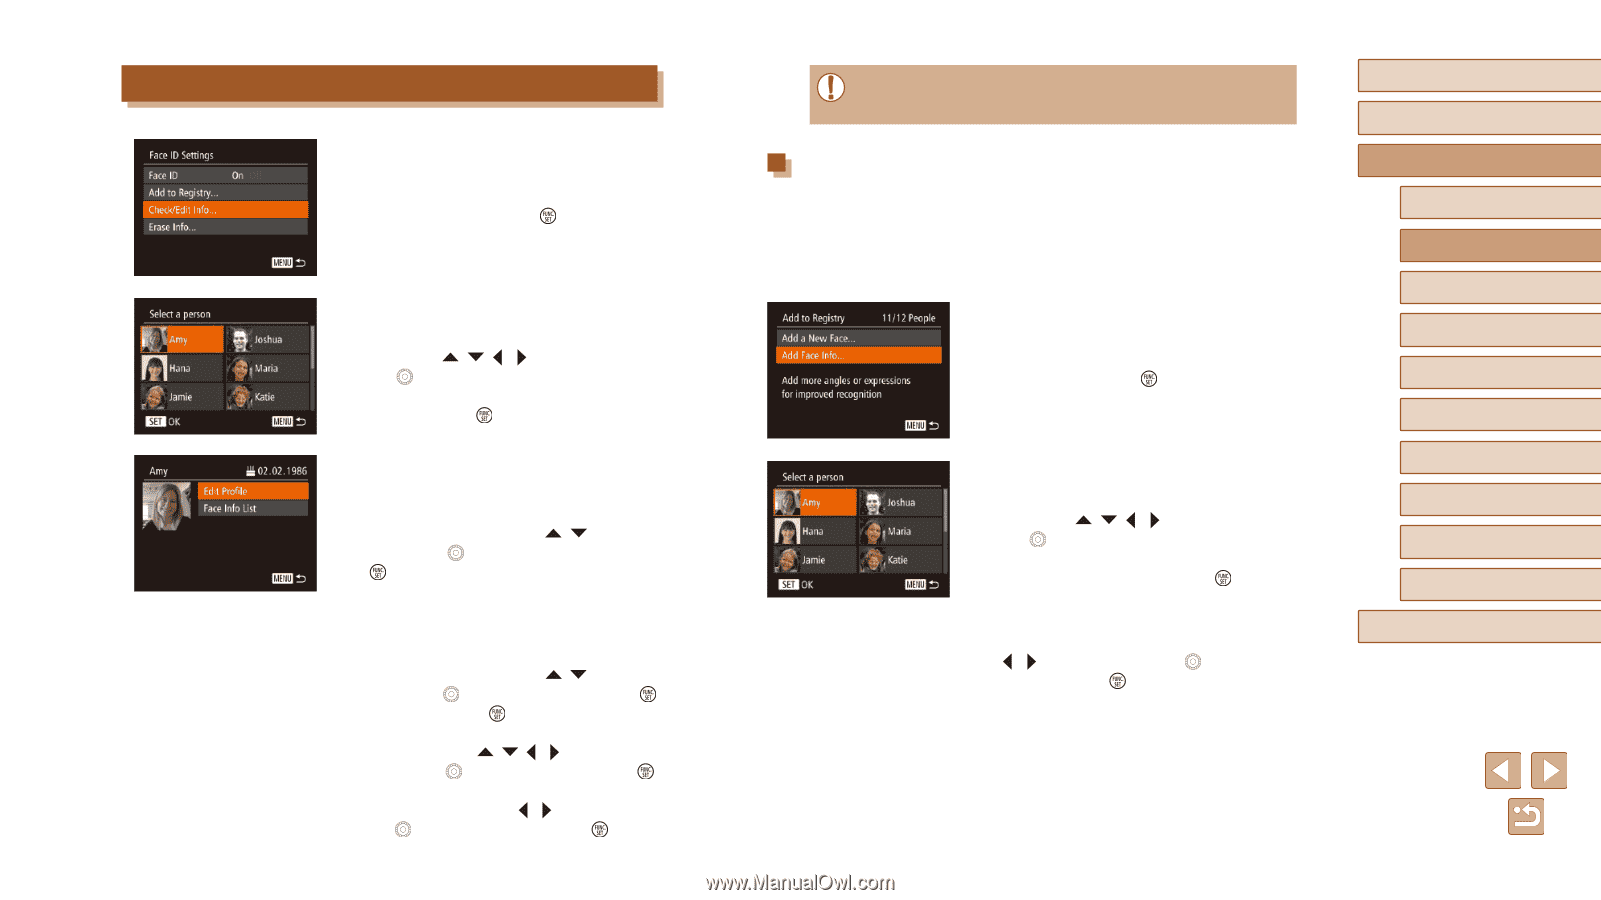
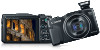
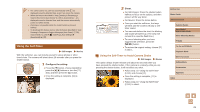
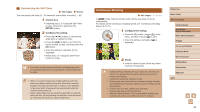
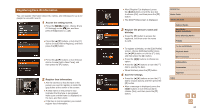
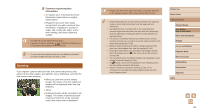
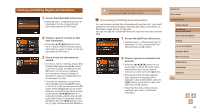
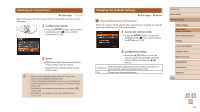
Checking and Editing Registered Information 1 Access the [Check/Edit Info] screen. ●●Following step 1 in "Registering Face ID Information" (=44), choose [Check/ Edit Info] and press the [ ] button. 2 Choose a person to check or edit their information. ●●Press the buttons or turn the [ ] dial to choose the person whose information you want to check or edit, and then press the [ ] button. 3 Check or edit the information as needed. ●●To check a name or birthday, choose [Edit Profile] (either press the [ ][ ] buttons or turn the [ ] dial), and then press the [ ] button. On the screen displayed, you can edit the name or birthday as described in step 3 of "Registering Face ID Information" (=44). ●●To check face information, choose [Face Info List] (either press the [ ][ ] buttons or turn the [ ] dial), and then press the [ ] button. Press the [ ] button on the screen displayed, choose face information to erase by pressing the buttons or turning the [ ] dial, and then press the [ ] button. After [Erase?] is displayed, choose [OK] (either press the [ ][ ] buttons or turn the [ ] dial), and then press the [ ] button. ●● Even if you change names in [Edit Profile], the names recorded in previously shot images will remain the same. Overwriting and Adding Face Information You can overwrite existing face information with new face info. You should update face information regularly, especially with babies and children, as their faces change quickly as they grow. You can also add face information when all 5 face info slots have not been filled. 1 Access the [Add Face Info] screen. ●●Following step 1 in "Registering Face ID Information" (=44), choose [Add Face Info] and press the [ ] button. 2 Choose a person to overwrite their face info. ●●Press the buttons or turn the [ ] dial to choose the name of the person whose face info you want to overwrite, and then press the [ ] button. ●●If five items of face info have already been registered, a message will be displayed. Choose [OK] (either press the [ ][ ] buttons or turn the [ ] dial), and then press the [ ] button. ●●If less than five items of face info are registered, go to step 4 to add face information. Before Use Basic Guide Advanced Guide Camera Basics Auto Mode / Hybrid Auto Mode Other Shooting Modes P Mode Tv, Av, and M Mode Playback Mode Wi-Fi Functions Setting Menu Accessories Appendix Index 46
-
 1
1 -
2
-
3
-
4
-
5
-
6
-
7
-
8
-
9
-
10
-
11
-
12
-
13
-
14
-
15
-
16
-
17
-
18
-
19
-
20
-
21
-
22
-
23
-
24
-
25
-
26
-
27
-
28
-
29
-
30
-
31
-
32
-
33
-
34
-
35
-
36
-
37
-
38
-
39
-
40
-
 41
41 -
 42
42 -
 43
43 -
 44
44 -
 45
45 -
 46
46 -
 47
47 -
 48
48 -
 49
49 -
 50
50 -
 51
51 -
52
-
53
-
54
-
55
-
56
-
57
-
58
-
59
-
60
-
61
-
62
-
63
-
64
-
65
-
66
-
67
-
68
-
69
-
70
-
71
-
72
-
73
-
74
-
75
-
76
-
77
-
78
-
79
-
80
-
81
-
82
-
83
-
84
-
85
-
86
-
87
-
88
-
89
-
90
-
91
-
92
-
93
-
94
-
95
-
96
-
97
-
98
-
99
-
100
-
101
-
102
-
103
-
104
-
105
-
106
-
107
-
108
-
109
-
110
-
111
-
112
-
113
-
114
-
115
-
116
-
117
-
118
-
119
-
120
-
121
-
122
-
123
-
124
-
125
-
126
-
127
-
128
-
129
-
130
-
131
-
132
-
133
-
134
-
135
-
136
-
137
-
138
-
139
-
140
-
141
-
142
-
143
-
144
-
145
-
146
-
147
-
148
-
149
-
150
-
151
-
152
-
153
-
154
-
155
-
156
-
157
-
158
-
159
-
160
-
161
-
162
-
163
-
164
-
165
-
166
-
167
-
168
-
169
-
170
-
171
-
172
-
173
-
174
-
175
-
176
-
177
 |
 |