Compaq Evo D510 Compaq Evo D510 Convertible Minitowerr Hardware Reference Guid - Page 17
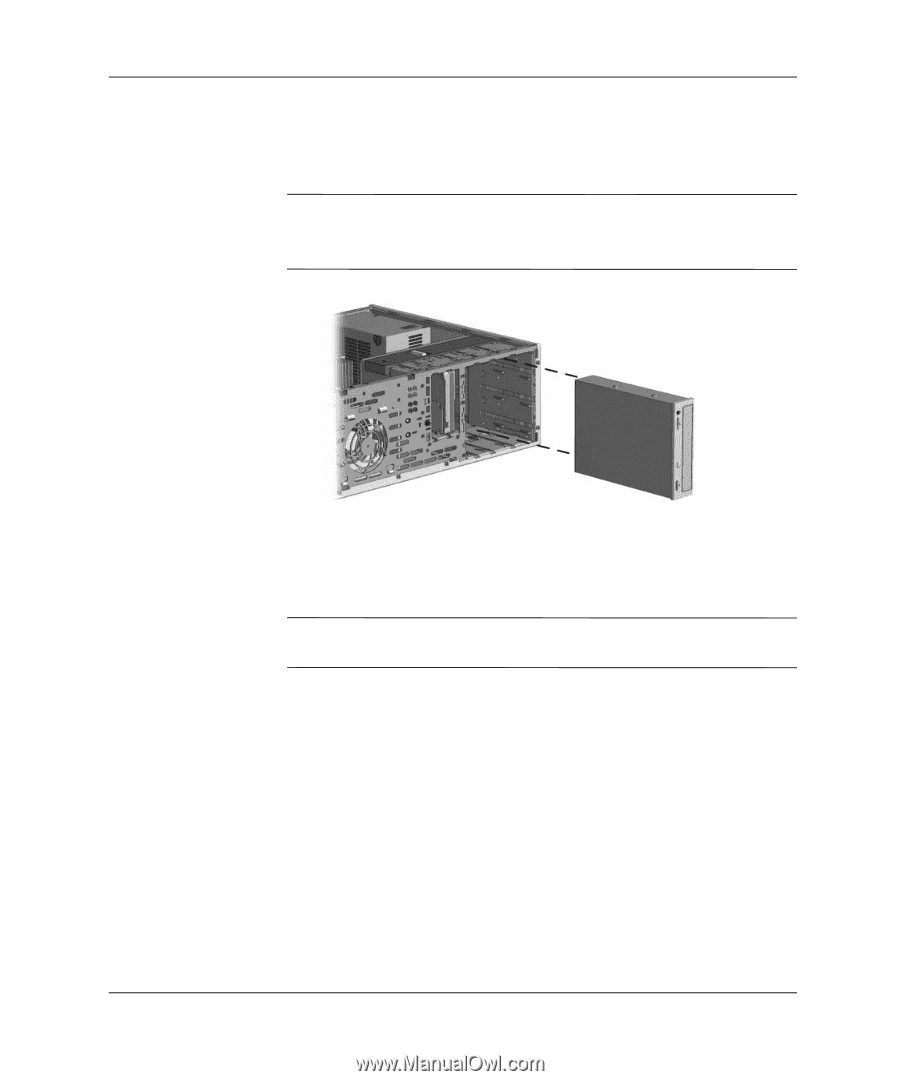
Installing a Drive in the Minitower Configuration, inserted, the drivelock will secure it.
 |
View all Compaq Evo D510 manuals
Add to My Manuals
Save this manual to your list of manuals |
Page 17 highlights
Product Features 7. Before you install each drive into the chassis, turn it so that it is in the same orientation as the internal 3.5-inch drive. The bottom of the drive should be parallel to the yellow drivelock. ✎ The diskette drive should always be placed in the bay nearest the internal 3.5-inch drives in the minitower configuration for proper clearance within the chassis. Installing a Drive in the Minitower Configuration 8. Gently slide the drive into the bay. When the drive is properly inserted, the drivelock will secure it. Ä CAUTION: The use of unnecessary force may result in damage to the drives. 9. Reconnect all power and data cables to the drives in the 5.25-inch drive bays. 1-12 Hardware Reference Guide
-
 1
1 -
2
-
3
-
4
-
5
-
6
-
7
-
8
-
9
-
10
-
11
-
 12
12 -
 13
13 -
 14
14 -
 15
15 -
 16
16 -
 17
17 -
 18
18 -
 19
19 -
 20
20 -
 21
21 -
 22
22 -
23
-
24
-
25
-
26
-
27
-
28
-
29
-
30
-
31
-
32
-
33
-
34
-
35
-
36
-
37
-
38
-
39
-
40
-
41
-
42
-
43
-
44
-
45
-
46
-
47
-
48
-
49
-
50
-
51
-
52
-
53
-
54
-
55
-
56
-
57
-
58
-
59
-
60
-
61
-
62
-
63
-
64
-
65
-
66
-
67
-
68
-
69
-
70
 |
 |
1–12
Hardware Reference Guide
Product Features
7.
Before you install each drive into the chassis, turn it so that it is in
the same orientation as the internal 3.5-inch drive. The bottom of
the drive should be parallel to the yellow drivelock.
✎
The diskette drive should always be placed in the bay nearest the
internal 3.5-inch drives in the minitower configuration for proper
clearance within the chassis.
Installing a Drive in the Minitower Configuration
8.
Gently slide the drive into the bay. When the drive is properly
inserted, the drivelock will secure it.
Ä
CAUTION:
The use of unnecessary force may result in damage to the
drives.
9.
Reconnect all power and data cables to the drives in the 5.25-inch
drive bays.