Cub Cadet CC 30 e Electric Rider Operation Manual - Page 13
Lubrication, Adjustments
 |
View all Cub Cadet CC 30 e Electric Rider manuals
Add to My Manuals
Save this manual to your list of manuals |
Page 13 highlights
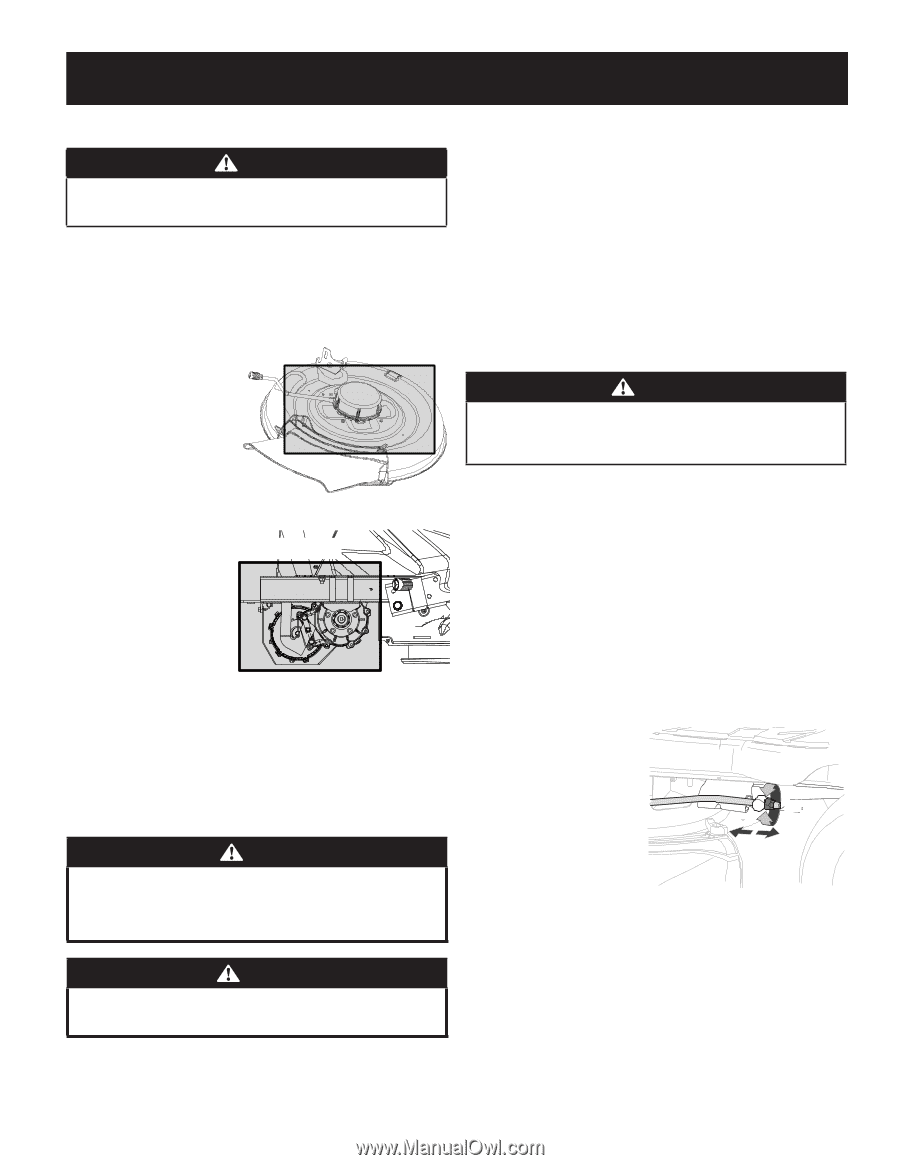
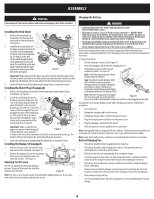
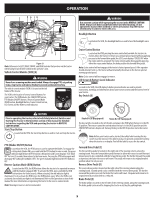
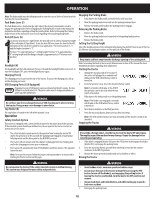
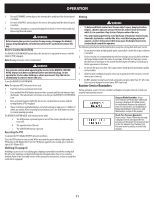
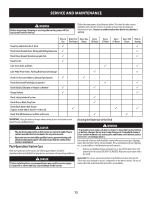
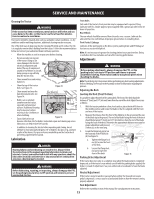
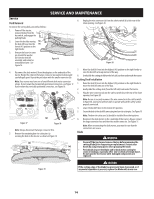
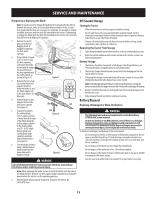
SERVICE AND MAINTENANCE Cleaning the Tractor WARNING If the tractor has been recently run, metal surfaces will be hot and can cause burns to the skin. Let the tractor cool for at least five minutes. Exercise caution to avoid burns. Your tractor should be cleaned after each use and under certain conditions, i.e. dry conditions and/or mulching situations, additional cleaning may be necessary. Front Axles: Each end of the tractor's front pivot bar may be equipped with a grease fitting. Lubricate with No. 2 multi-purpose grease applied with a grease gun after every 25 hours of operation. Rear Wheels: The rear wheels should be removed from the axles once a season. Lubricate the axles and the rims well with an all-purpose grease before re-installing them. Pivot Points & Linkage: One of the best ways to keep your tractor running efficiently and to reduce fire risk is to regularly remove debris buildup from the tractor. Follow the recommendations below and contact your authorized dealer with any questions. • Allow the machine to cool in an open area before cleaning. • Do not use water on any part of the tractor. Doing so can cause damage to the tractor's electrical components and motor. The use of compressed air and/or leaf blower or a brush, damp sponge or rag will help keep the tractor clean. • Clean around fuses and wiring harnesses. • Clean the top of the tractor deck. See Figure 13. Figure 13 • Clean around and near the transmission and axle. See Figure 14. Rear Wheel Not Shown for Clarity • Debris can accumulate anywhere on the tractor, especially on horizontal surfaces. Additional cleaning may be necessary when mowing in dry conditions or when mulching. • Excess lubrication can Figure 14 become collection sites for debris. Immediate repair and cleaning up excess lubrication can help reduce fire hazards. • In addition to cleaning the tractor before operating and storing, do not attempt to mow unusually tall grass (10" or higher), dry grass (e.g., pasture) or piles of dry leaves. Dry grass or leaves may build up on the tractor deck presenting a potential fire hazard. Lubrication DANGER Bearing failures and overheating can result in fire. Always follow the instructions in this manual regarding lubrication locations and intervals. Contact your authorized dealer with any questions about the lubrication locations and intervals or any unusual noises coming from any areas a bearing may be located. WARNING Before lubricating, repairing, or inspecting, always disengage the PTO, set the parking brake,turn key to OFF position and remove to prevent unintended starting. Lubricate all the pivot points on the drive system, parking brake and lift linkage at least once a season with light oil. Note: It is not necessary to grease the steering pinion/sector gear interface. Doing so will allow dirt to accumulate and can affect steering performance. Adjustments WARNING Before making adjustments, always disengage the PTO, set the parking brake, turn key to OFF position and remove to prevent unintended starting. Protect your hands by using heavy gloves when handling the blades. Note: Check the tractor's tire pressure before performing any deck leveling adjustments. Refer to Checking Tire Pressure in the Assembly section for information regarding tire pressure. Adjusting the Deck Leveling the Deck (Front-To-Rear) It is possible to adjust the pitch of the cutting deck. The front of the deck should be between 0" (level) and 1/4" (6.4 mm) lower than the rear of the deck. Adjust if necessary as follows: 1. With the tractor parked on a firm, level surface, place the deck lift lever in the middle position and rotate the blade so that it is aligned with the front and rear of the tractor. 2. Measure the distance from the front of the blade tip to the ground and the rear of the blade tip to the ground. The end of the blade facing the front of the deck should be between 0" (level) and 1/4" (6.4 mm) less than the end of the blade facing the back of the deck. Determine the approximate distance necessary for proper adjustment and proceed, if necessary, to the next step. 3. Locate the flange lock nut (a) on the front end of the PTO lift rod (b). See Figure 15. a. Tighten the flange lock nut (a) to raise the front of the deck. (b) (a) b. Loosen the flange lock nut (a) to lower the front of the deck. Figure 15 Parking Brake Adjustment If the tractor does not come to a complete stop when the brake pedal is completely depressed, or if the tractor's rear wheels can roll with the parking brake applied, the brake is in need of adjustment. See your authorized service dealer to have the brake adjusted. Neutral Adjustment If the tractor creeps forward or rearward when neither the forward nor reverse pedal is depressed, contact your local authorized dealer to have the neutral setting properly adjusted. Seat Adjustment Refer to the Assembly section of this manual for seat adjustment instructions. 13
-
 1
1 -
2
-
3
-
4
-
5
-
6
-
7
-
 8
8 -
 9
9 -
 10
10 -
 11
11 -
 12
12 -
 13
13 -
 14
14 -
 15
15 -
 16
16 -
 17
17 -
 18
18 -
19
-
20
-
21
-
22
-
23
-
24
-
25
-
26
-
27
-
28
-
29
-
30
-
31
-
32
-
33
-
34
 |
 |