Dell Latitude E5550 Dell LatitudeE5550 / 5550 Owners Manual - Page 60
Device Status Lights, <fn>, Enhanced Pre-boot System Assessment, Diagnostics, Run Tests
 |
View all Dell Latitude E5550 manuals
Add to My Manuals
Save this manual to your list of manuals |
Page 60 highlights
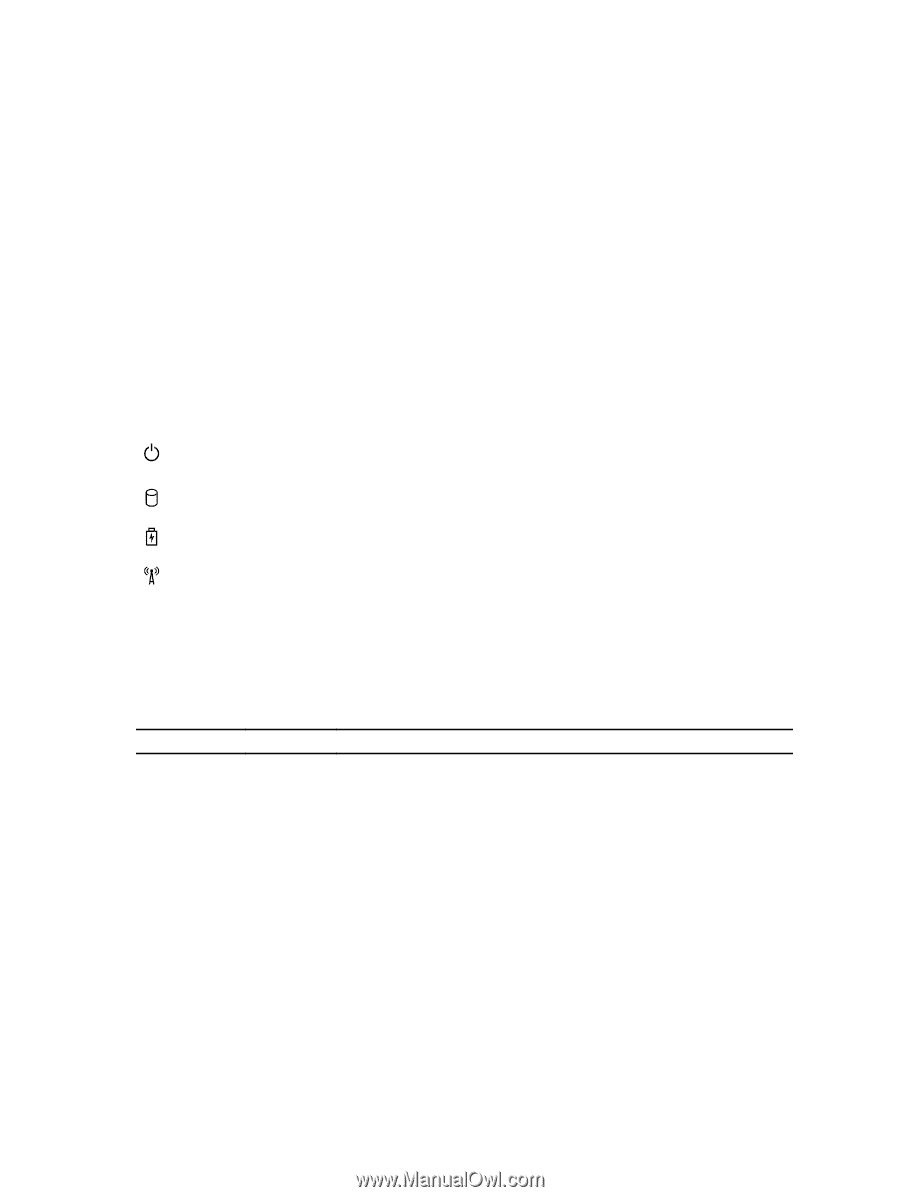
1. Shutdown the computer. 2. Press and hold the key, while pressing the power button, and then release both. The Enhanced Pre-boot System Assessment window displays, listing all devices detected in the computer. The diagnostics starts running the tests on all the detected devices. 3. On the boot menu screen, select the Diagnostics option. The Enhanced Pre-boot System Assessment window displays, listing all devices detected in the computer. The diagnostics starts running the tests on all the detected devices. 4. If you wish to run a diagnostic test on a specific device, press and click Yes to stop the diagnostic test. 5. Select the device from the left pane and click Run Tests 6. If there are any issues, error codes are displayed. Note the error code and contact Dell. Device Status Lights Table 29. Device Status Lights Turns on when you turn on the computer and blinks when the computer is in a power management mode. Turns on when the computer reads or writes data. Turns on steadily or blinks to indicate battery charge status. Turns on when wireless networking is enabled. The device status LEDs are usually located either on the top or left side of the keyboard. They display the storage, battery and wireless devices connectivity and activity. Apart from that they can be useful as a diagnostic tool when there's a possible failure to the system. The following table lists how to read the LED codes when possible errors occur. Table 30. LED Lights Storage LED Power LED Blinking Solid Solid Blinking Blinking Blinking Blinking Blinking Blinking Blinking Blinking Off Solid Blinking Wireless LED Solid Solid Blinking Solid Off Blinking Blinking Fault Description A possible processor failure has occurred. The memory modules are detected but encountered an error. A system board failure has occurred. A possible graphics card/video failure has occurred. System failed on hard drive initialization OR System failed in Option ROM initialization. The USB controller encountered a problem during initialization. No memory modules are installed/detected. 60
-
 1
1 -
2
-
3
-
4
-
5
-
6
-
7
-
8
-
9
-
10
-
11
-
12
-
13
-
14
-
15
-
16
-
17
-
18
-
19
-
20
-
21
-
22
-
23
-
24
-
25
-
26
-
27
-
28
-
29
-
30
-
31
-
32
-
33
-
34
-
35
-
36
-
37
-
38
-
39
-
40
-
41
-
42
-
43
-
44
-
45
-
46
-
47
-
48
-
49
-
50
-
51
-
52
-
53
-
54
-
 55
55 -
 56
56 -
 57
57 -
 58
58 -
 59
59 -
 60
60 -
 61
61 -
 62
62
 |
 |