Dell XPS M1530 M1530 XPS M1530 Service Manual - Page 20
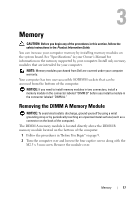
Removing the DIMM B Memory Module
 |
View all Dell XPS M1530 M1530 manuals
Add to My Manuals
Save this manual to your list of manuals |
Page 20 highlights
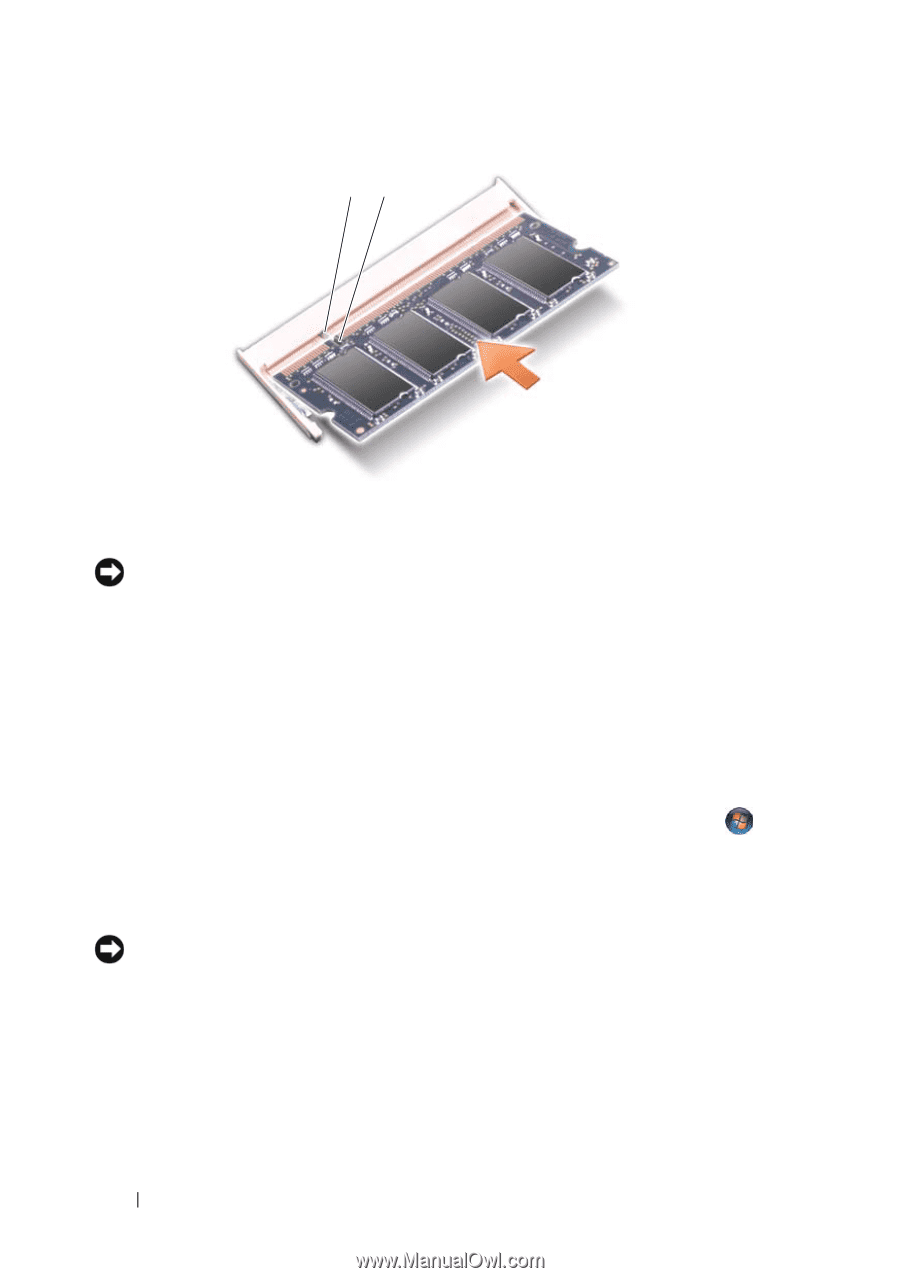
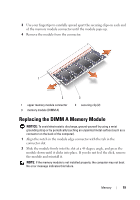
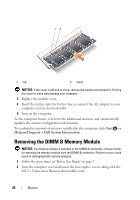
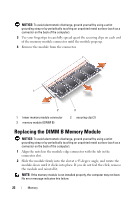
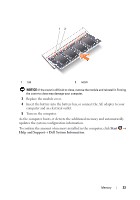
12 1 tab 2 notch NOTICE: If the cover is difficult to close, remove the module and reinstall it. Forcing the cover to close may damage your computer. 3 Replace the module cover. 4 Insert the battery into the battery bay, or connect the AC adapter to your computer and an electrical outlet. 5 Turn on the computer. As the computer boots, it detects the additional memory and automatically updates the system configuration information. To confirm the amount of memory installed in the computer, click Start → Help and Support→ Dell System Information. Removing the DIMM B Memory Module NOTICE: If a memory module is installed in the DIMM A connector, remove it prior to removing the memory module from the DIMM B connector. Failure to do so could result in damaging both memory modules. 1 Follow the procedures in "Before You Begin" on page 9. 2 Turn the computer over and loosen the four captive screws along with the M2.5 x 5-mm screw. Remove the module cover. 20 Memory
-
 1
1 -
2
-
3
-
4
-
5
-
6
-
7
-
8
-
9
-
10
-
11
-
12
-
13
-
14
-
 15
15 -
 16
16 -
 17
17 -
 18
18 -
 19
19 -
 20
20 -
 21
21 -
 22
22 -
 23
23 -
 24
24 -
 25
25 -
26
-
27
-
28
-
29
-
30
-
31
-
32
-
33
-
34
-
35
-
36
-
37
-
38
-
39
-
40
-
41
-
42
-
43
-
44
-
45
-
46
-
47
-
48
-
49
-
50
-
51
-
52
-
53
-
54
-
55
-
56
-
57
-
58
-
59
-
60
-
61
-
62
-
63
-
64
-
65
-
66
-
67
-
68
-
69
-
70
-
71
-
72
-
73
-
74
-
75
-
76
-
77
-
78
-
79
-
80
-
81
-
82
-
83
-
84
-
85
-
86
-
87
-
88
-
89
-
90
-
91
-
92
-
93
-
94
-
95
-
96
-
97
-
98
-
99
-
100
-
101
-
102
-
103
-
104
-
105
-
106
-
107
-
108
-
109
-
110
-
111
-
112
-
113
-
114
-
115
-
116
-
117
-
118
 |
 |